Get Started
Getting and Activating Personal Account
Getting 30TB Group Folder
Jupyter Initial Setup
Note
This process takes 10-15 minutes in total.
A. Getting and Activating Personal Account
A-1. Getting Your Account
You will get your accounts and initial passwords depending on the user type:
(i) For ARIM Facility Users
(ii) For General Users
Note
If you are already registered for another project, continue to B. Getting 30TB Group Folder using your own account (email address).
A-2. Change Your Initial Password
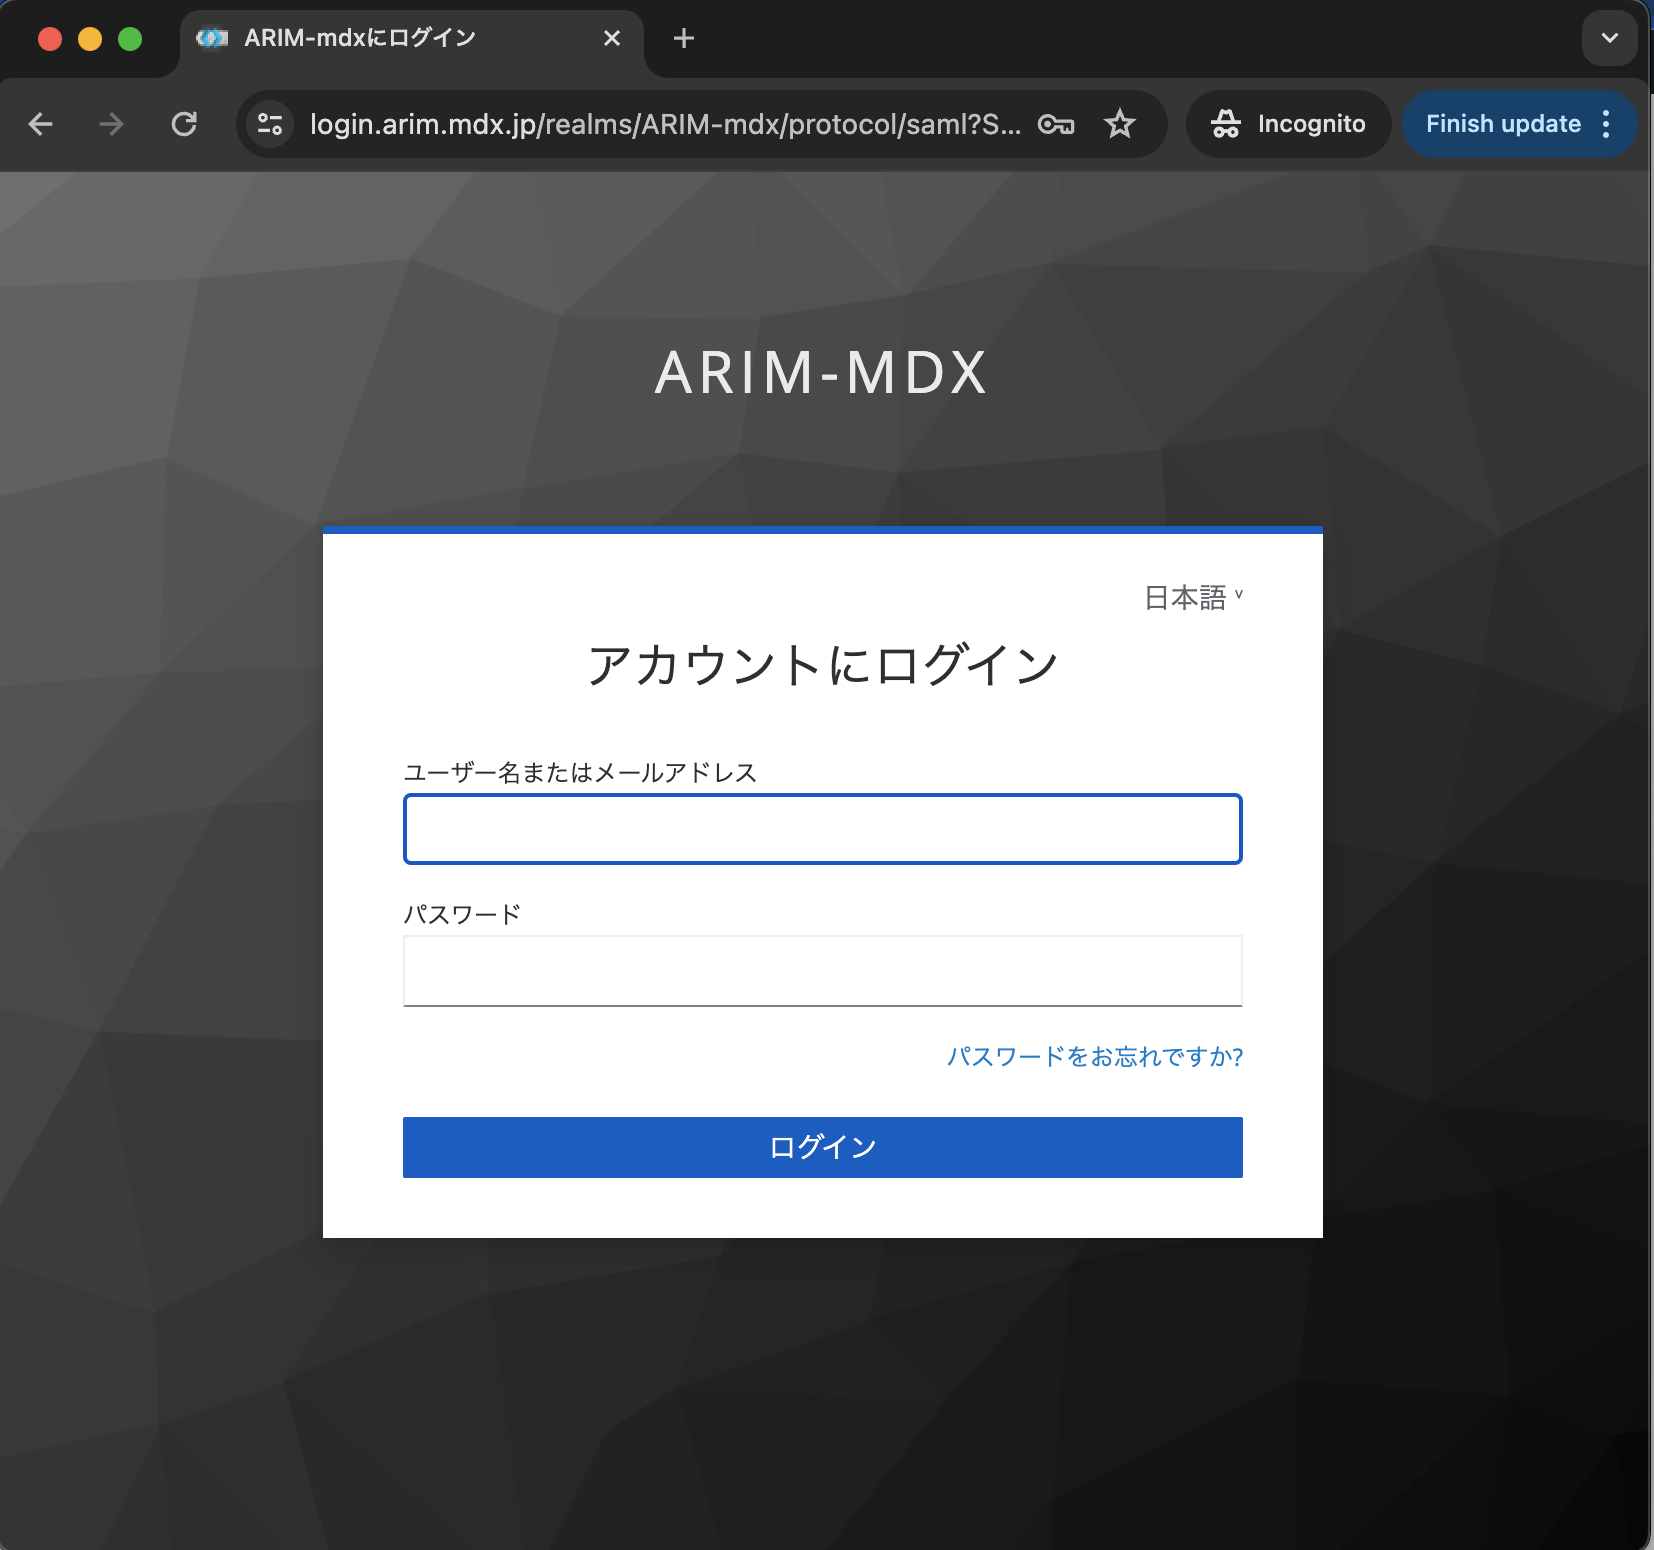
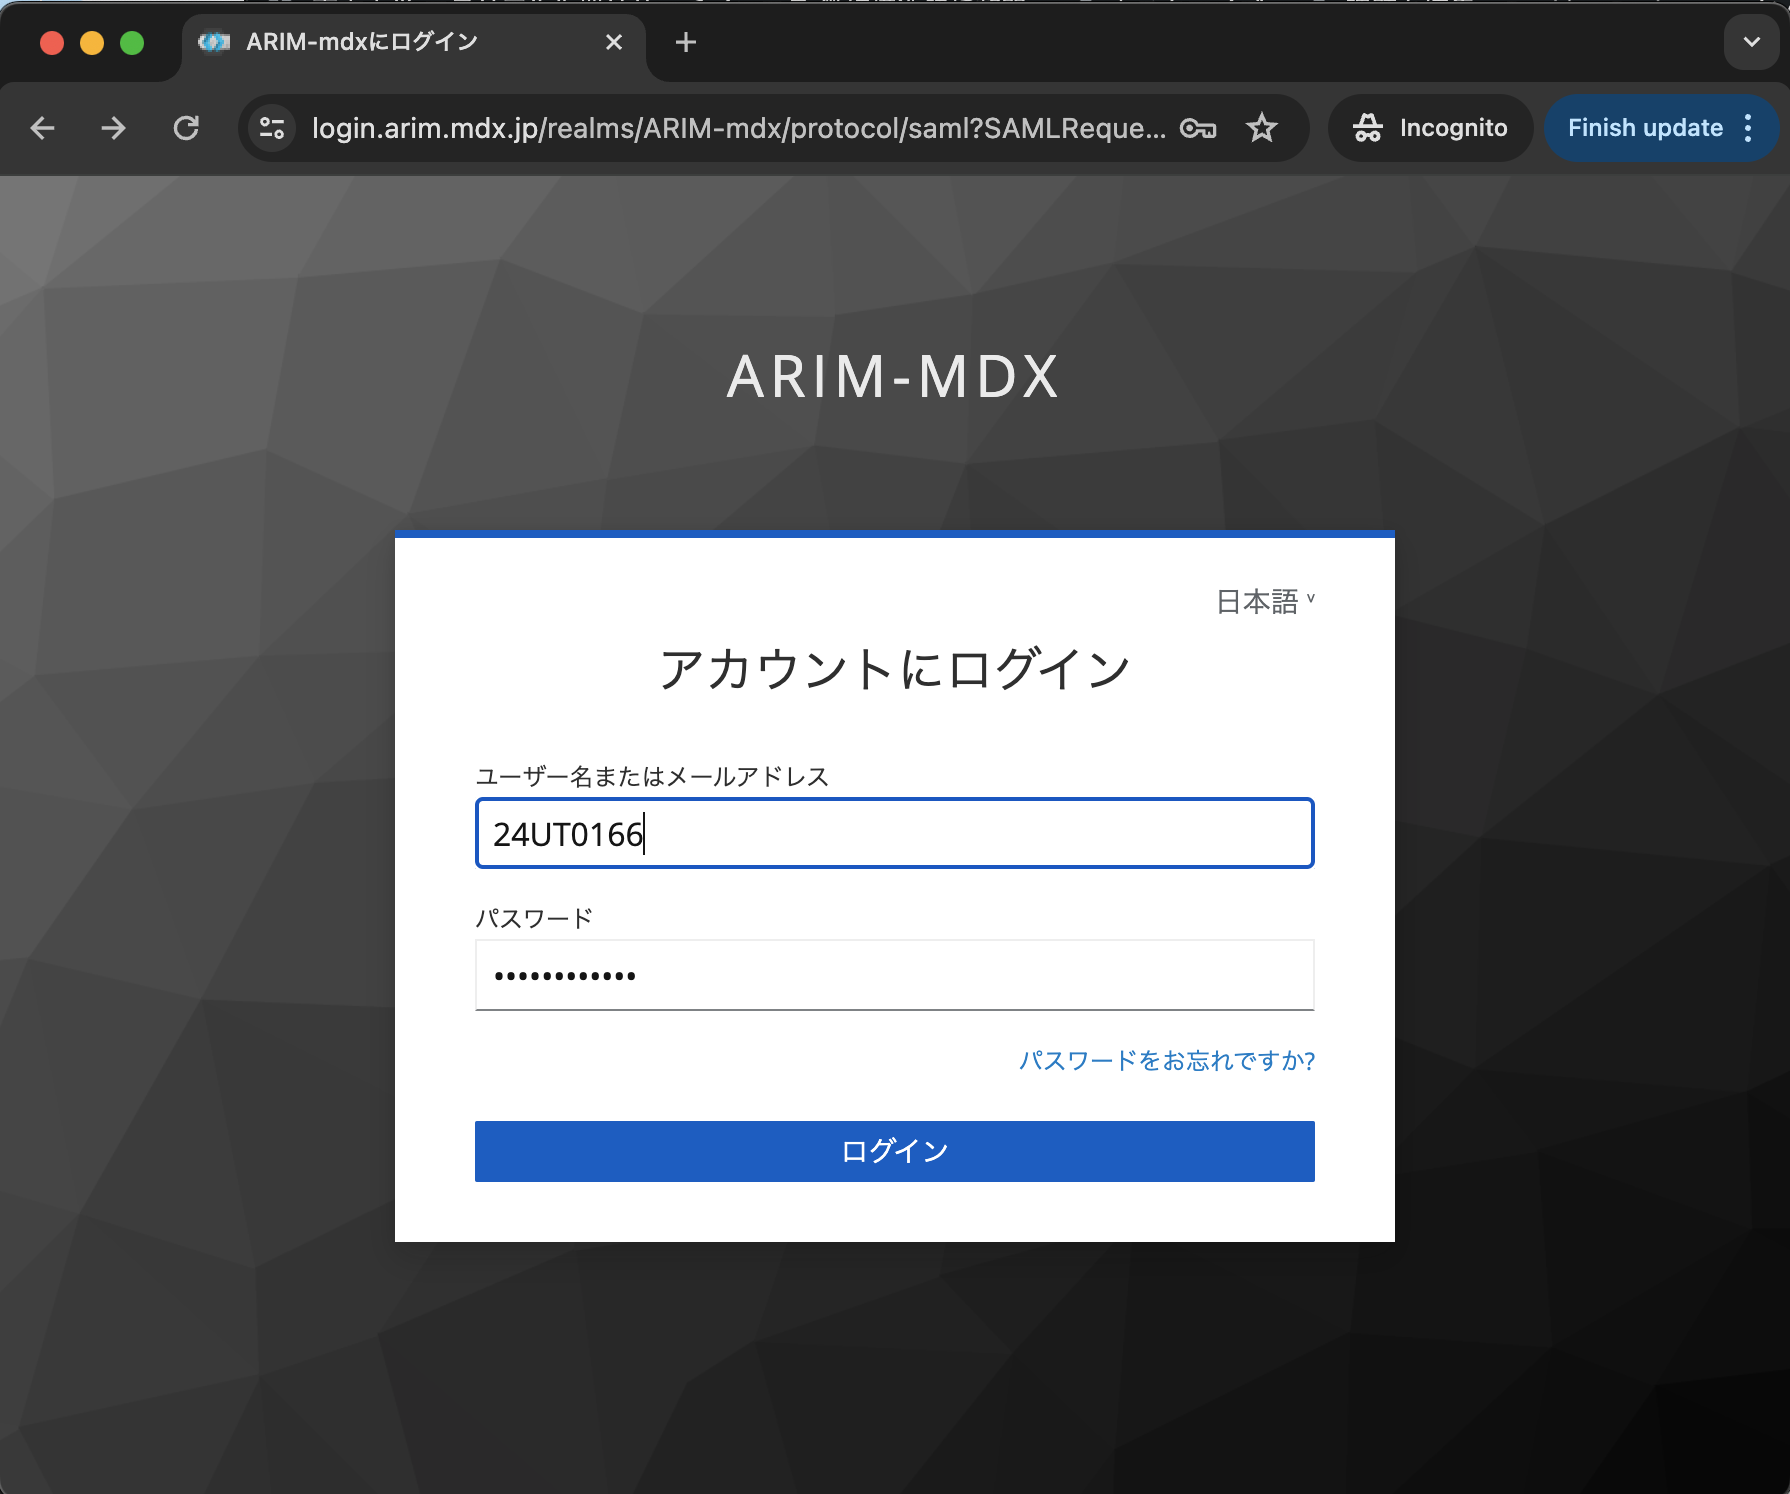
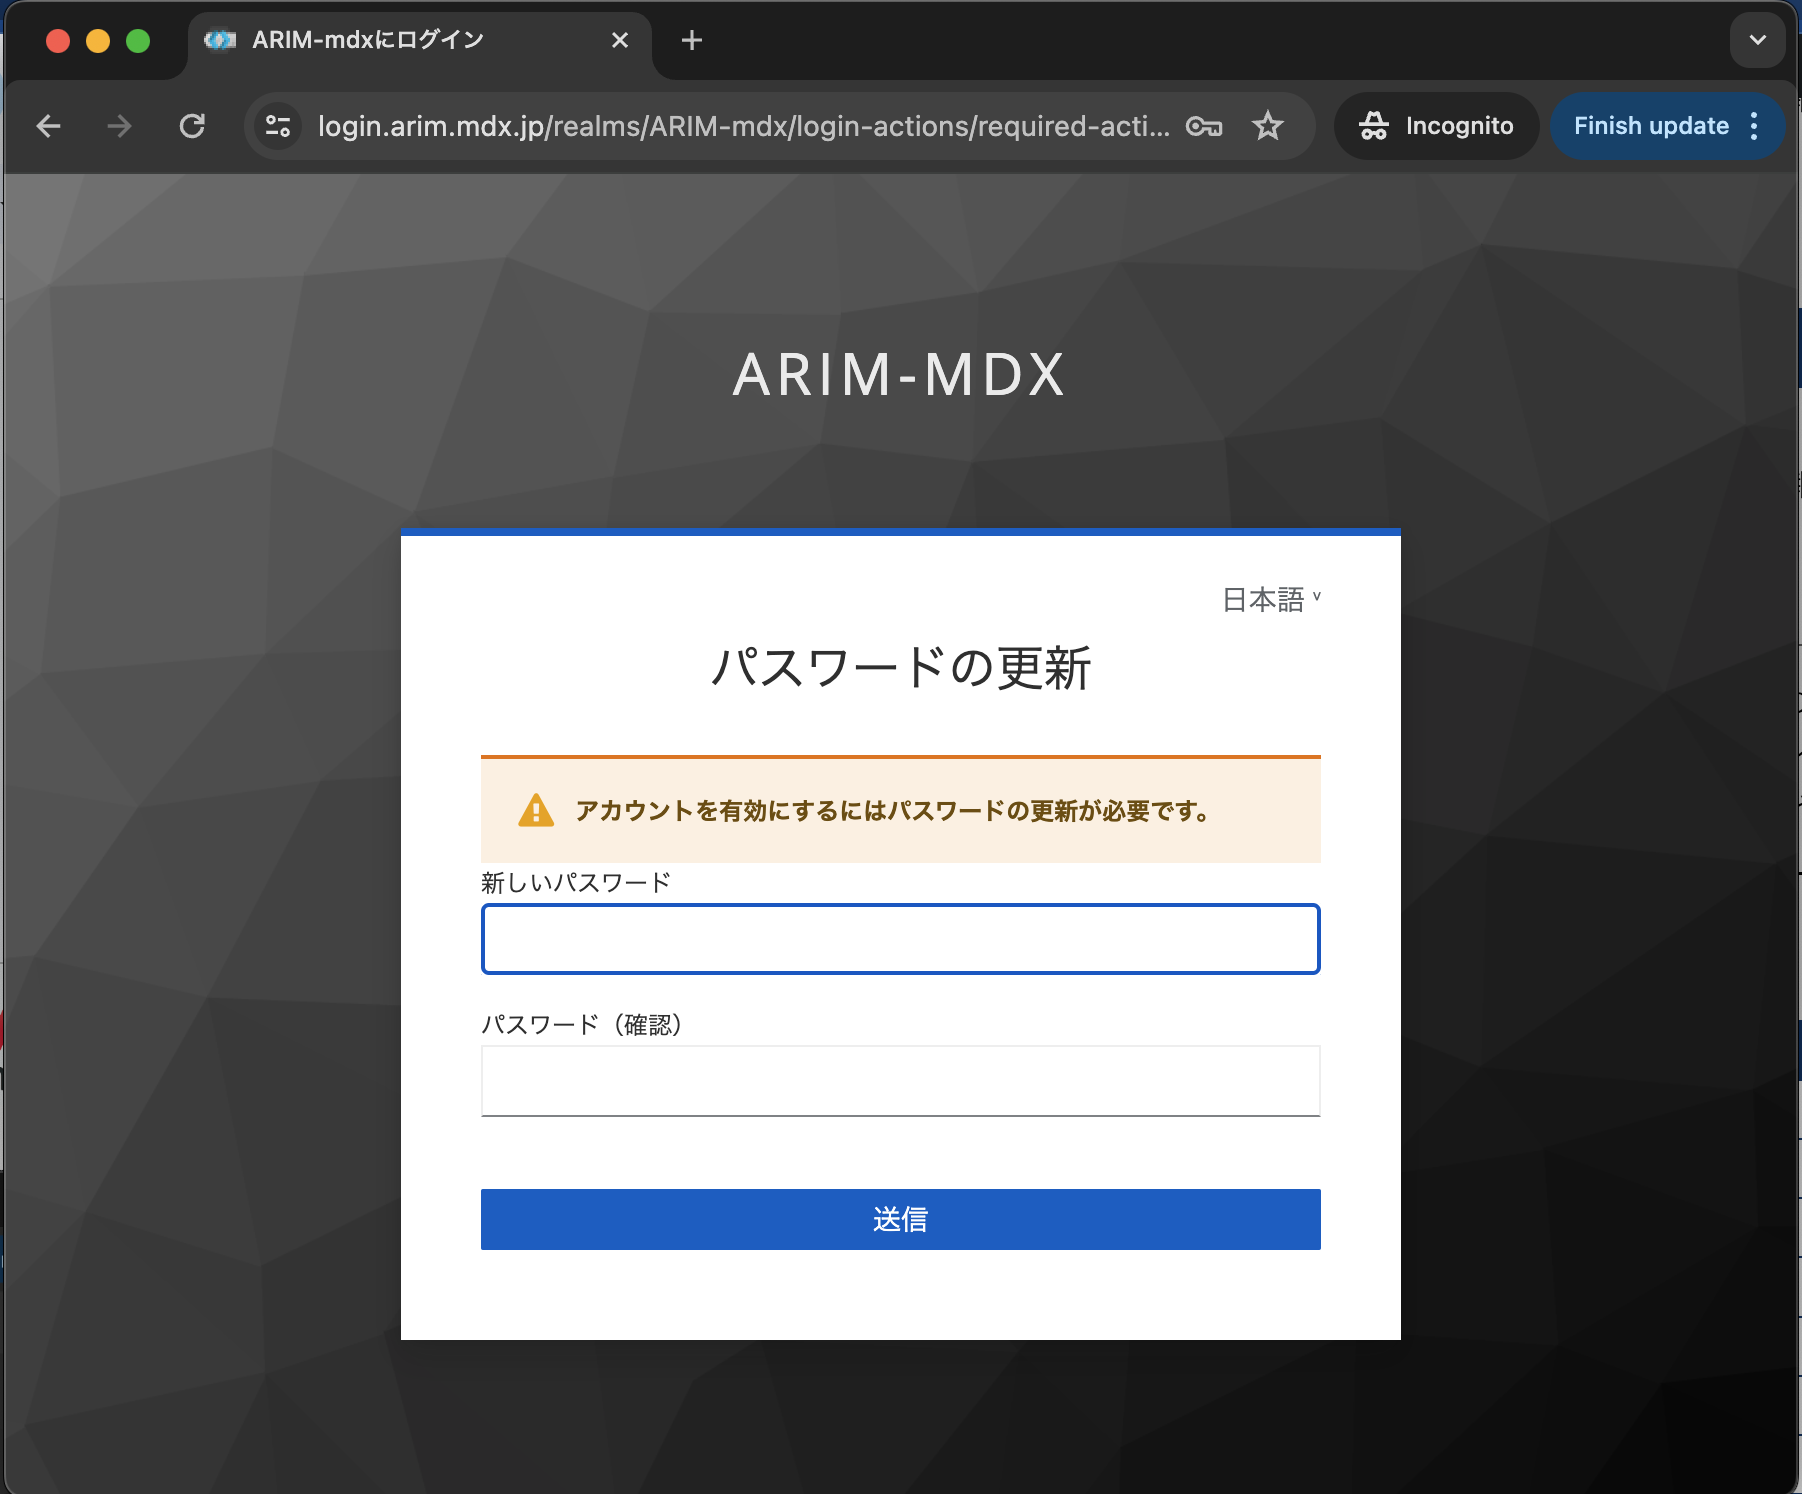
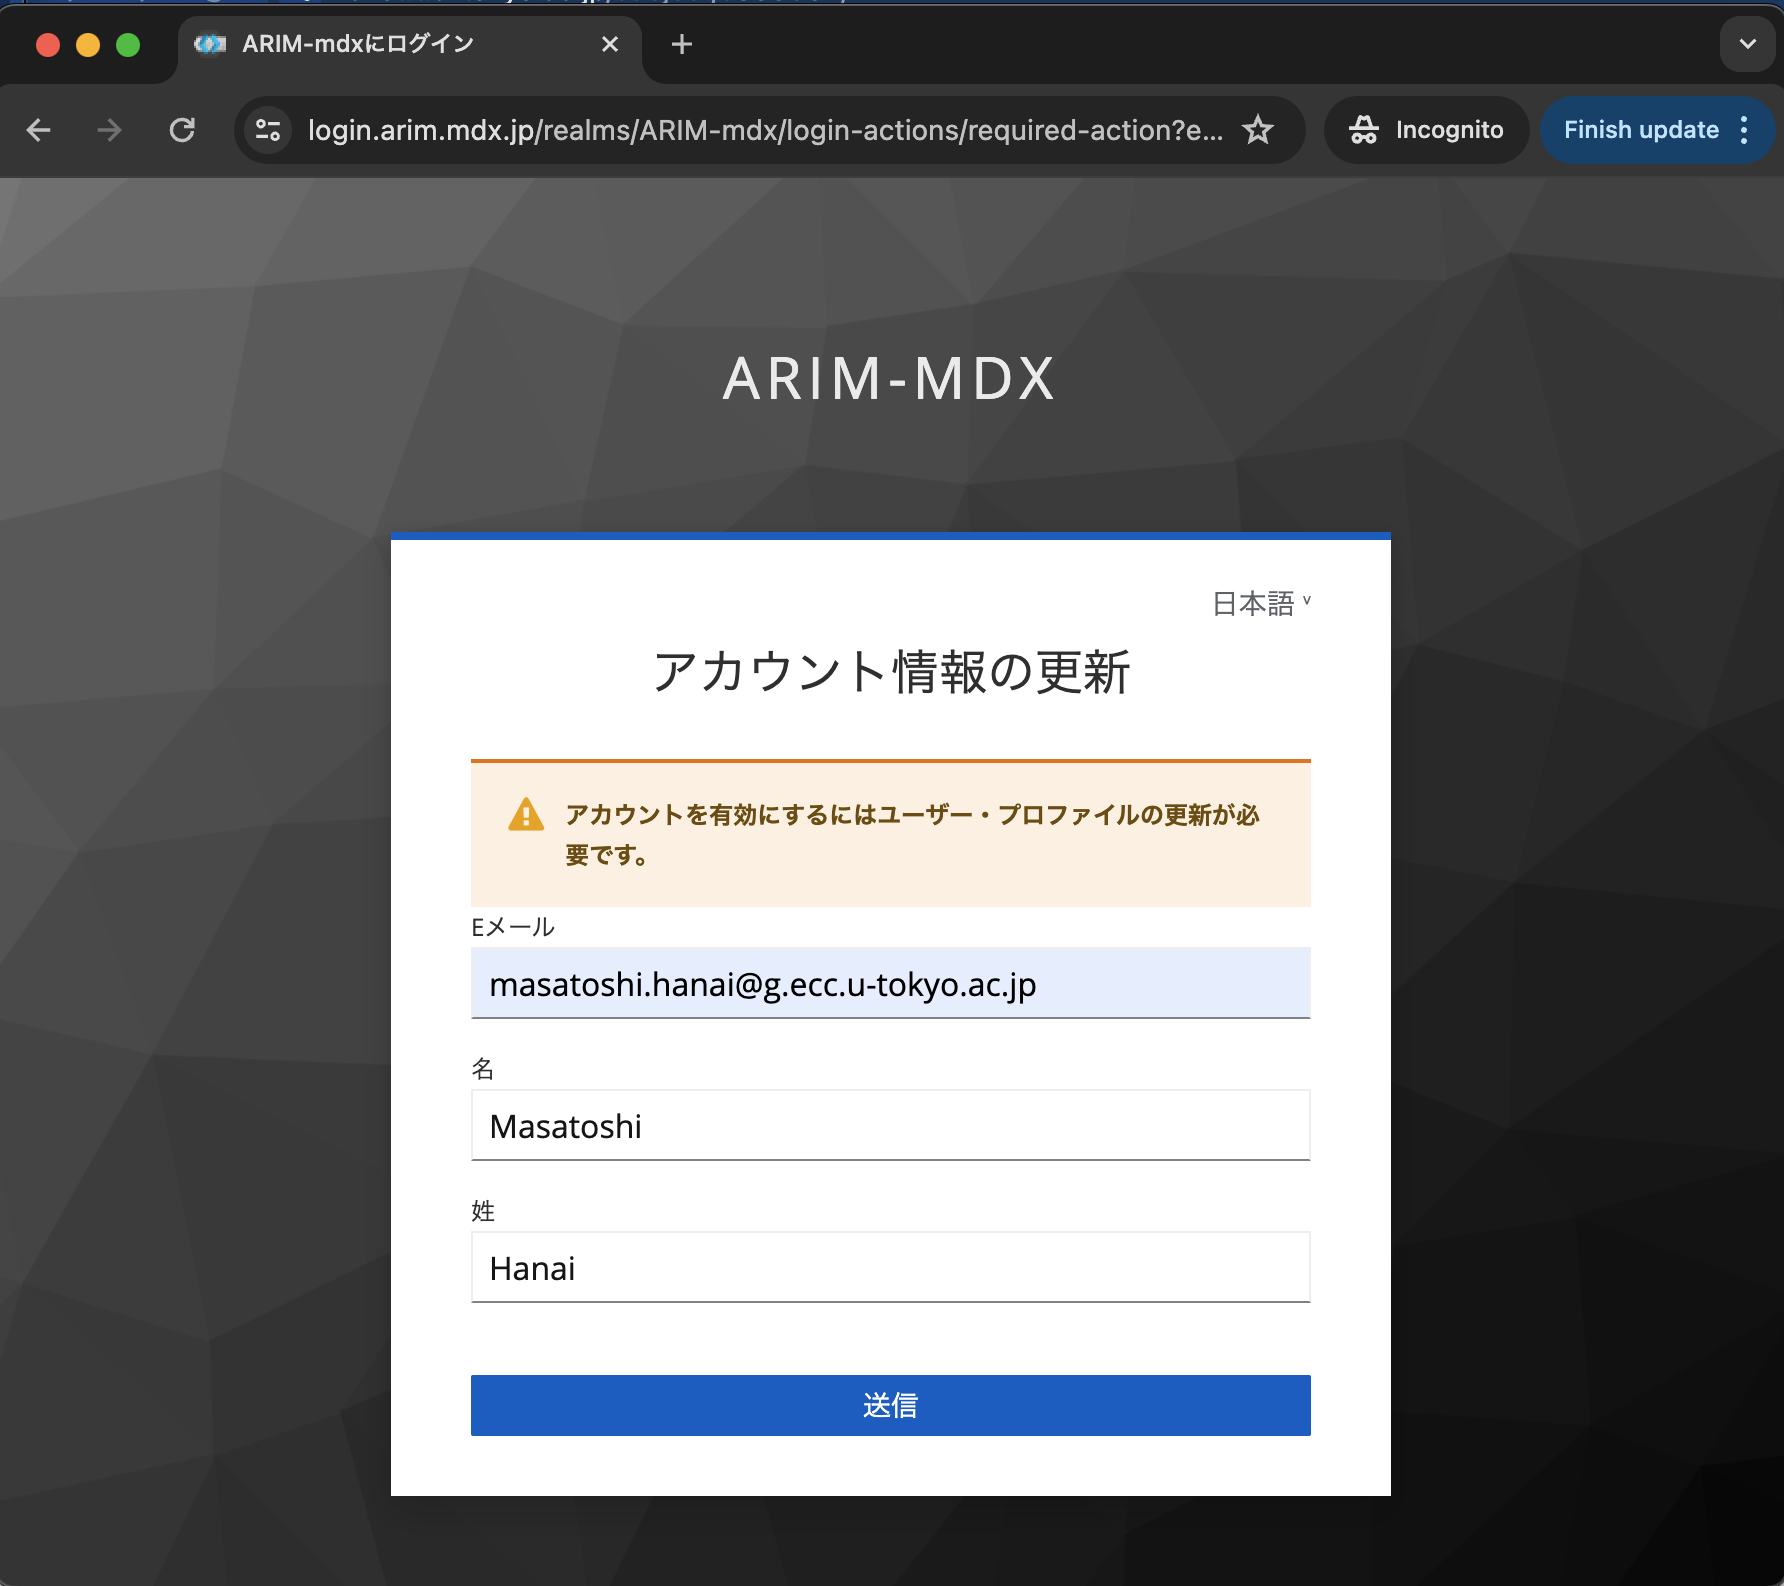
A-3. Email Verification
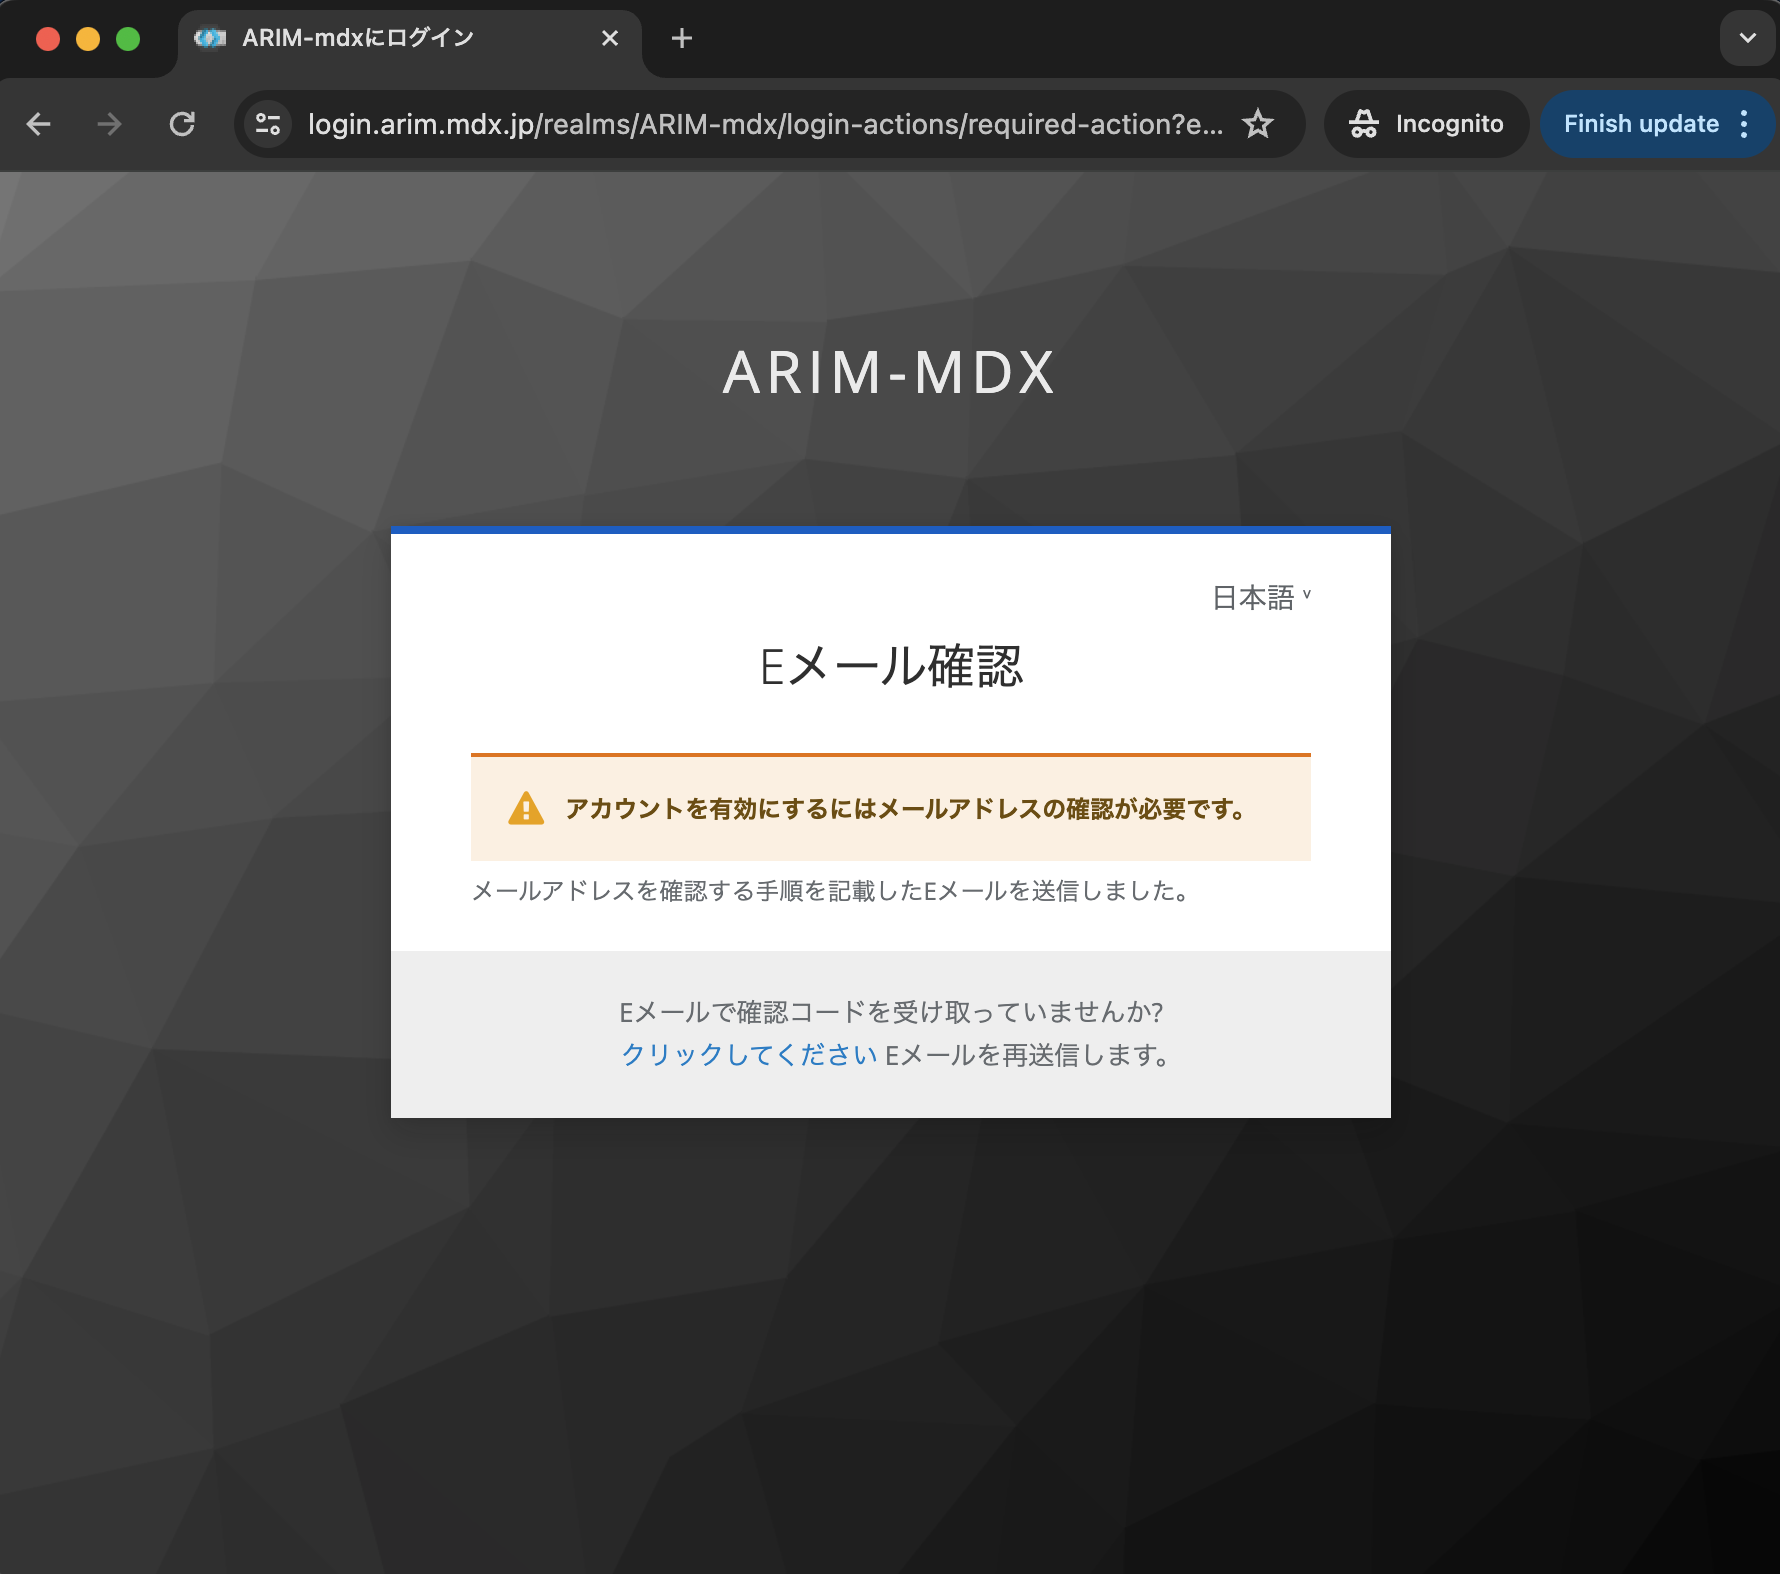
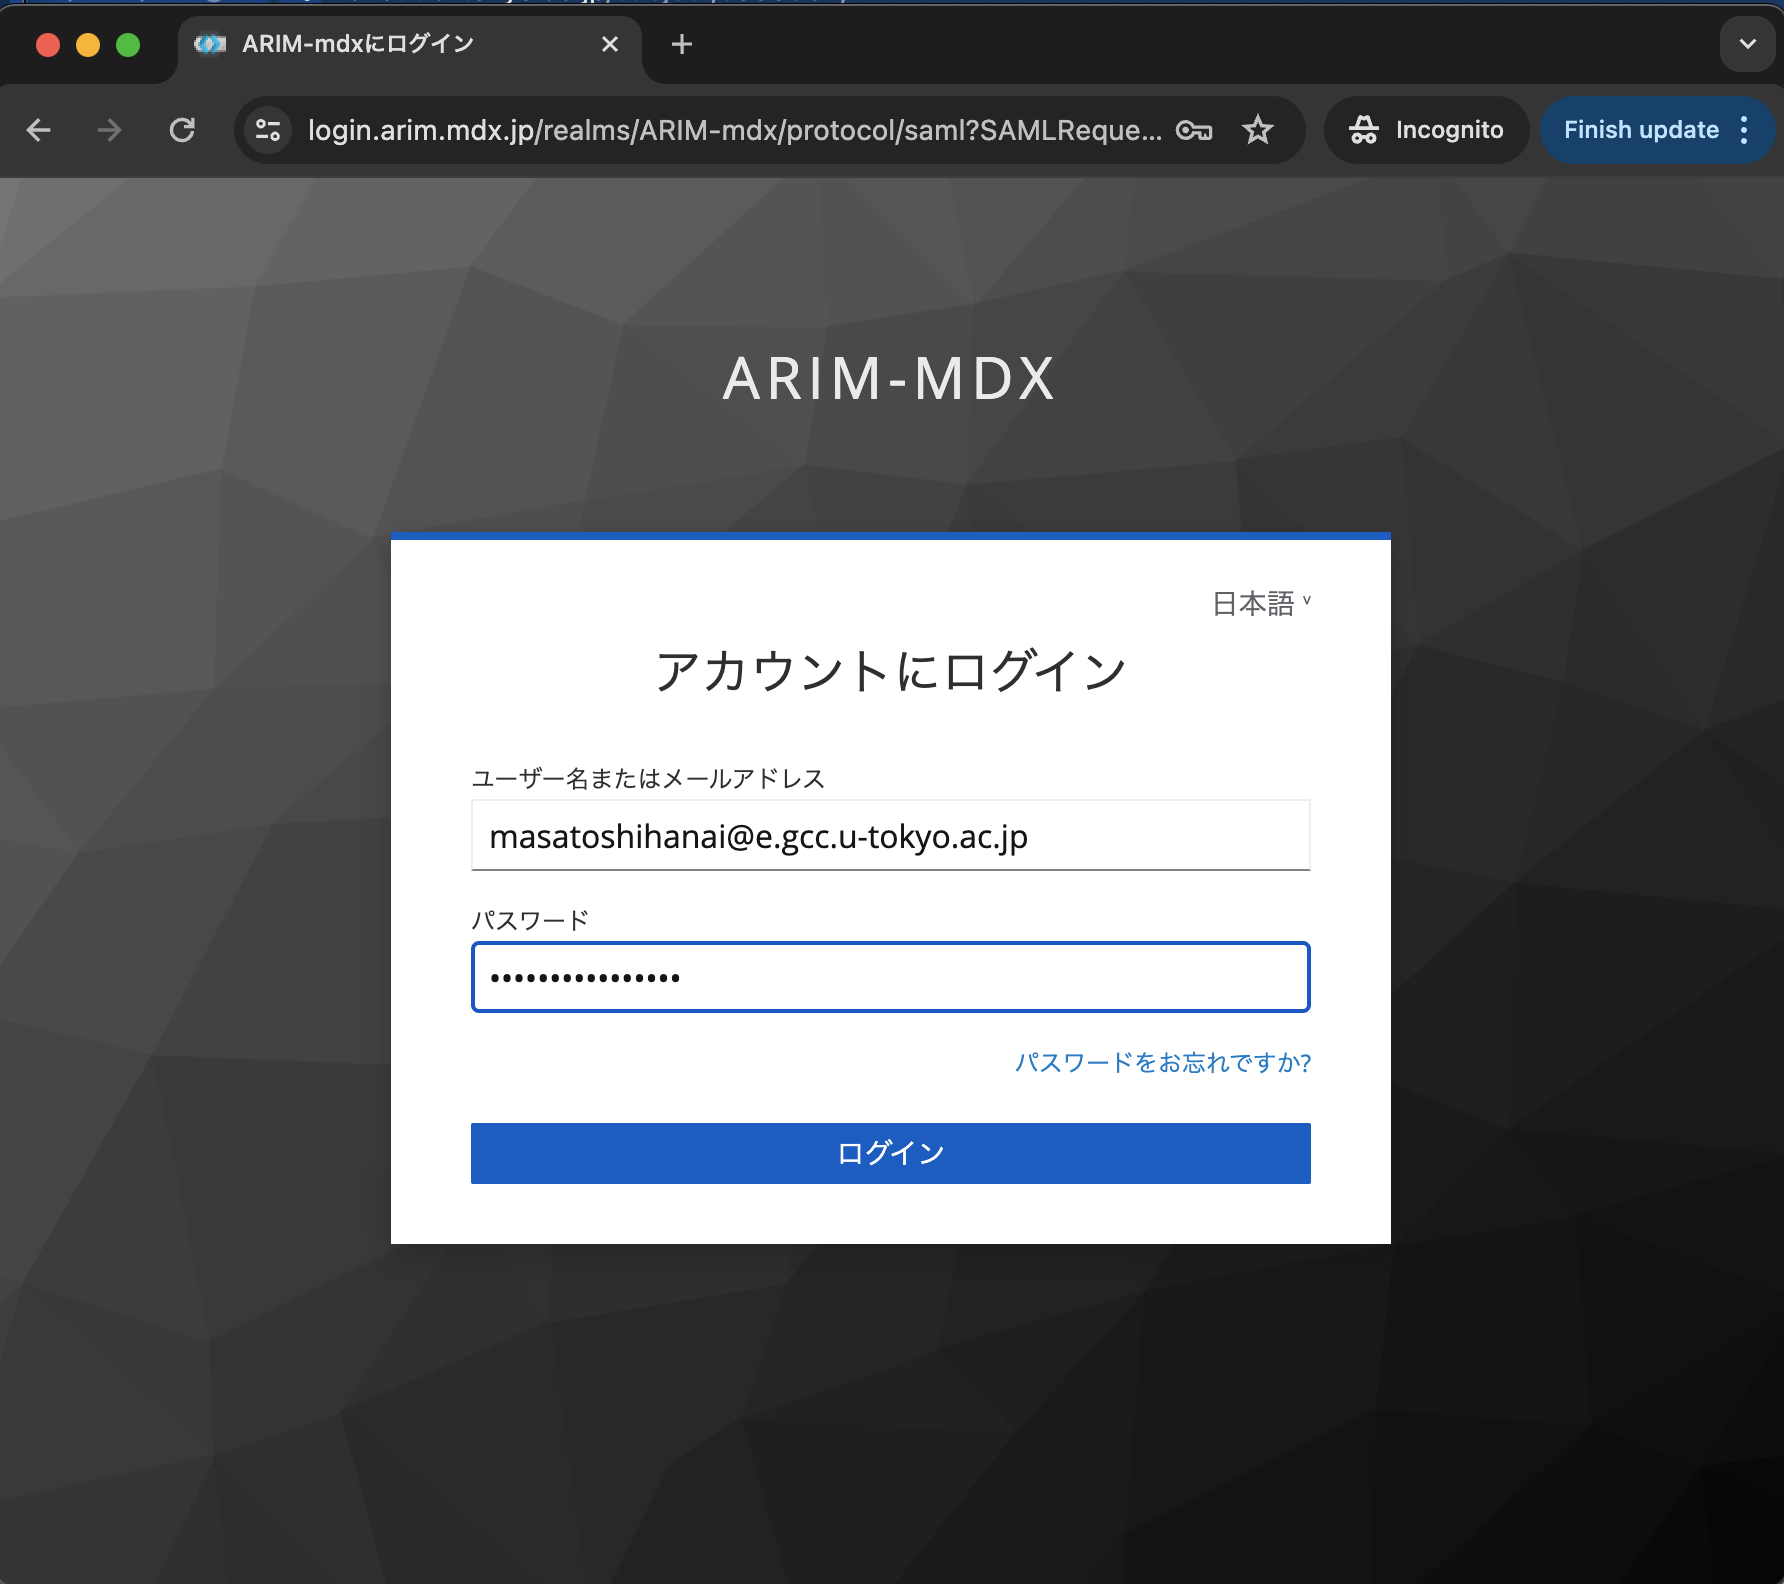
Note
After verification, you can log in using either your ID or email address.
Warning
Some email addresses may not receive the verification email due to spam filtering. In such cases, please contact the system administrator or password issuer.
B. Getting 30TB Group Folder
Follow these steps to activate your group’s 30TB shared folder.
Note
The following steps should be performed by the group representative.
B-1. Getting Group Management URL
Get your Group Management Private URL that was provided with your personal account. If you cannot find it, contact your account issuer or ARIM-mdx’s administrator.
Warning
Keep this URL confidential and secure. Anyone who has this URL can access group management settings. If you suspect unauthorized access or URL disclosure, immediately contact ARIM-mdx’s system administrator.
B-2. Logging into Group Management

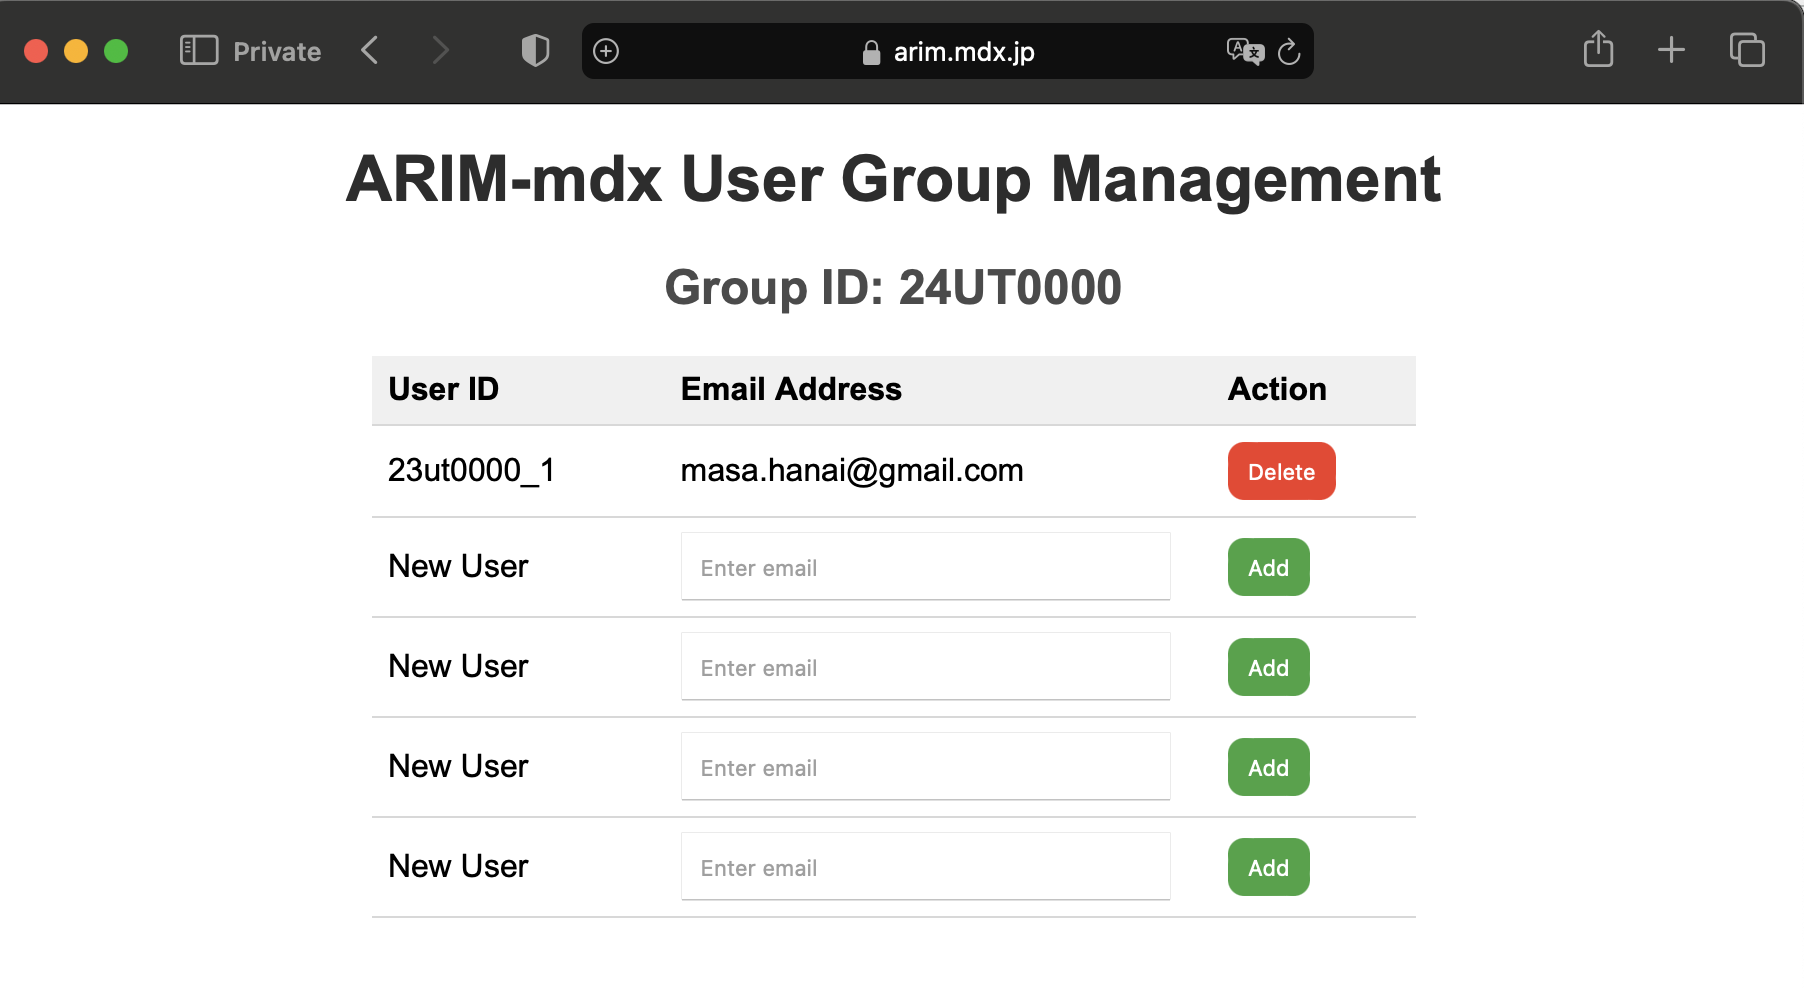
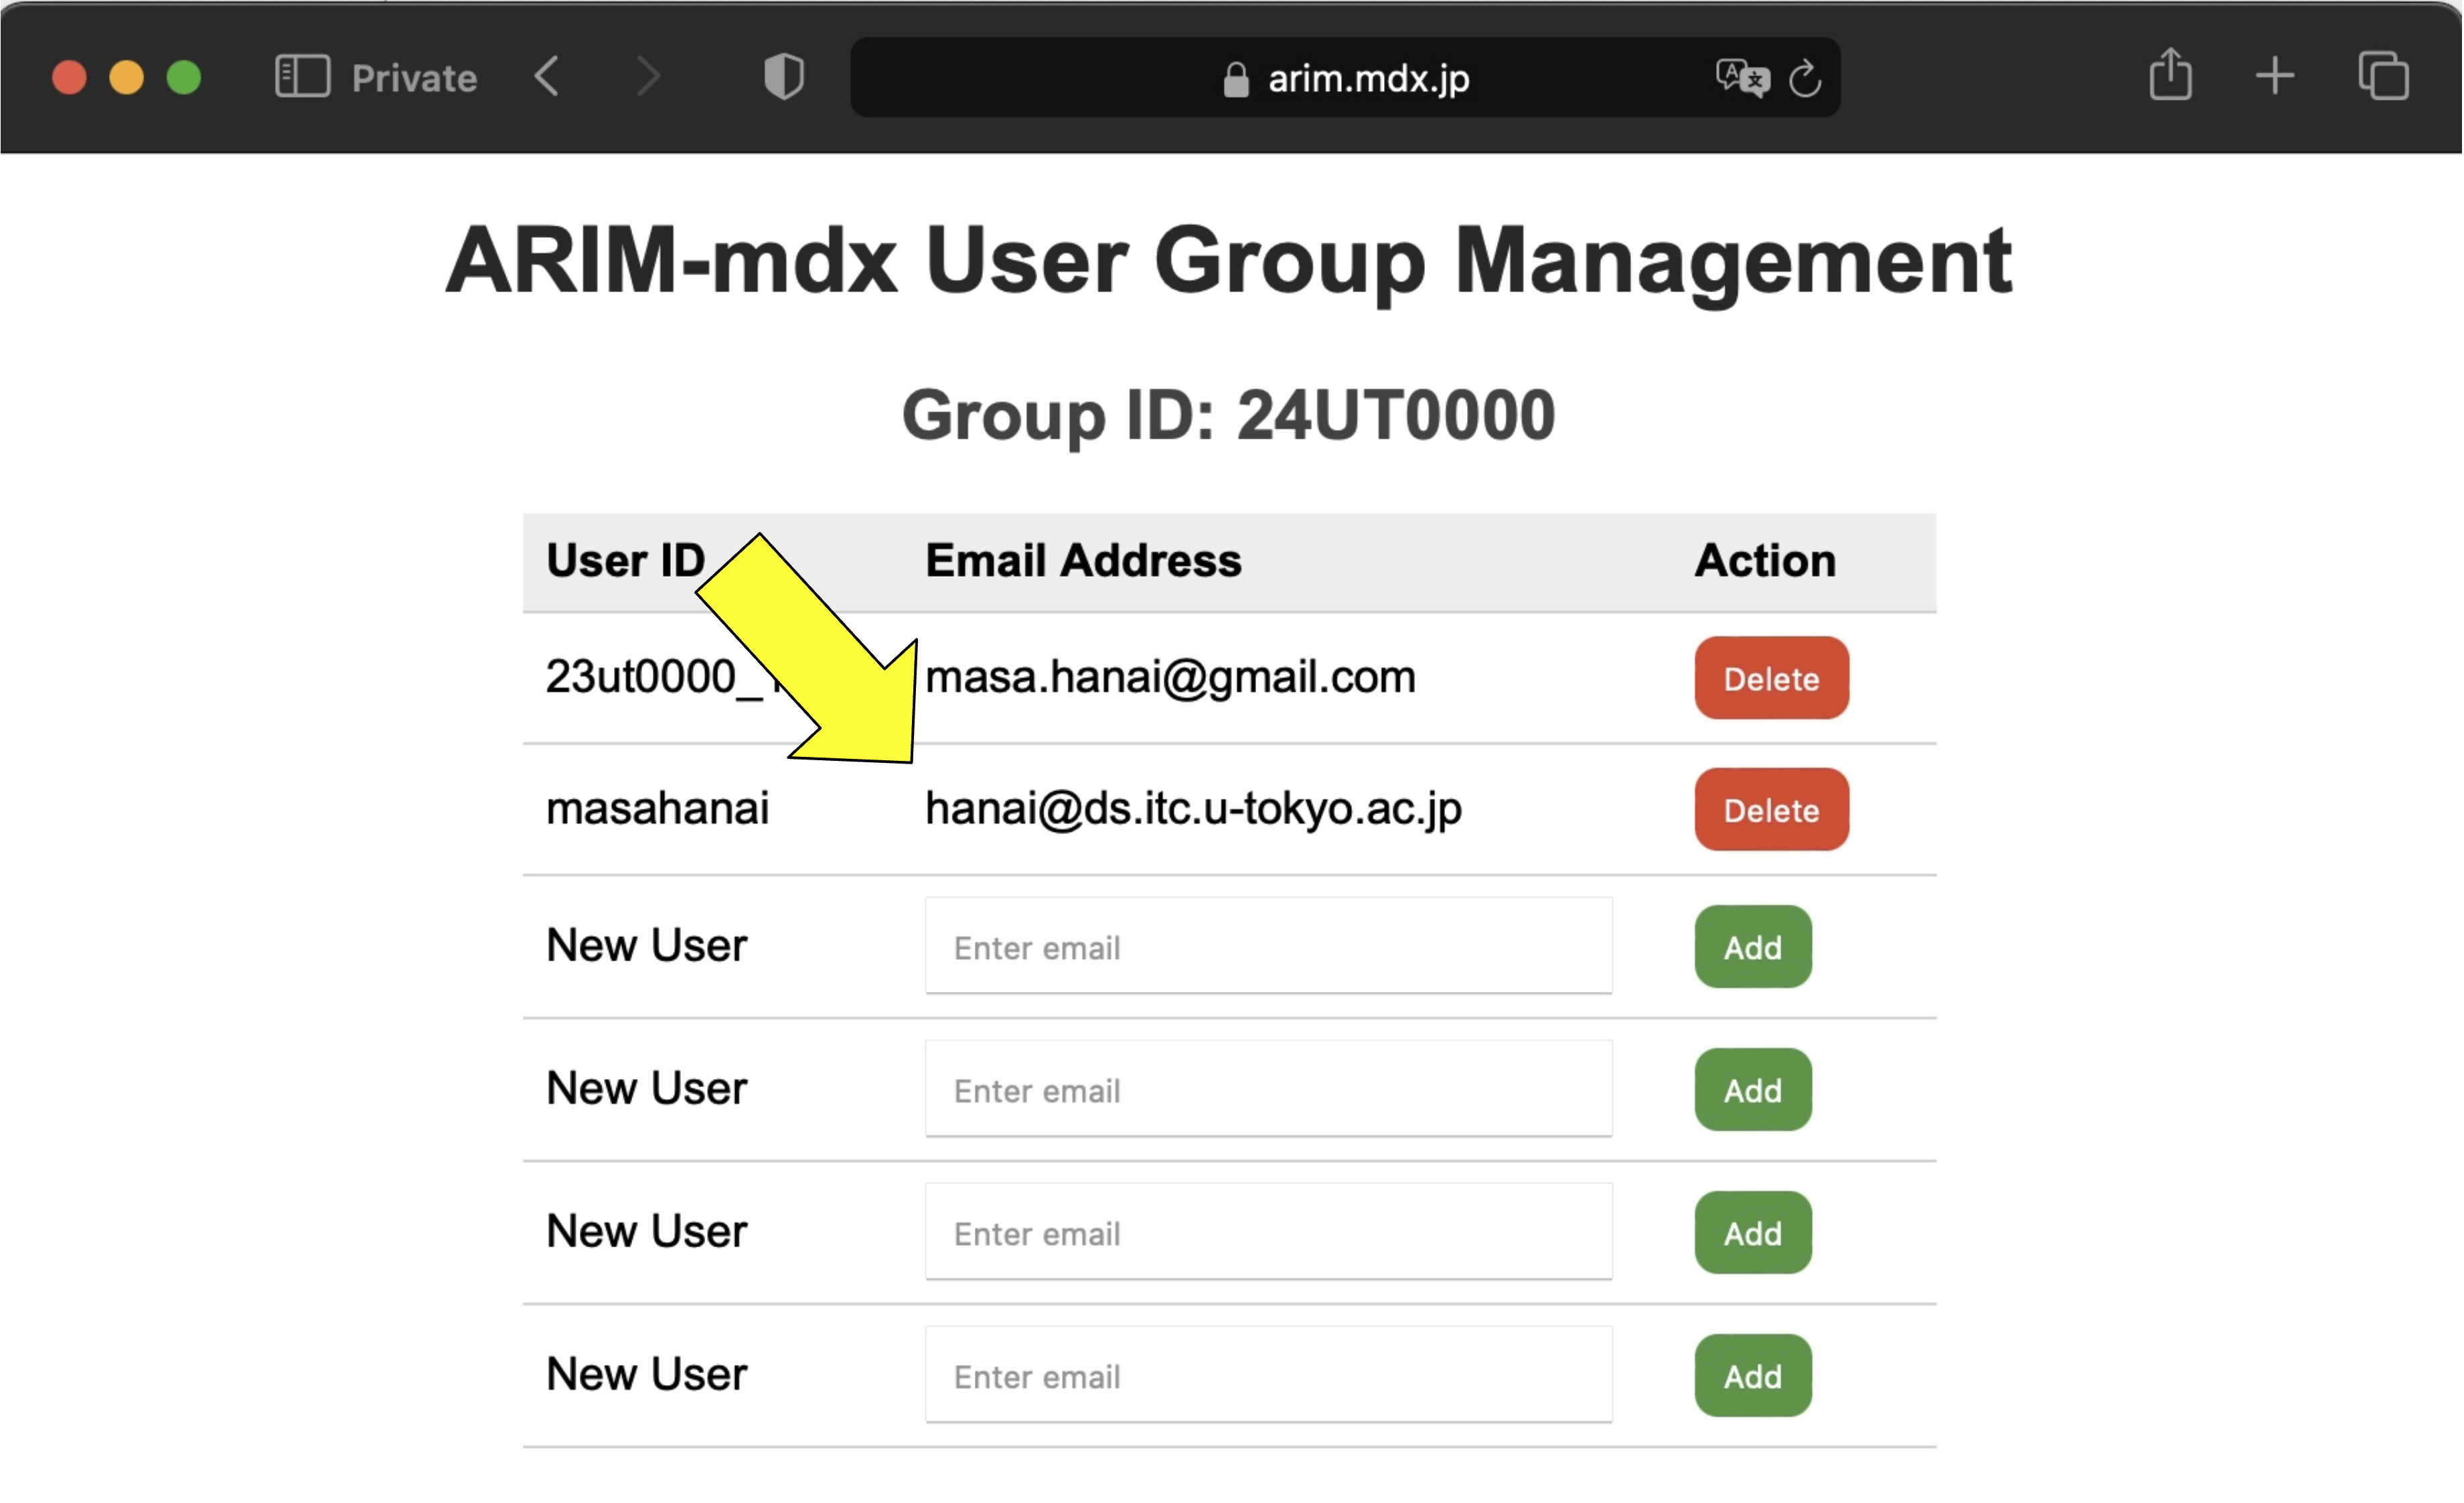
B-3. Adding Group Users
Enter email and click ADD.
Note
The registered email address can be found at https://arim.mdx.jp/nextcloud via top-right icon > View Profile
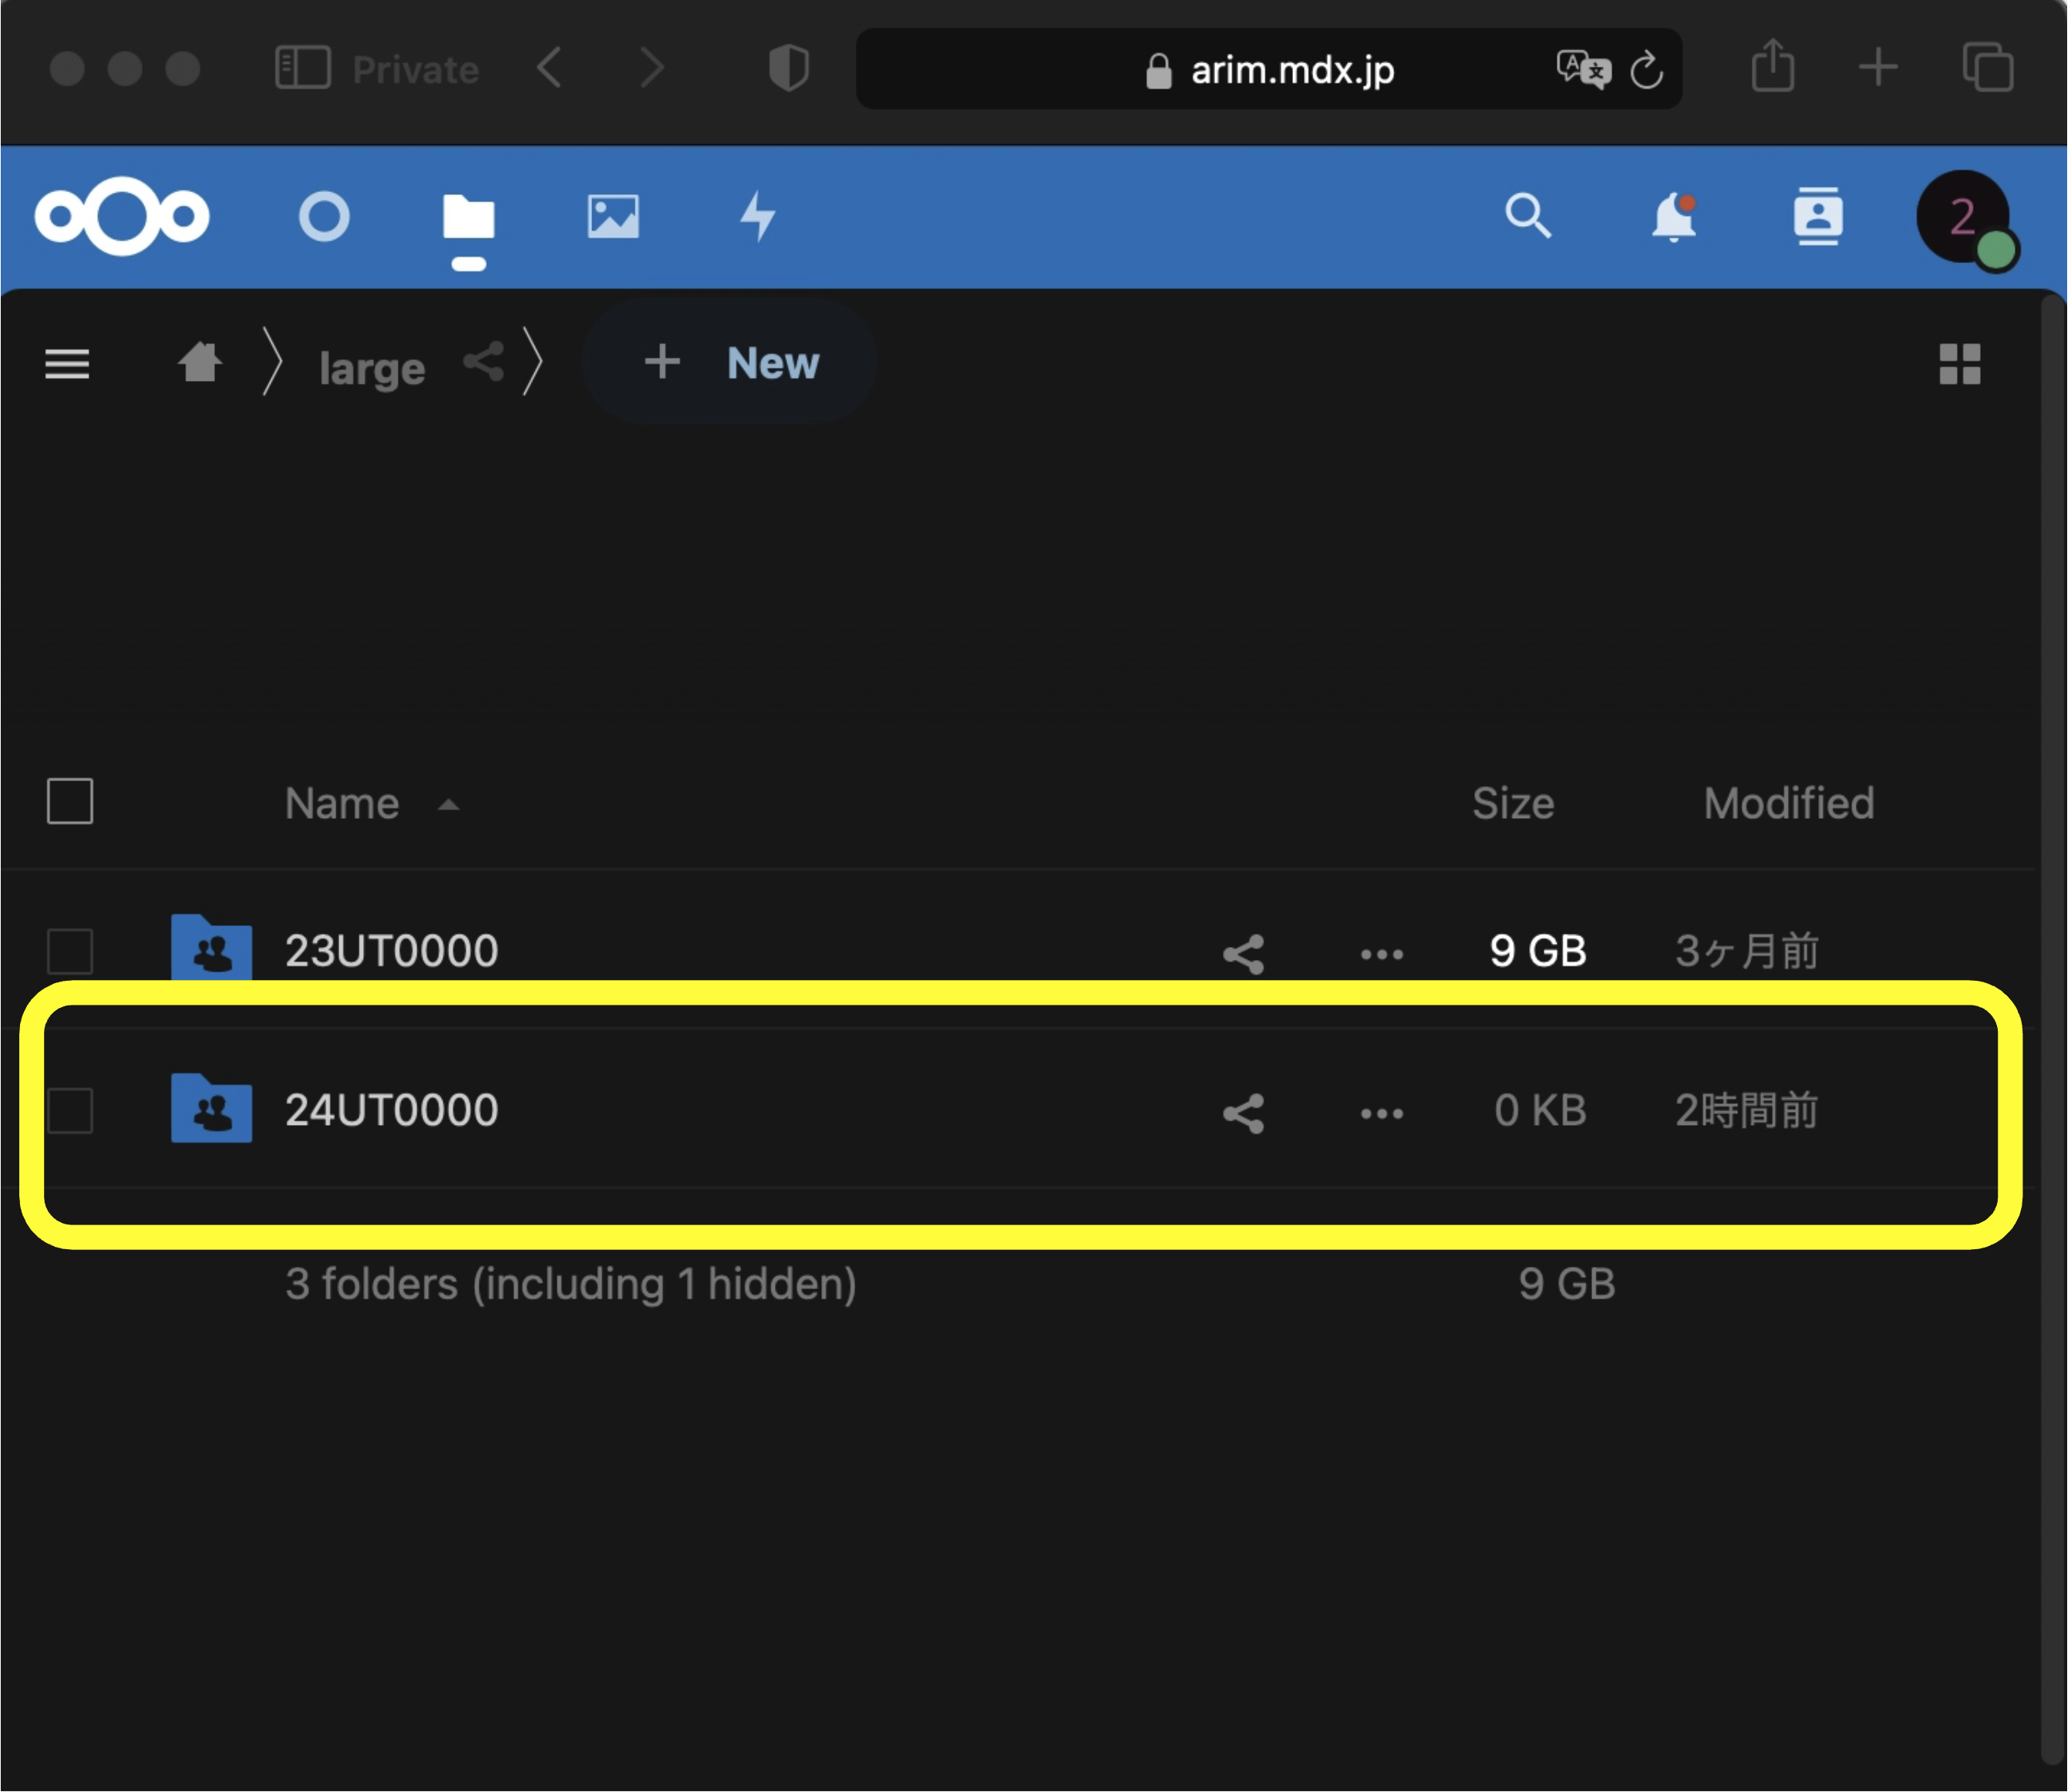
B-4. Confirming in Nextcloud
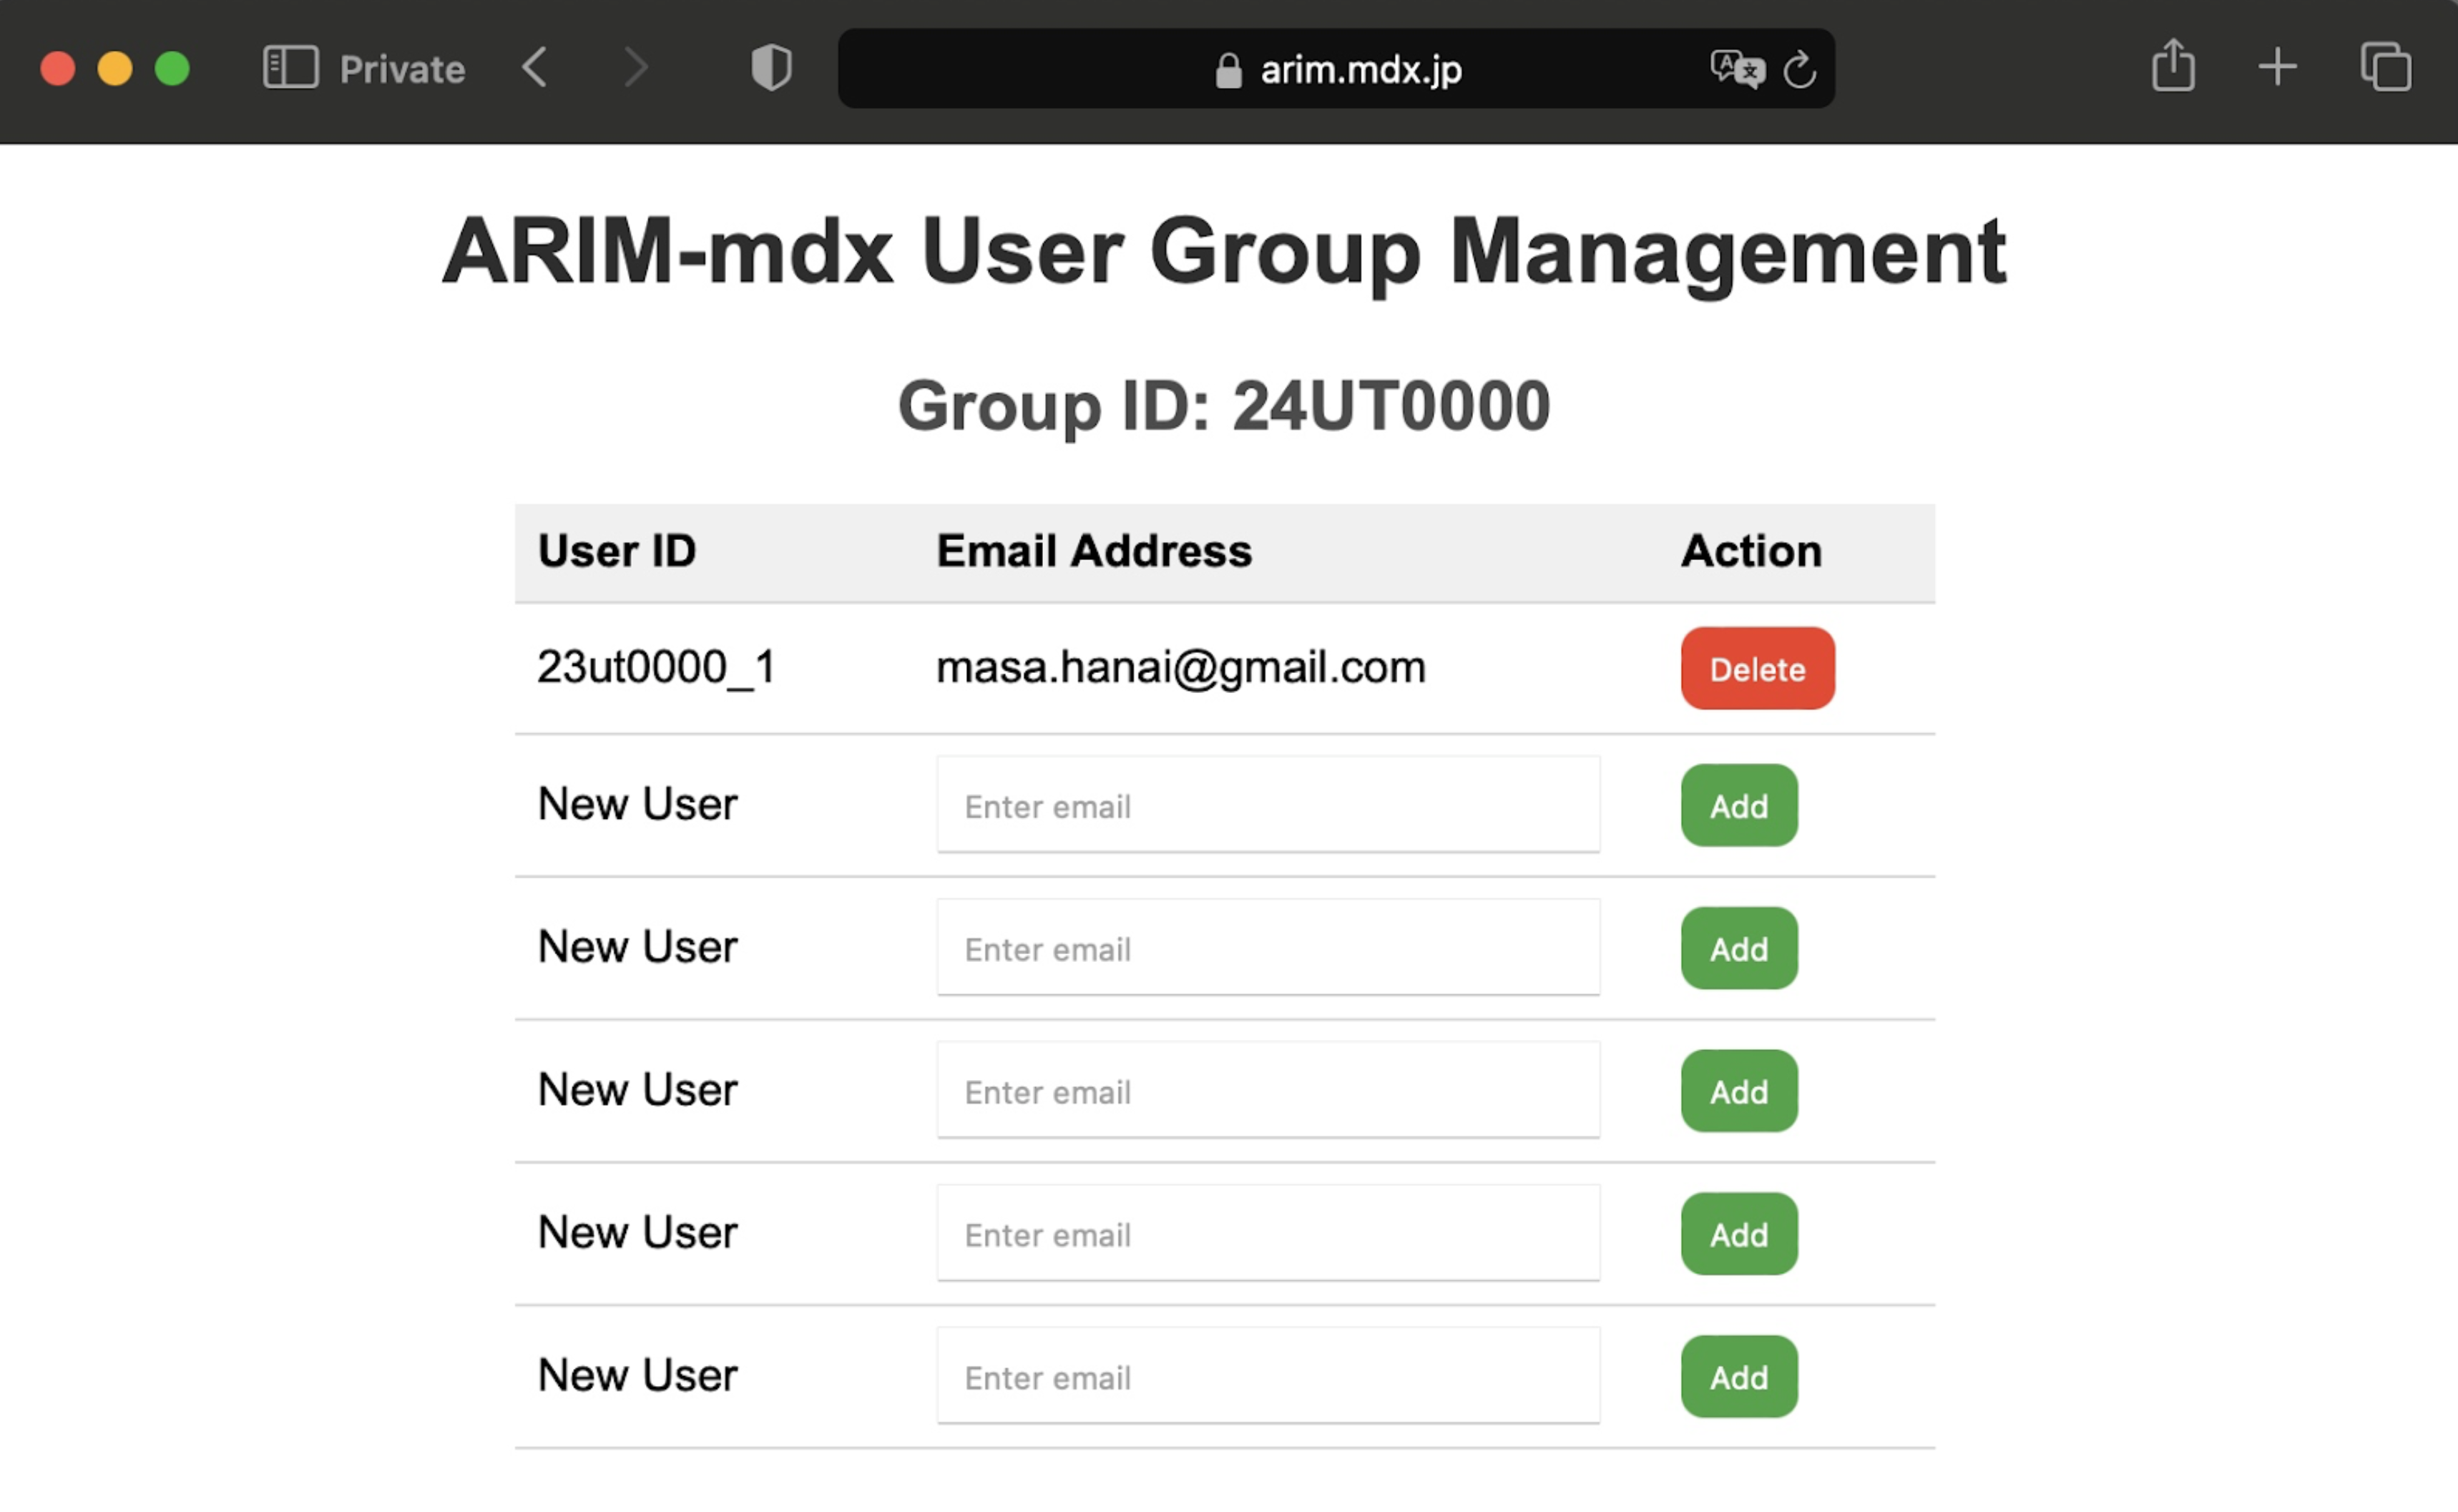
B-5. (Optional) Removing Users
Delete for the user you want to remove.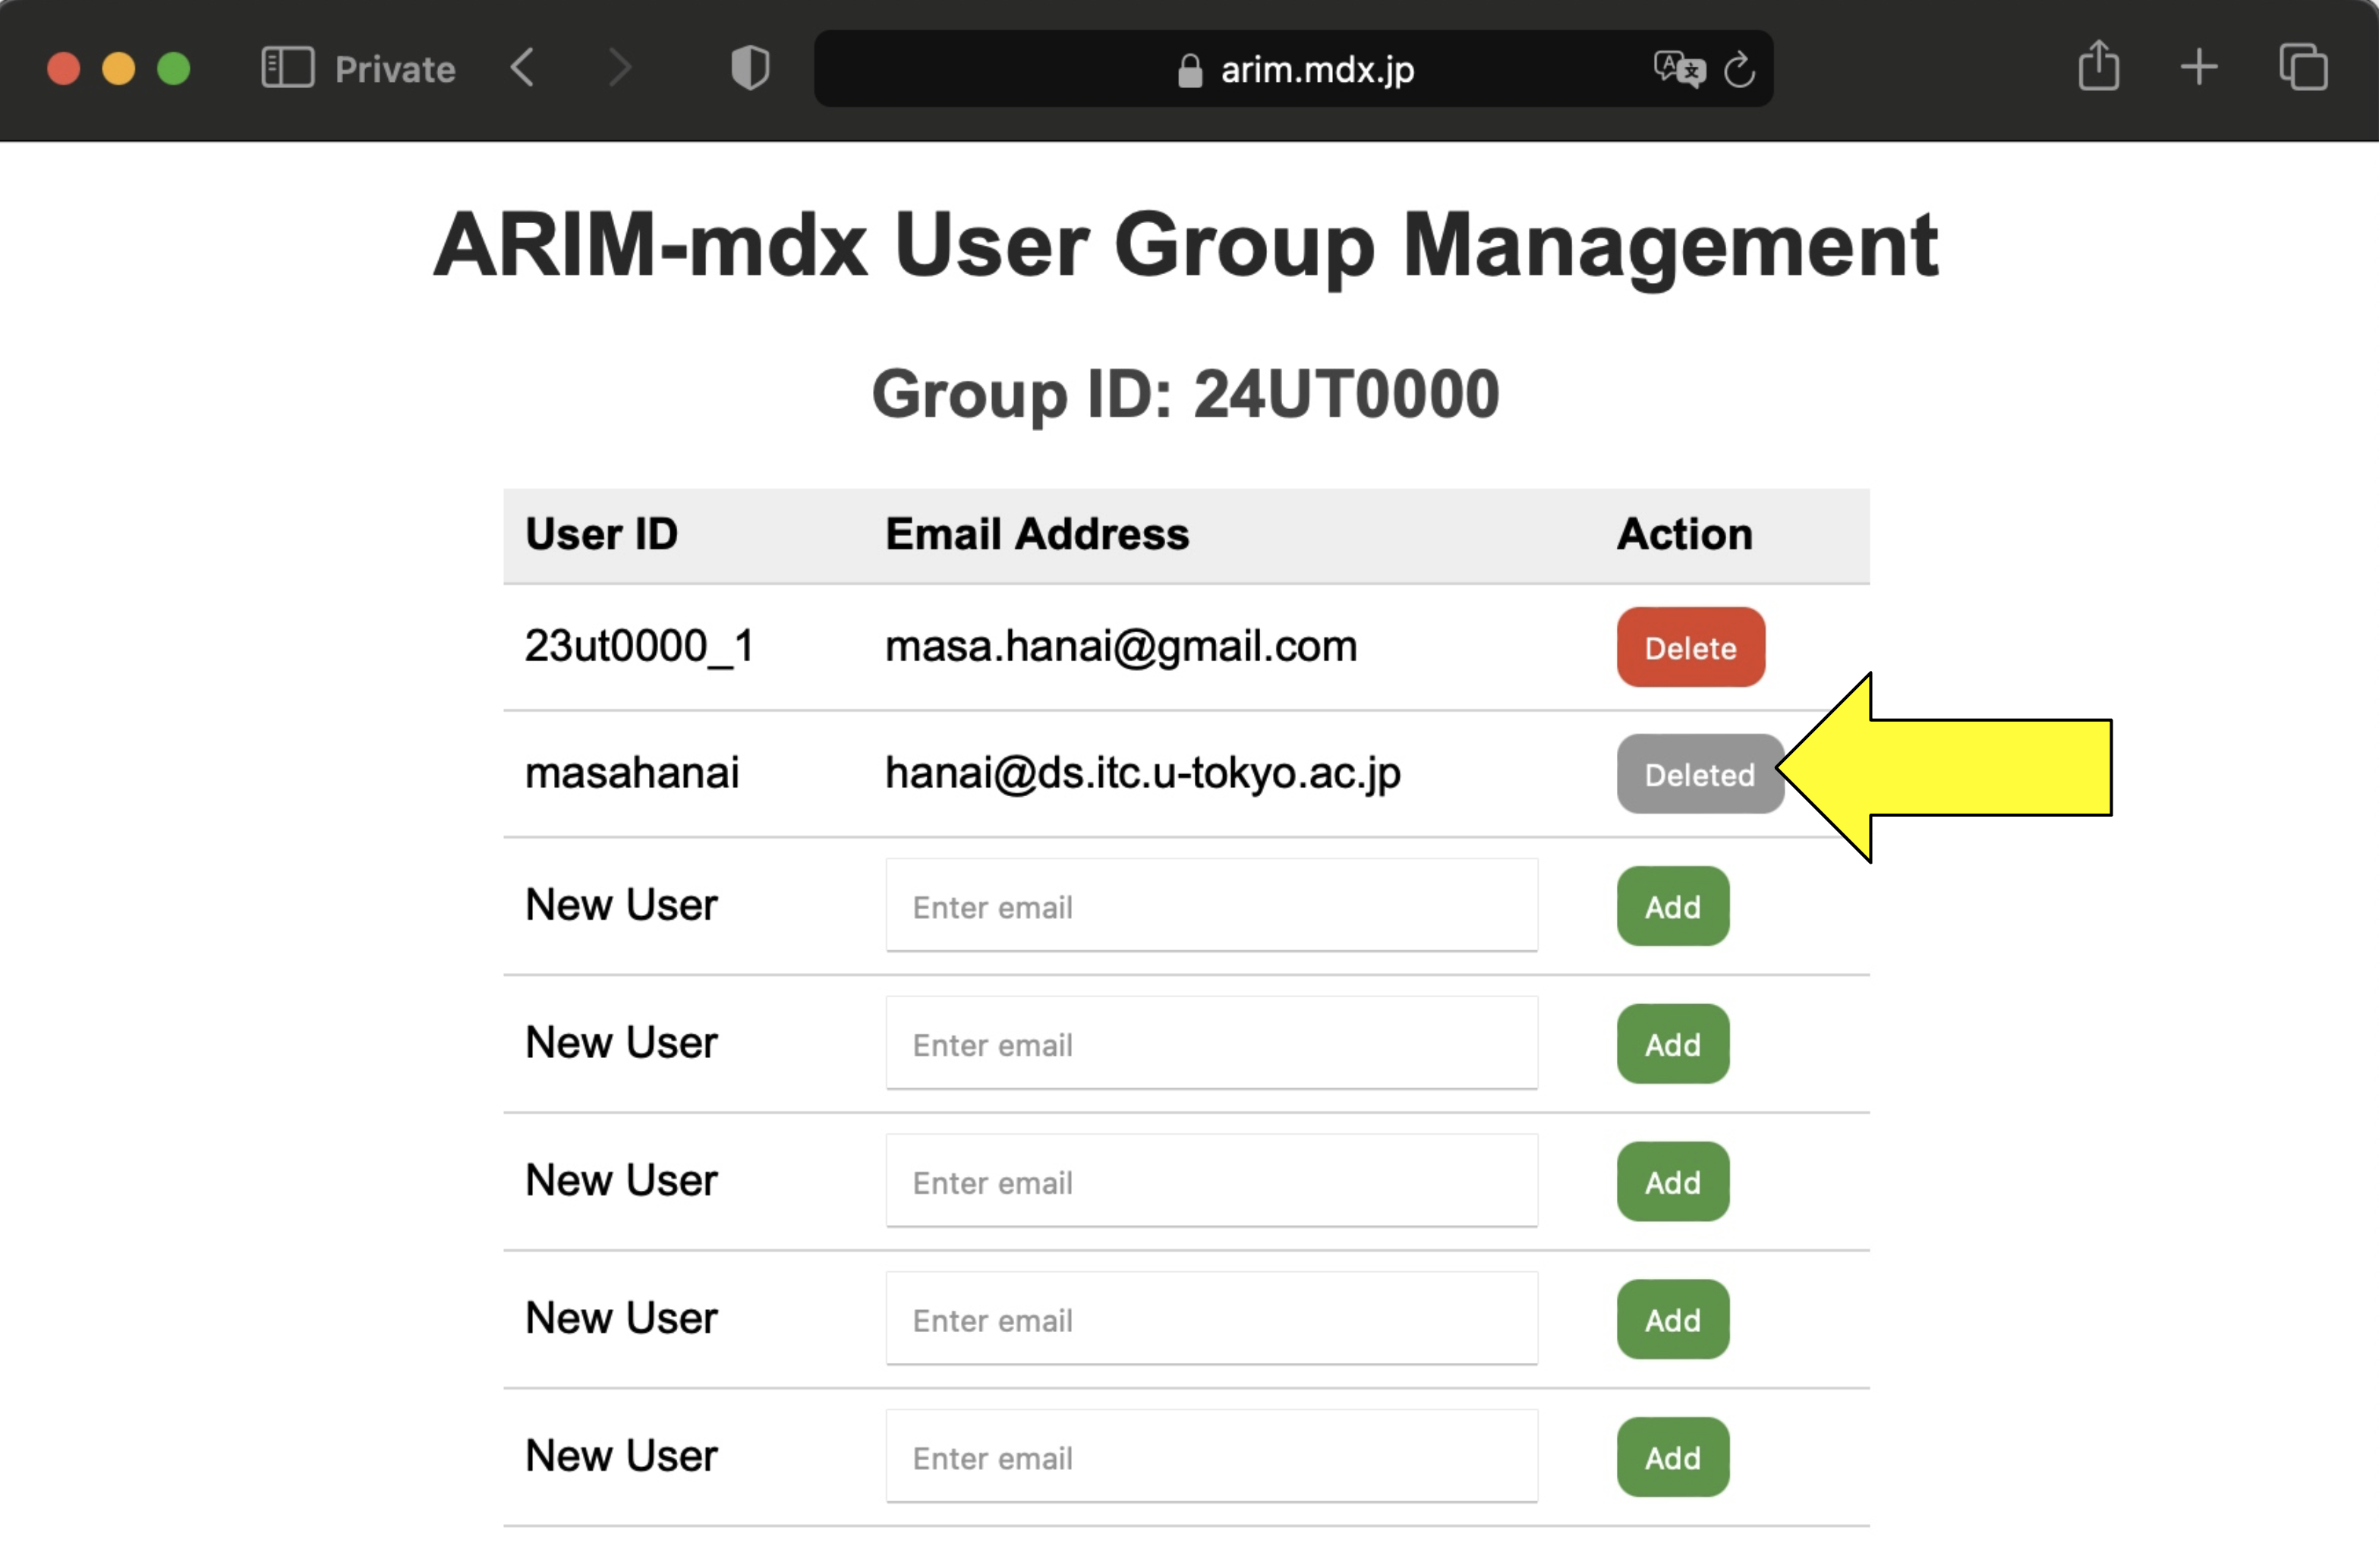
C. Jupyter Initial Setup
Follow these steps to integrate Nextcloud with Jupyter.
C-1. Logging into Jupyter

C-2. Starting Jupyter Server
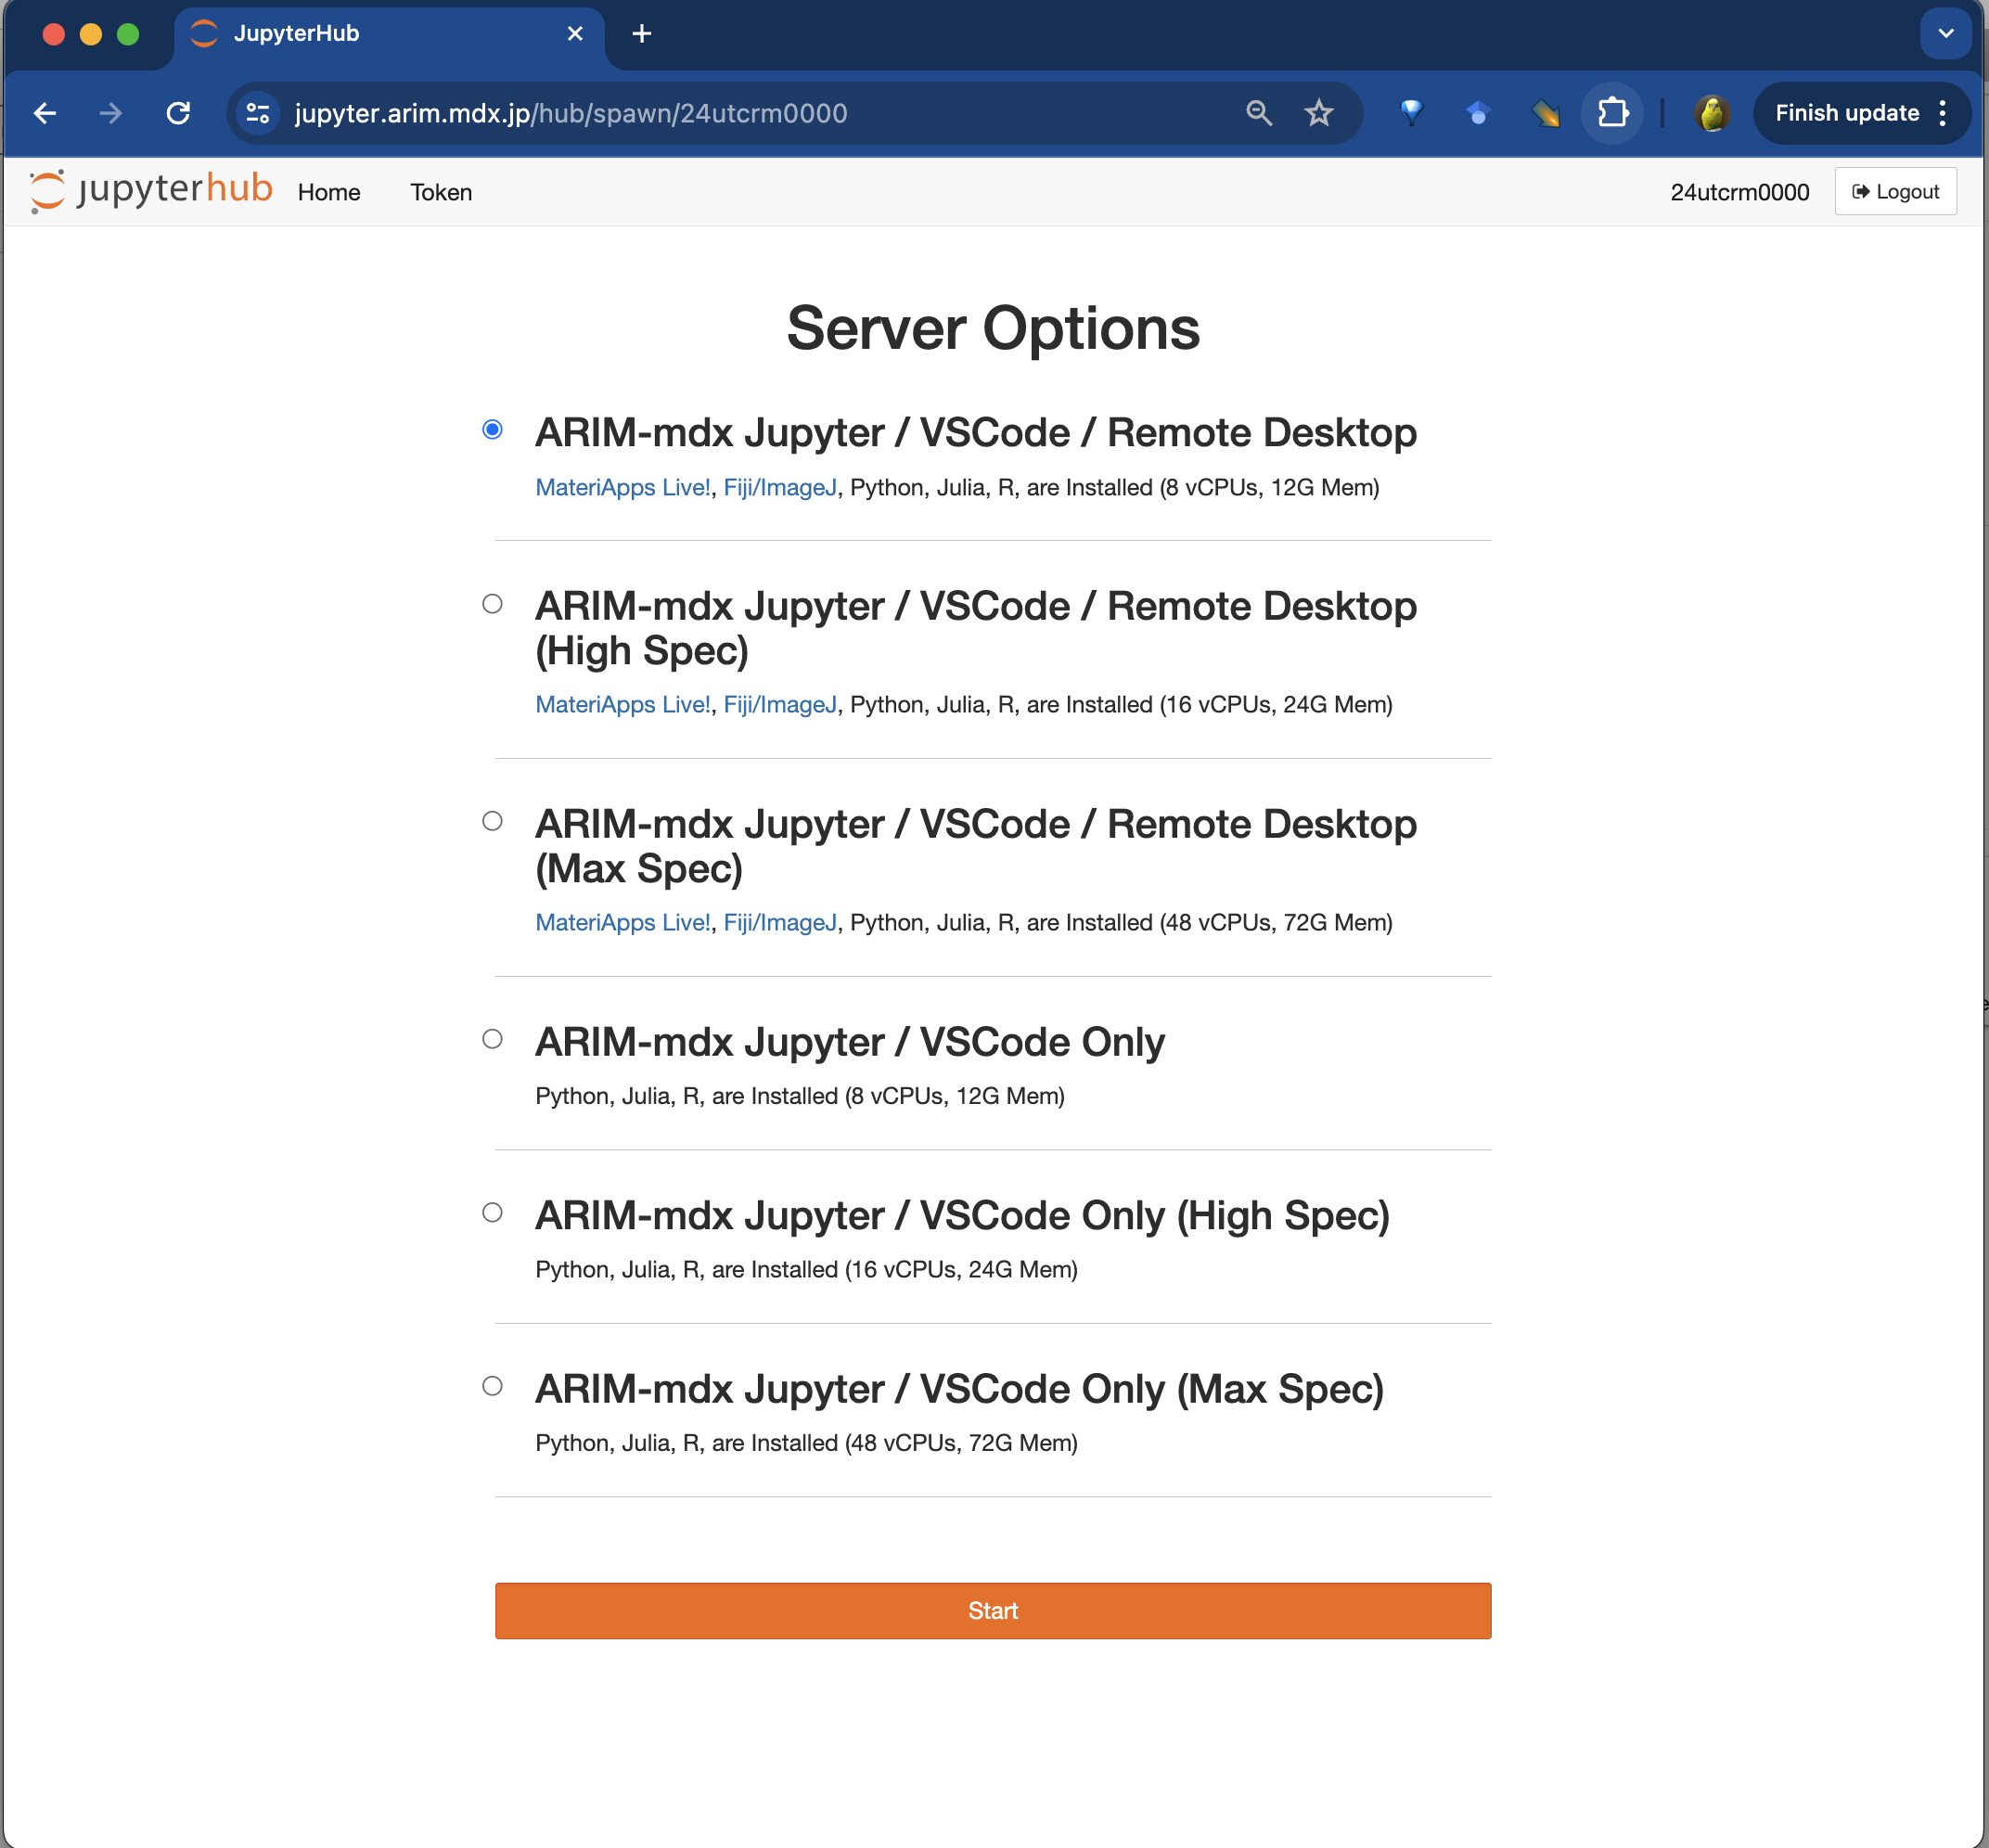
Note
Starting Jupyter may take up to several minutes.
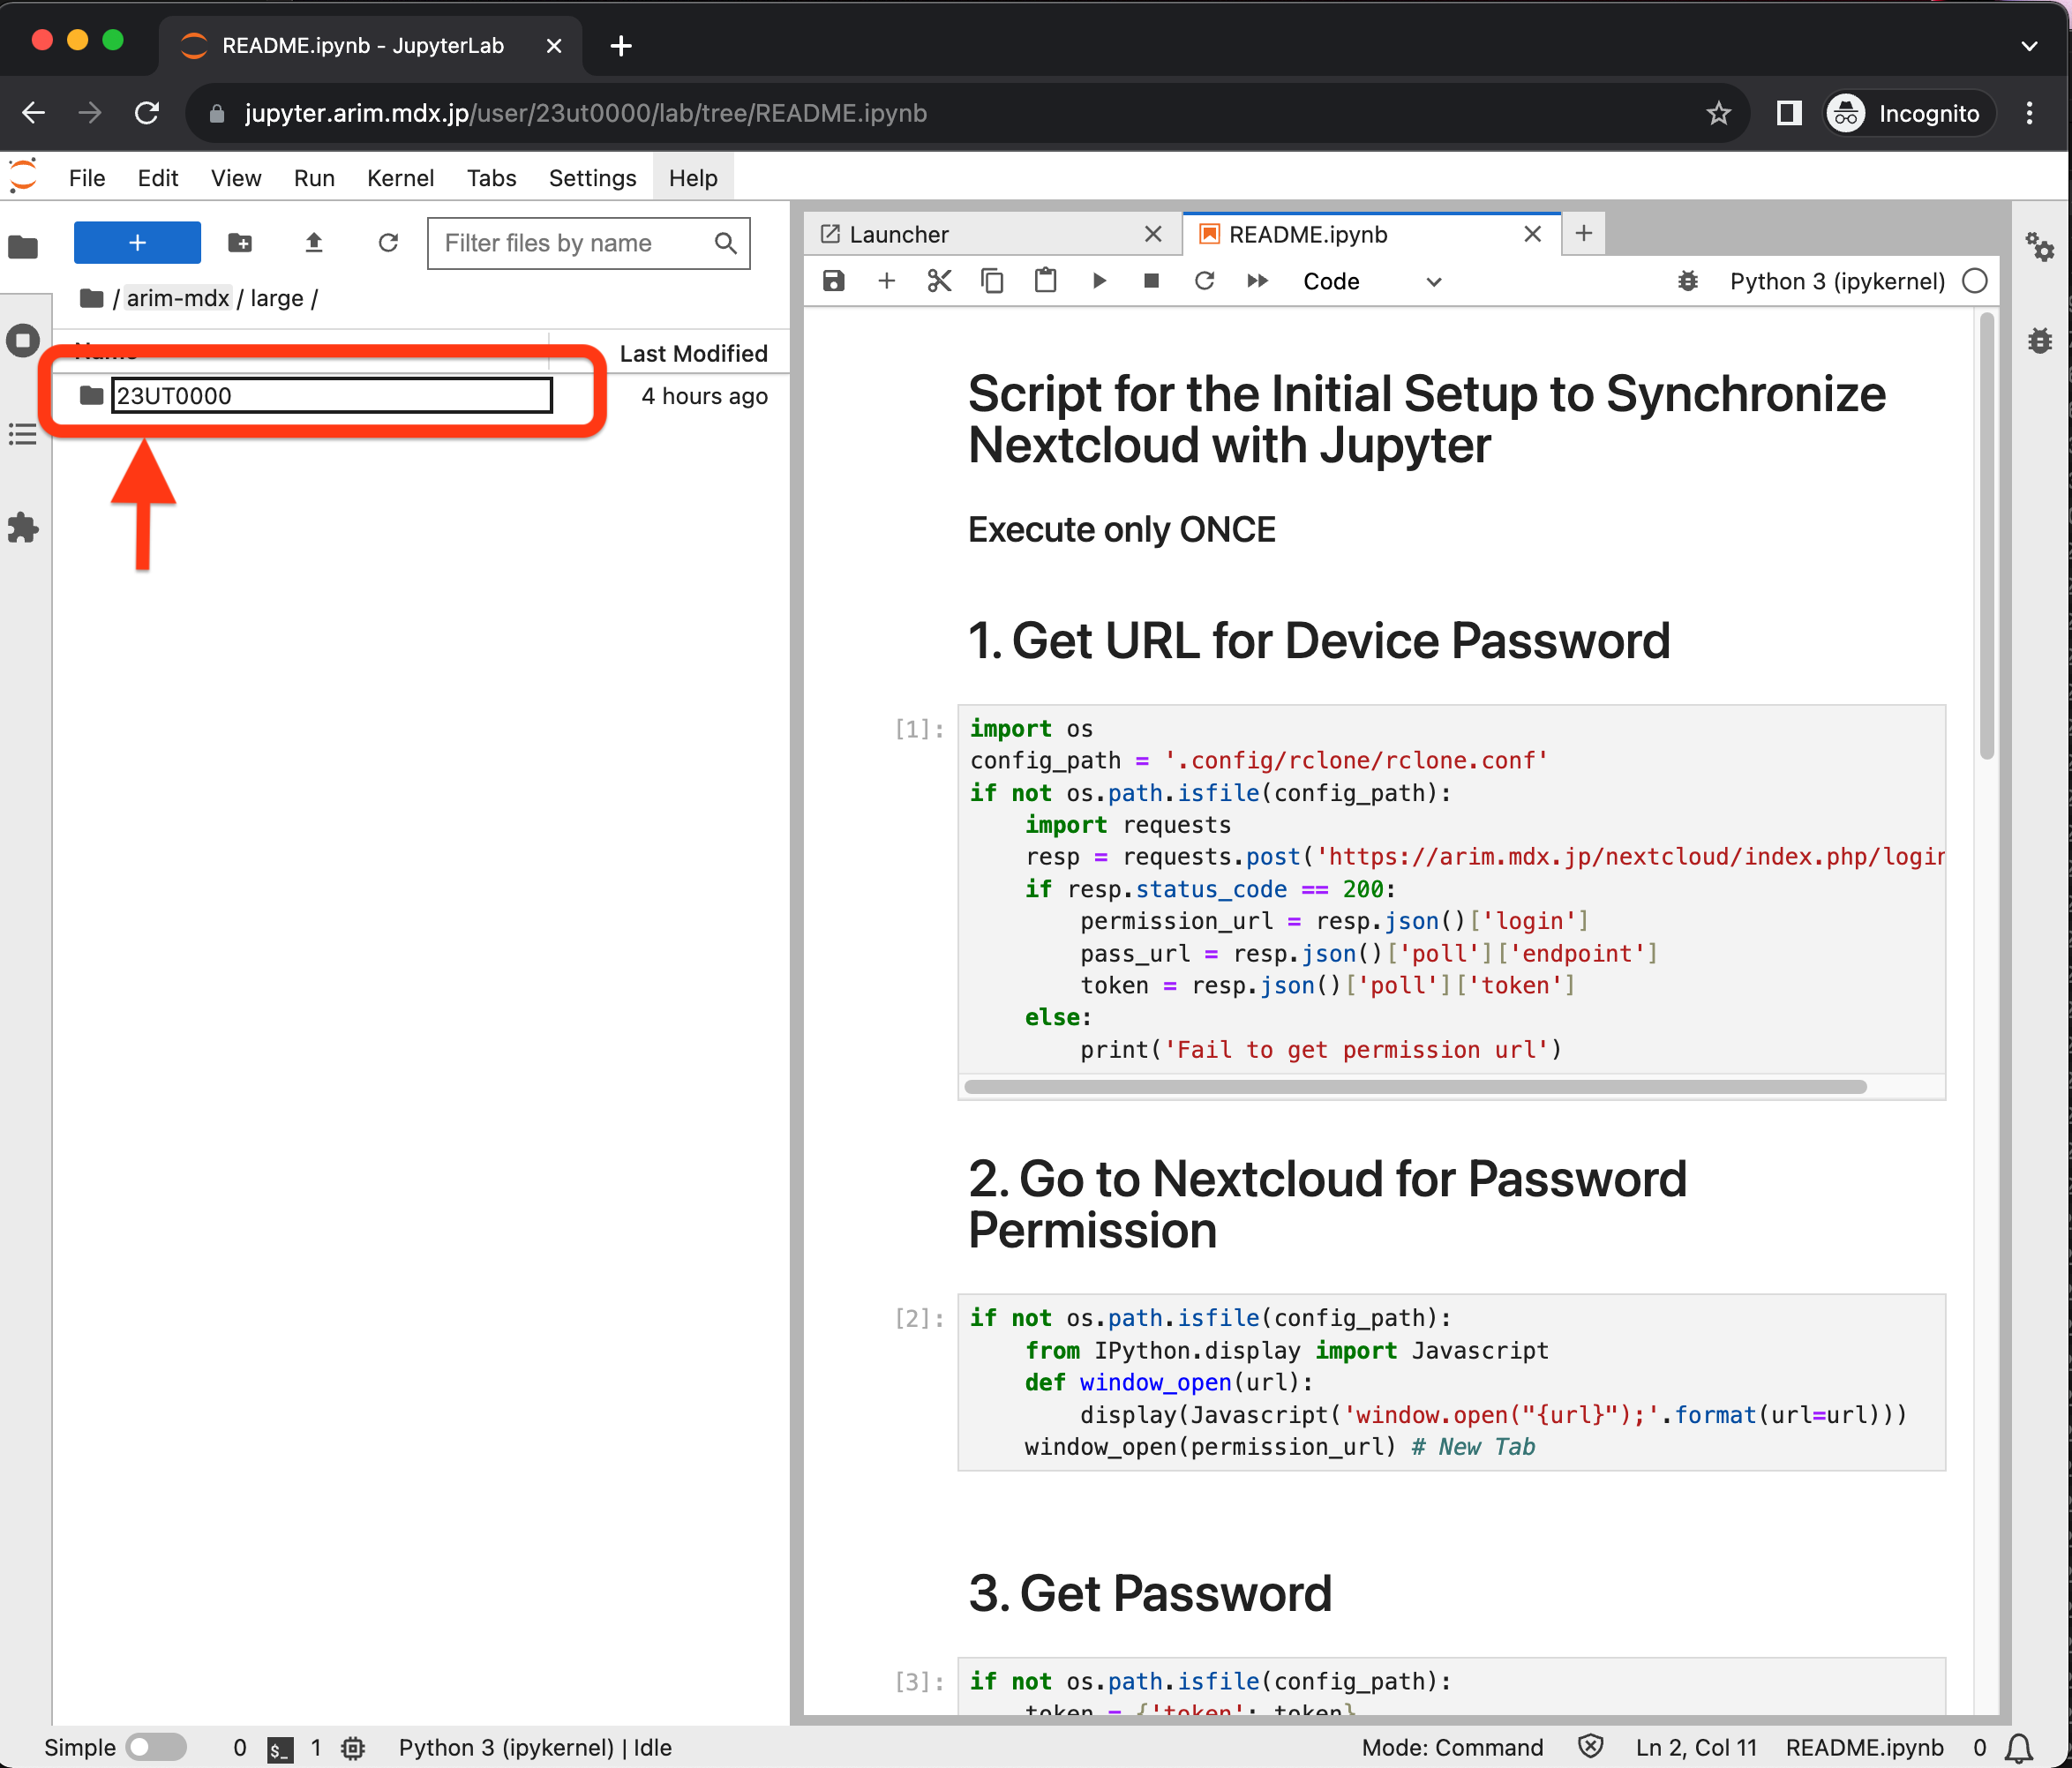
C-3. Running README.ipynb
README.ipynb file in the folder (click the ▶︎ button).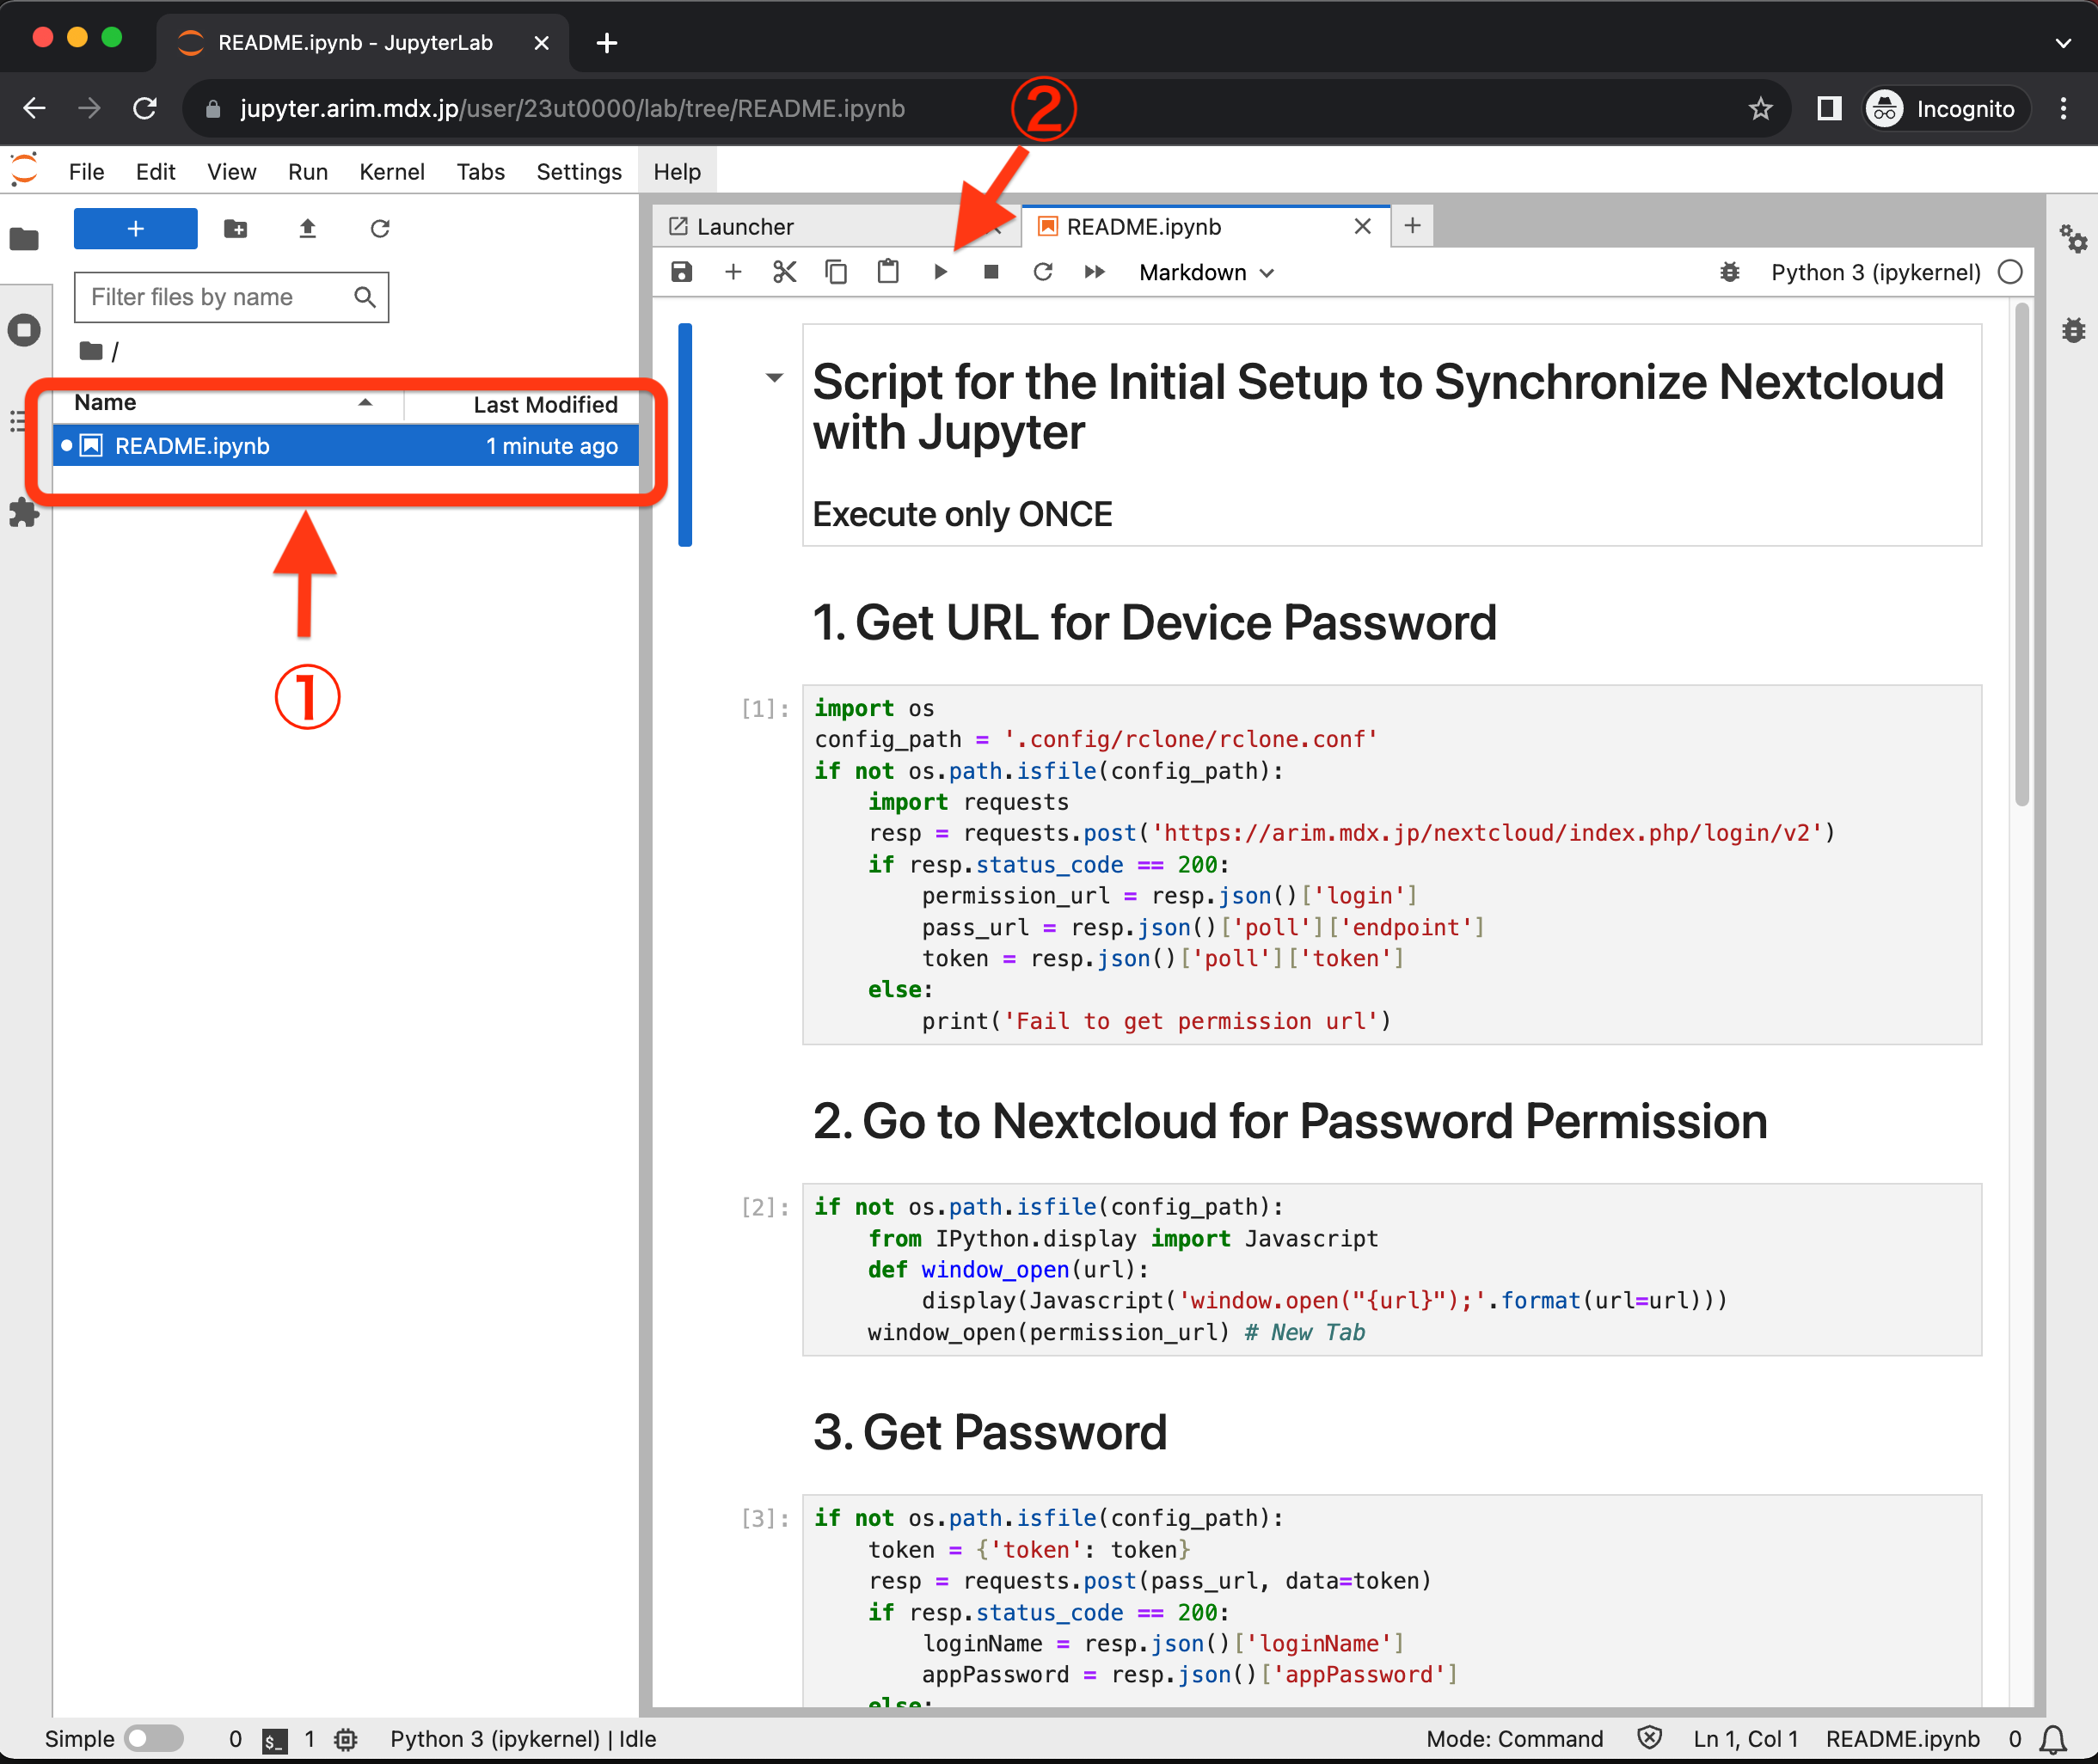
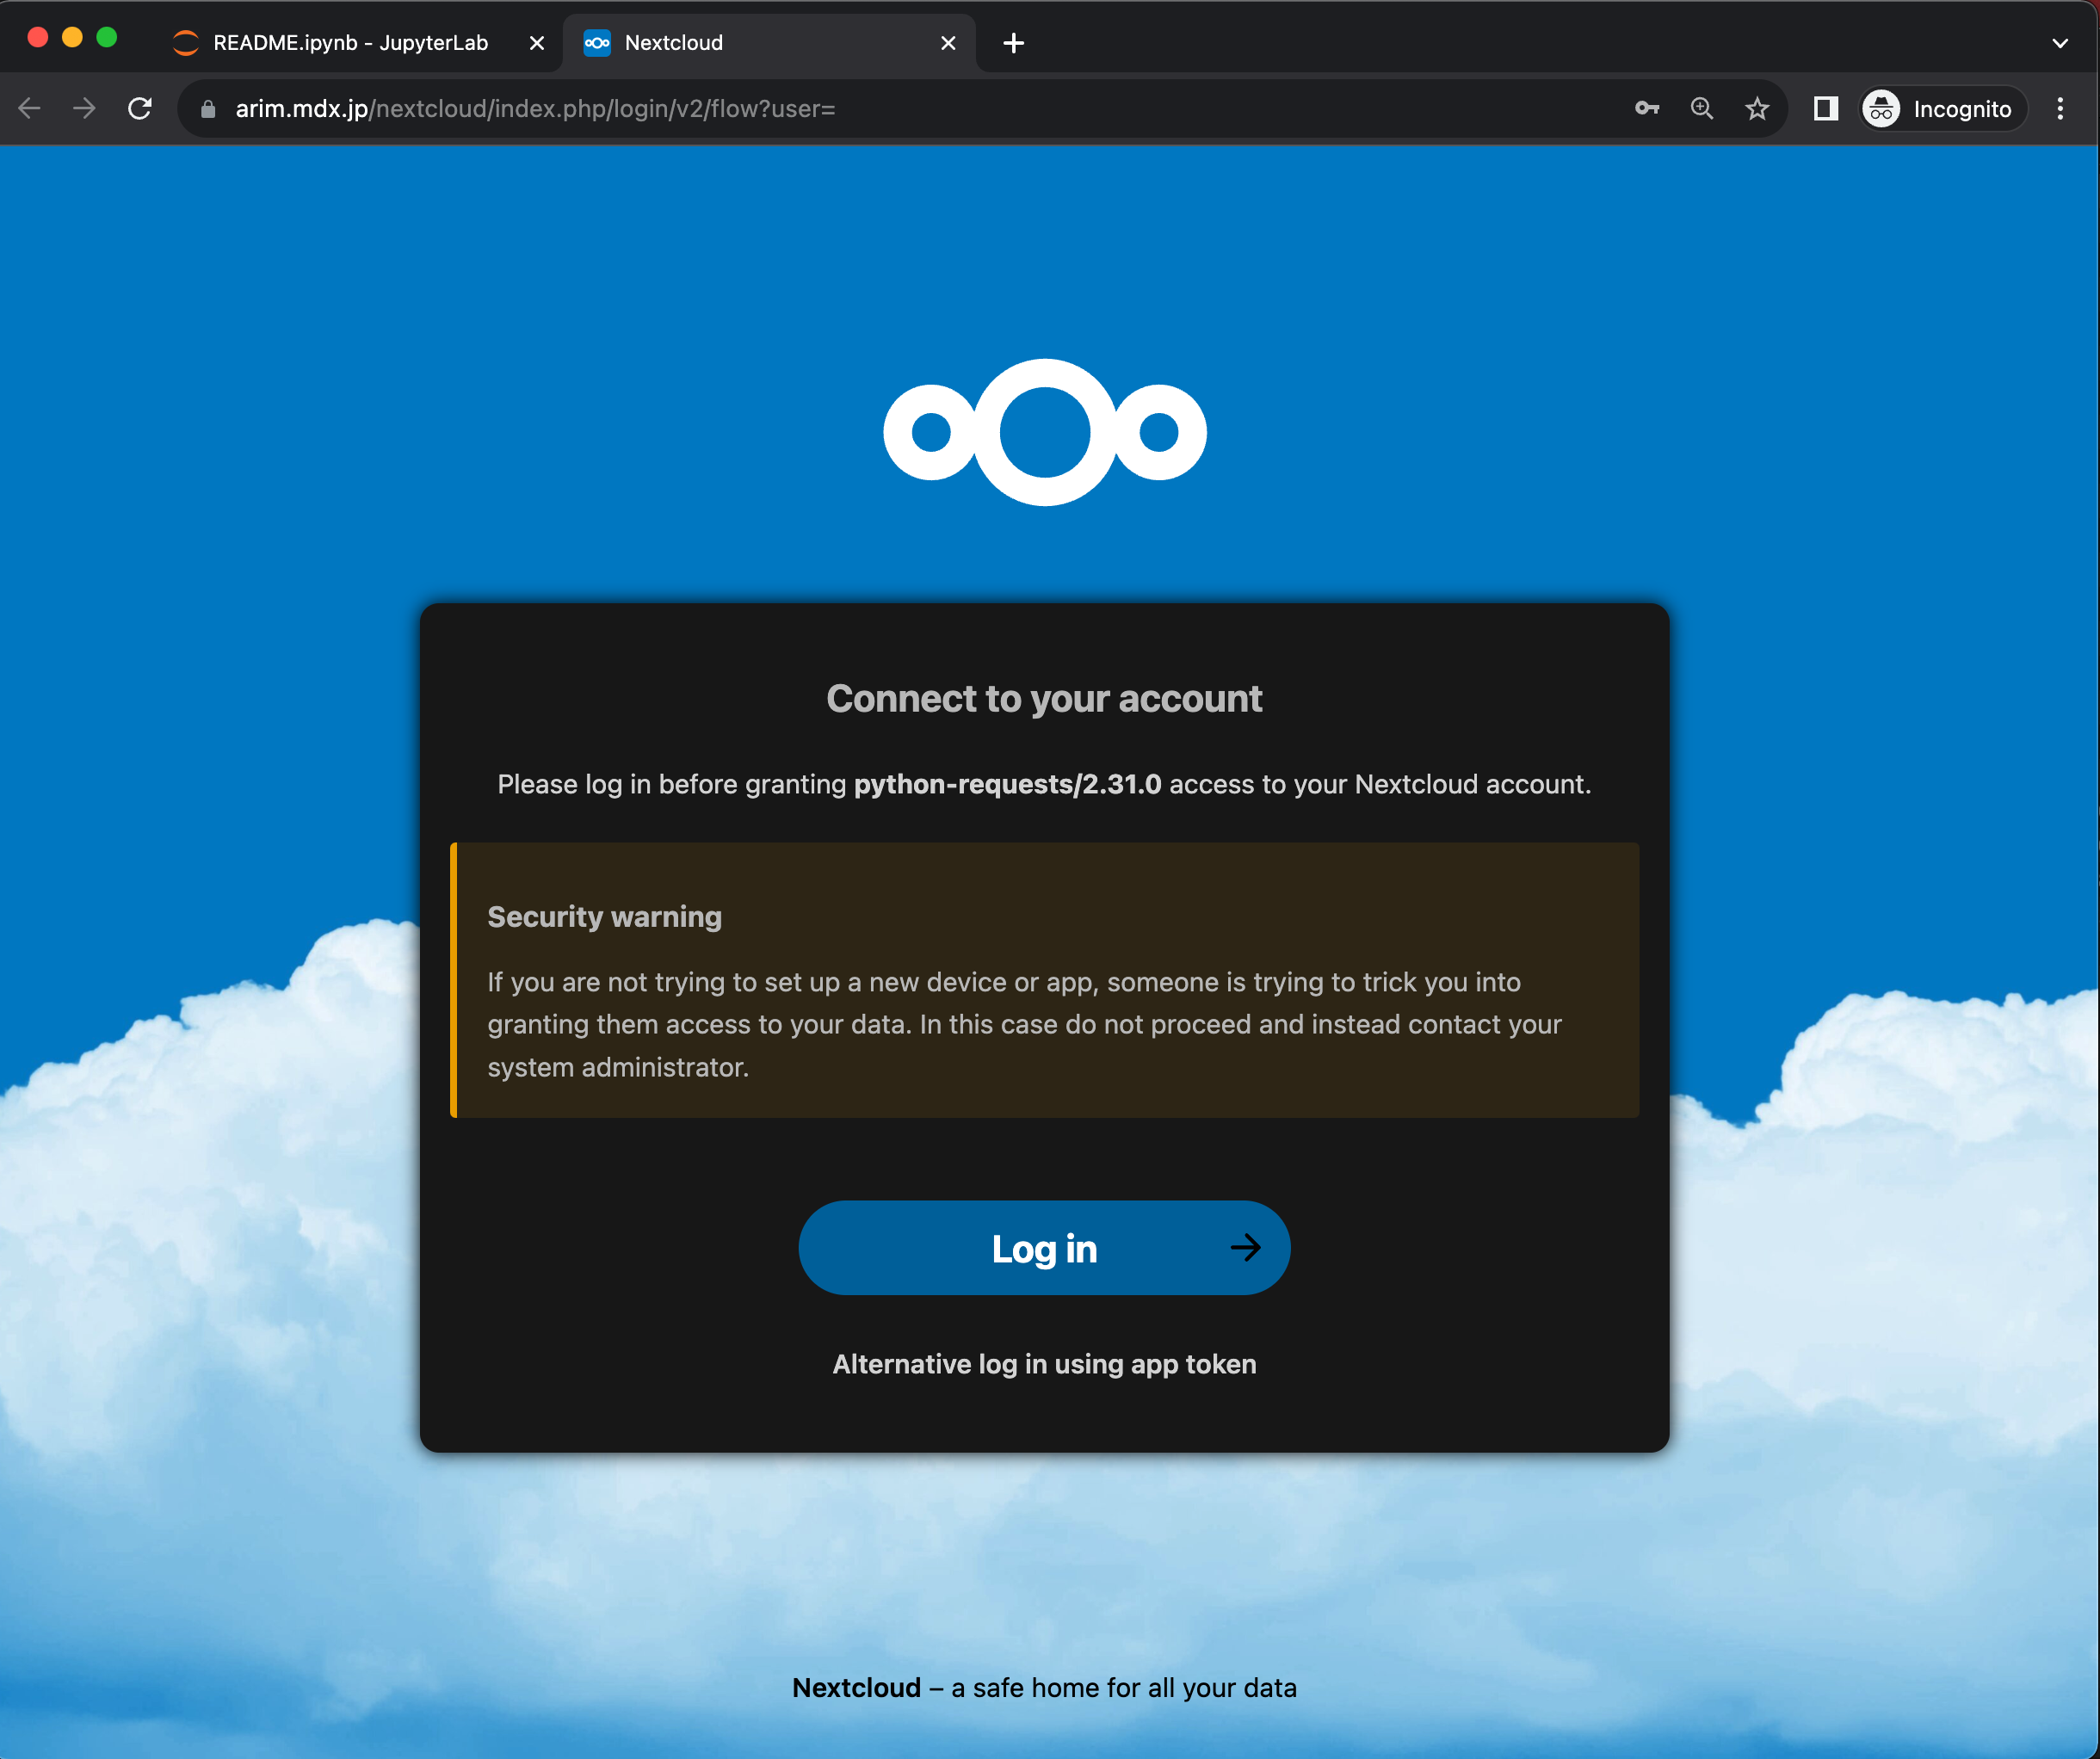
README.ipynb. After running all lines, a new arim-mdx folder will be created.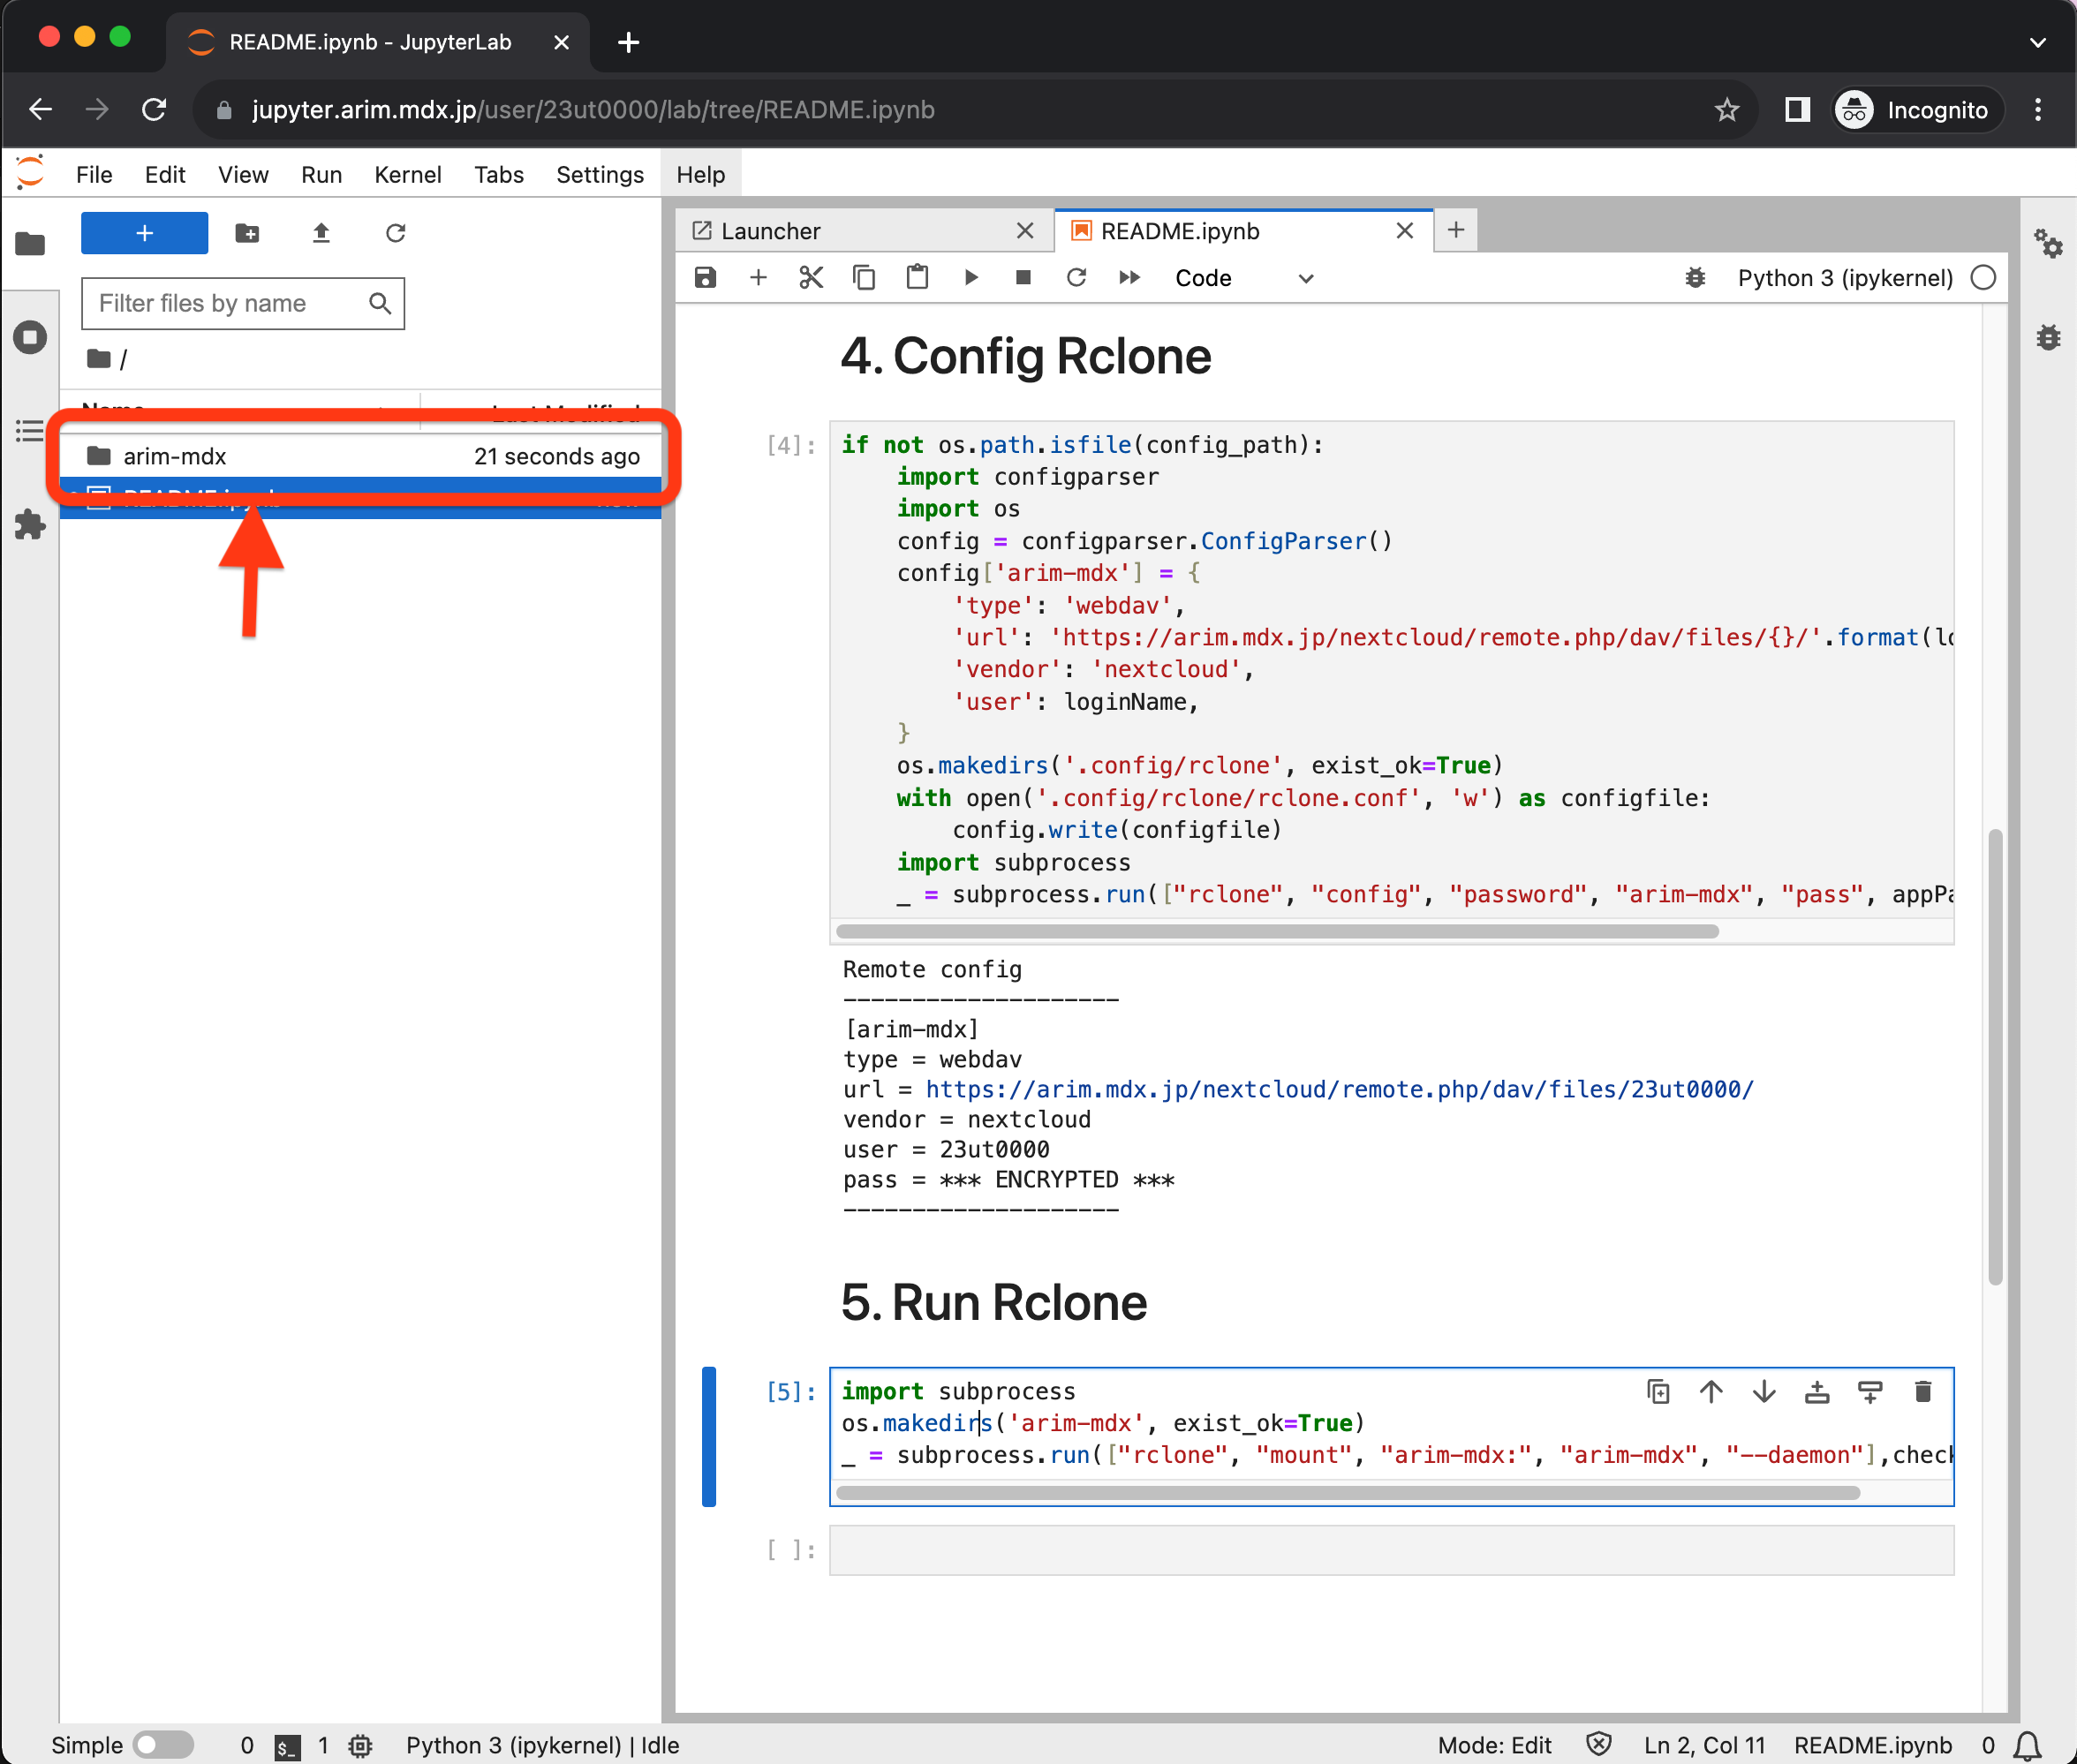
arim-mdx folder synchronizes with your ARIM-mdx Nextcloud home folder, and you can access large/24UTXXXXX etc. For subsequent logins, it will automatically connect with ARIM-mdx Nextcloud.