AI Agentic Data Analysis (Jupyter + SSH Service)
Data collected in ARIM-mdx Nextcloud can be analyzed through ARIM-mdx Jupyter. It also supports long-running autonomous execution by AI agents. ARIM-mdx Jupyter provides:
Jupyter Lab : Interactive data analysis, e.g., visualization
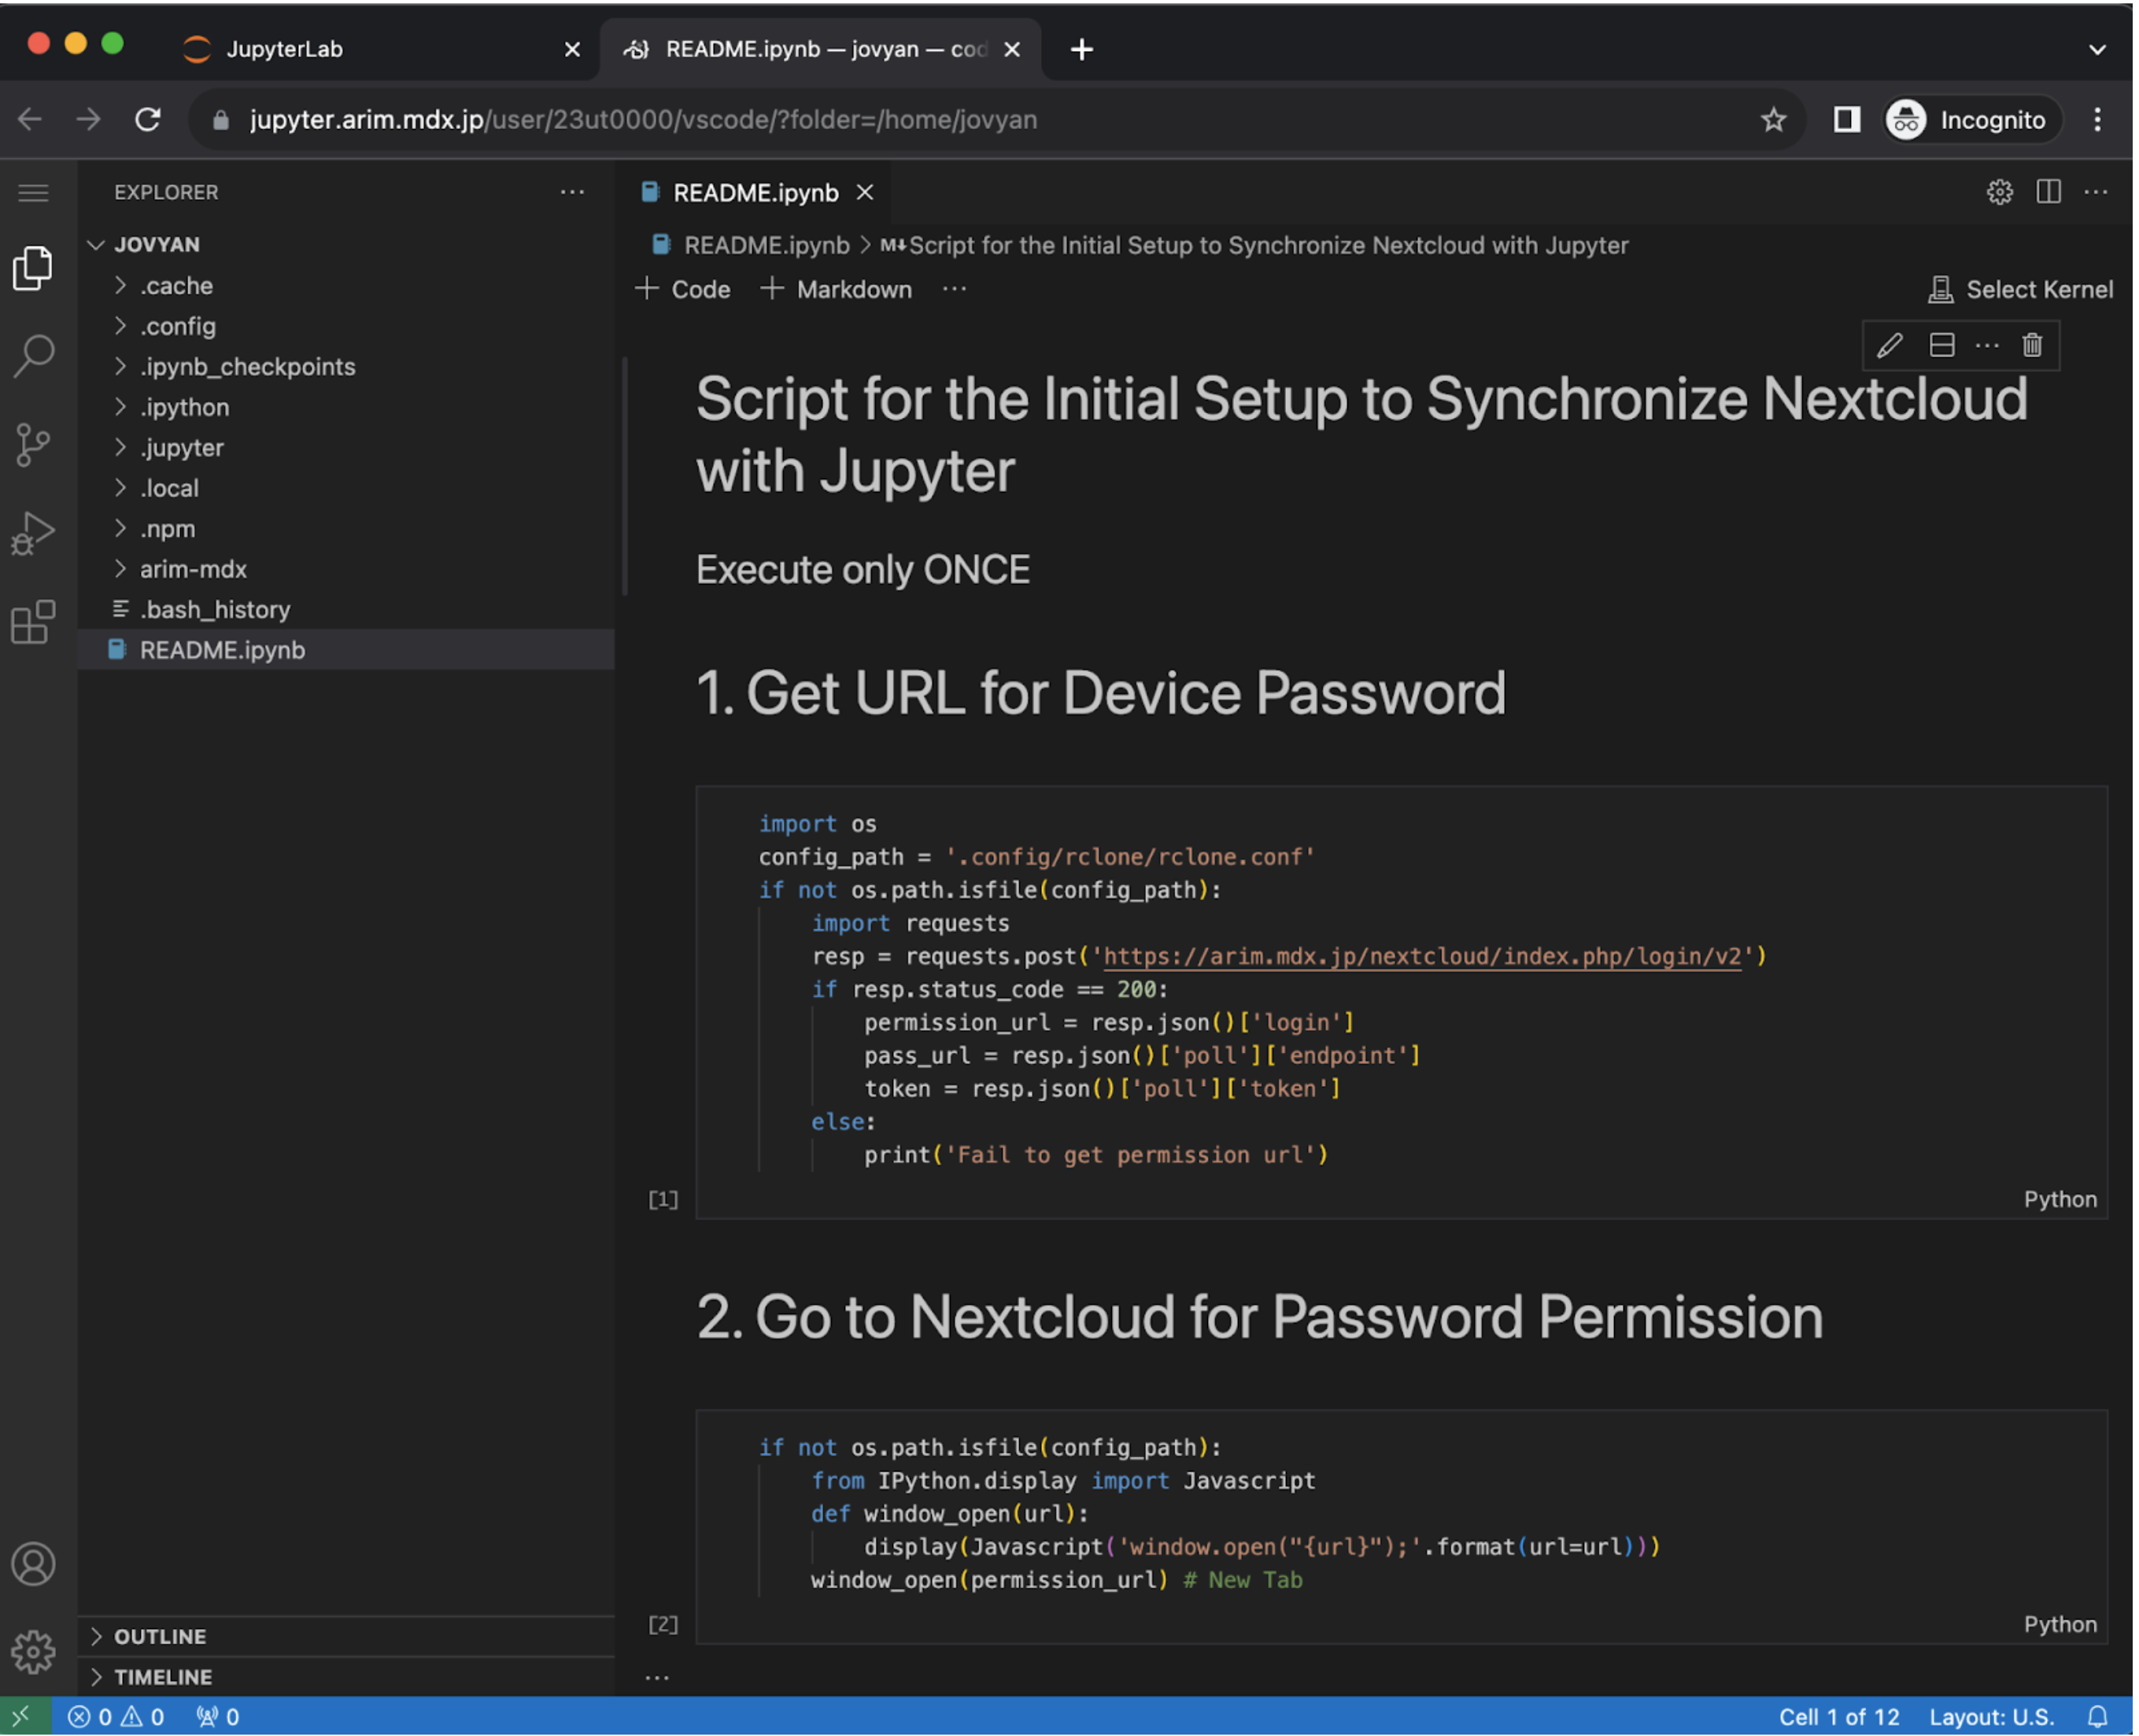
VSCode : Software development
MateriApps LIVE! (Remote Desktop): All-in-one software package for materials sciecne
Jupyter Initial Setup
Jupyter-Nextcloud integration is required as initial setup. Please refer to C. Jupyter Initial Setup for details.
Logging into Jupyter
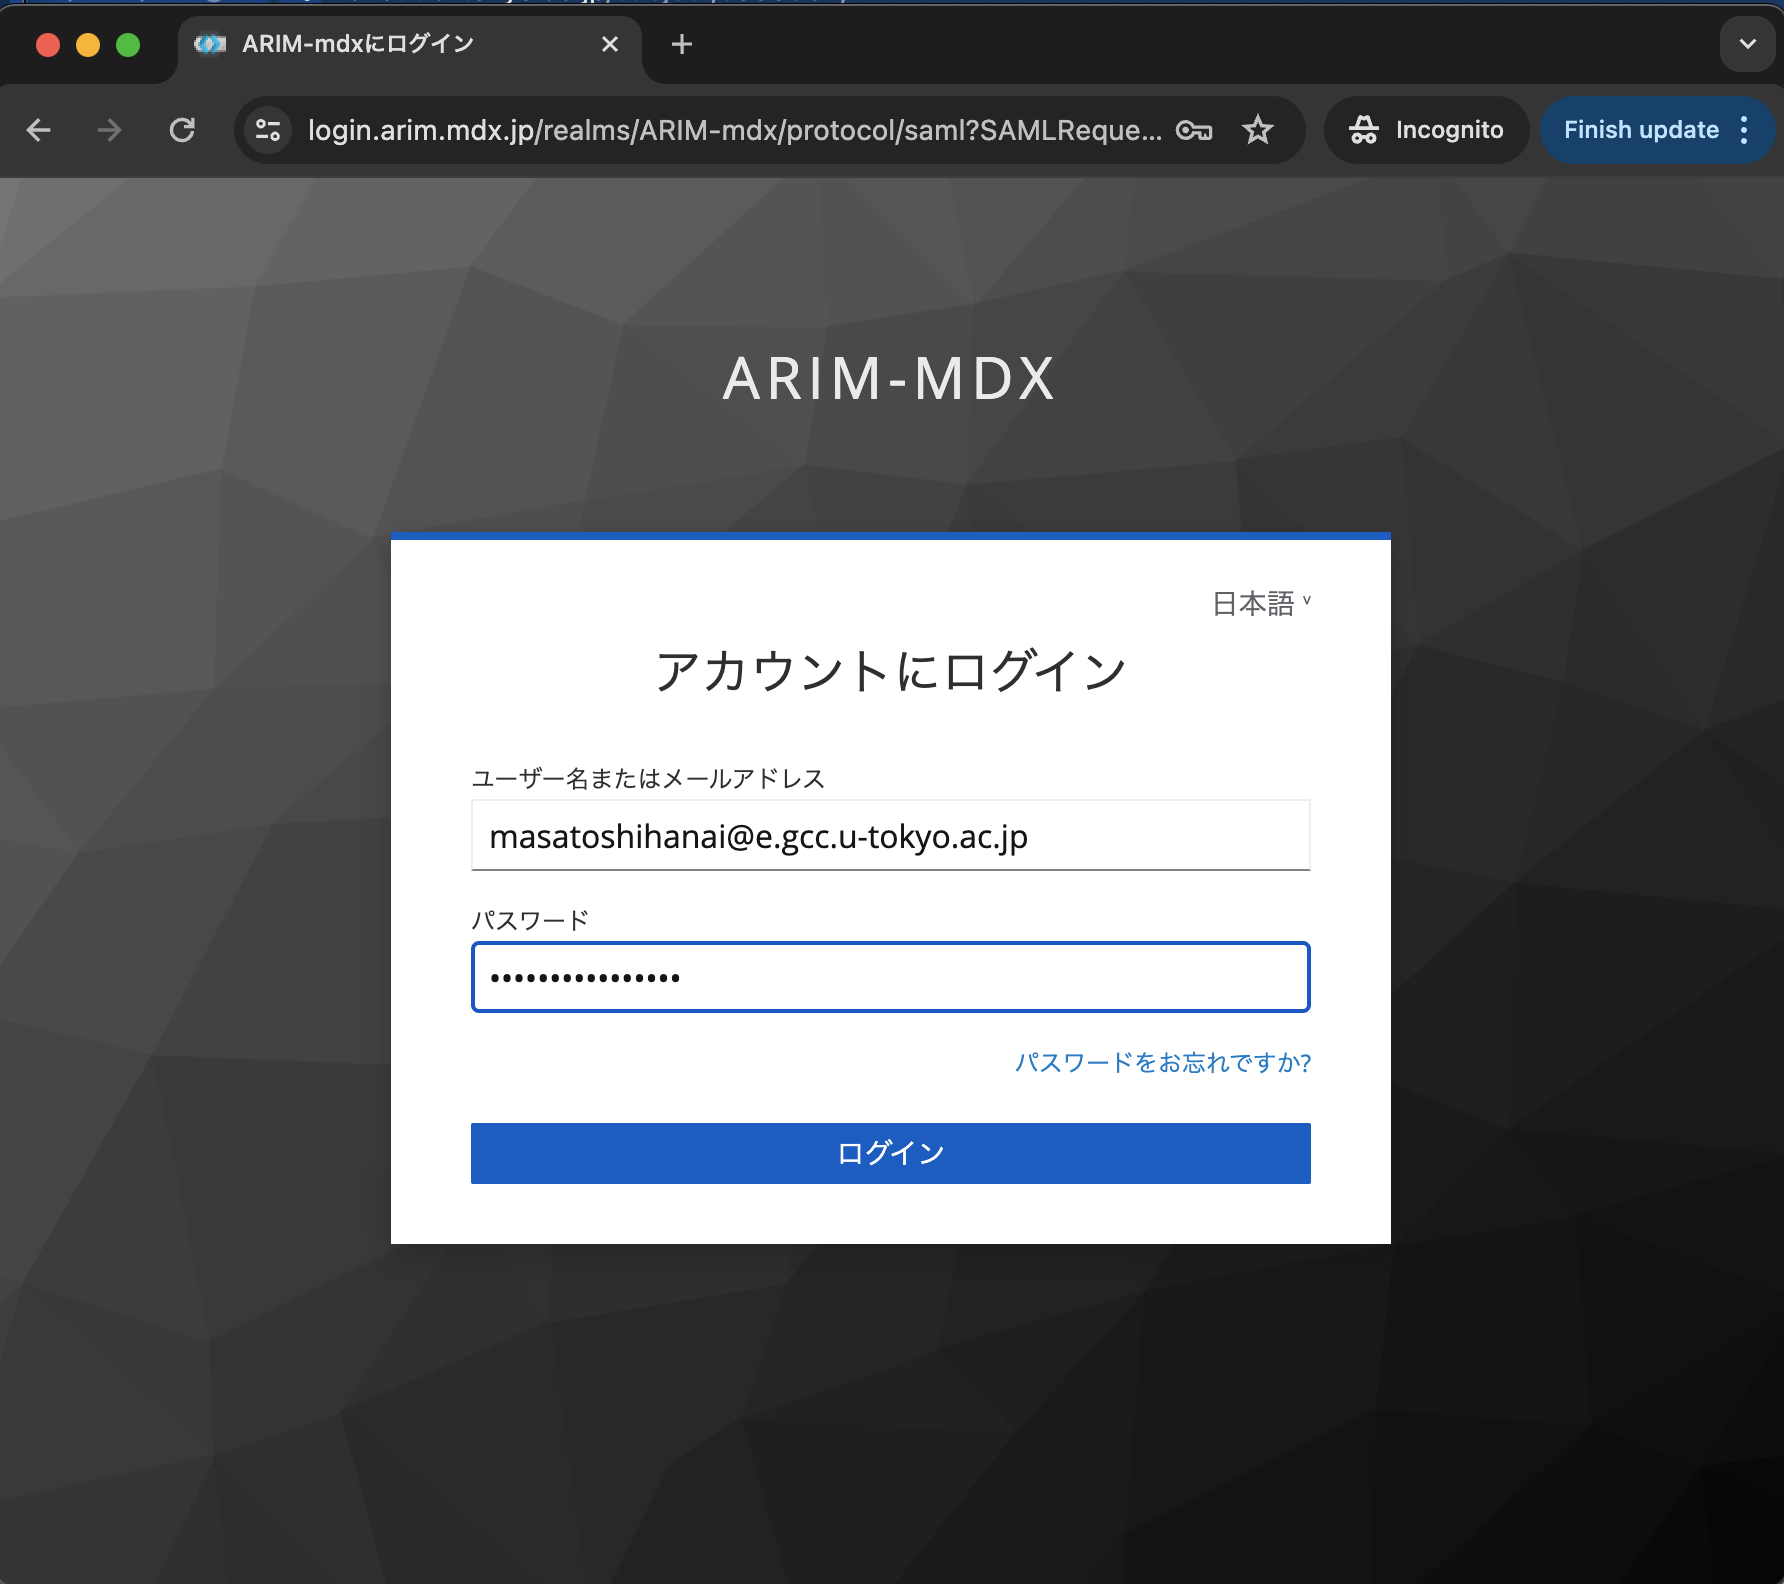
Starting Jupyter Server
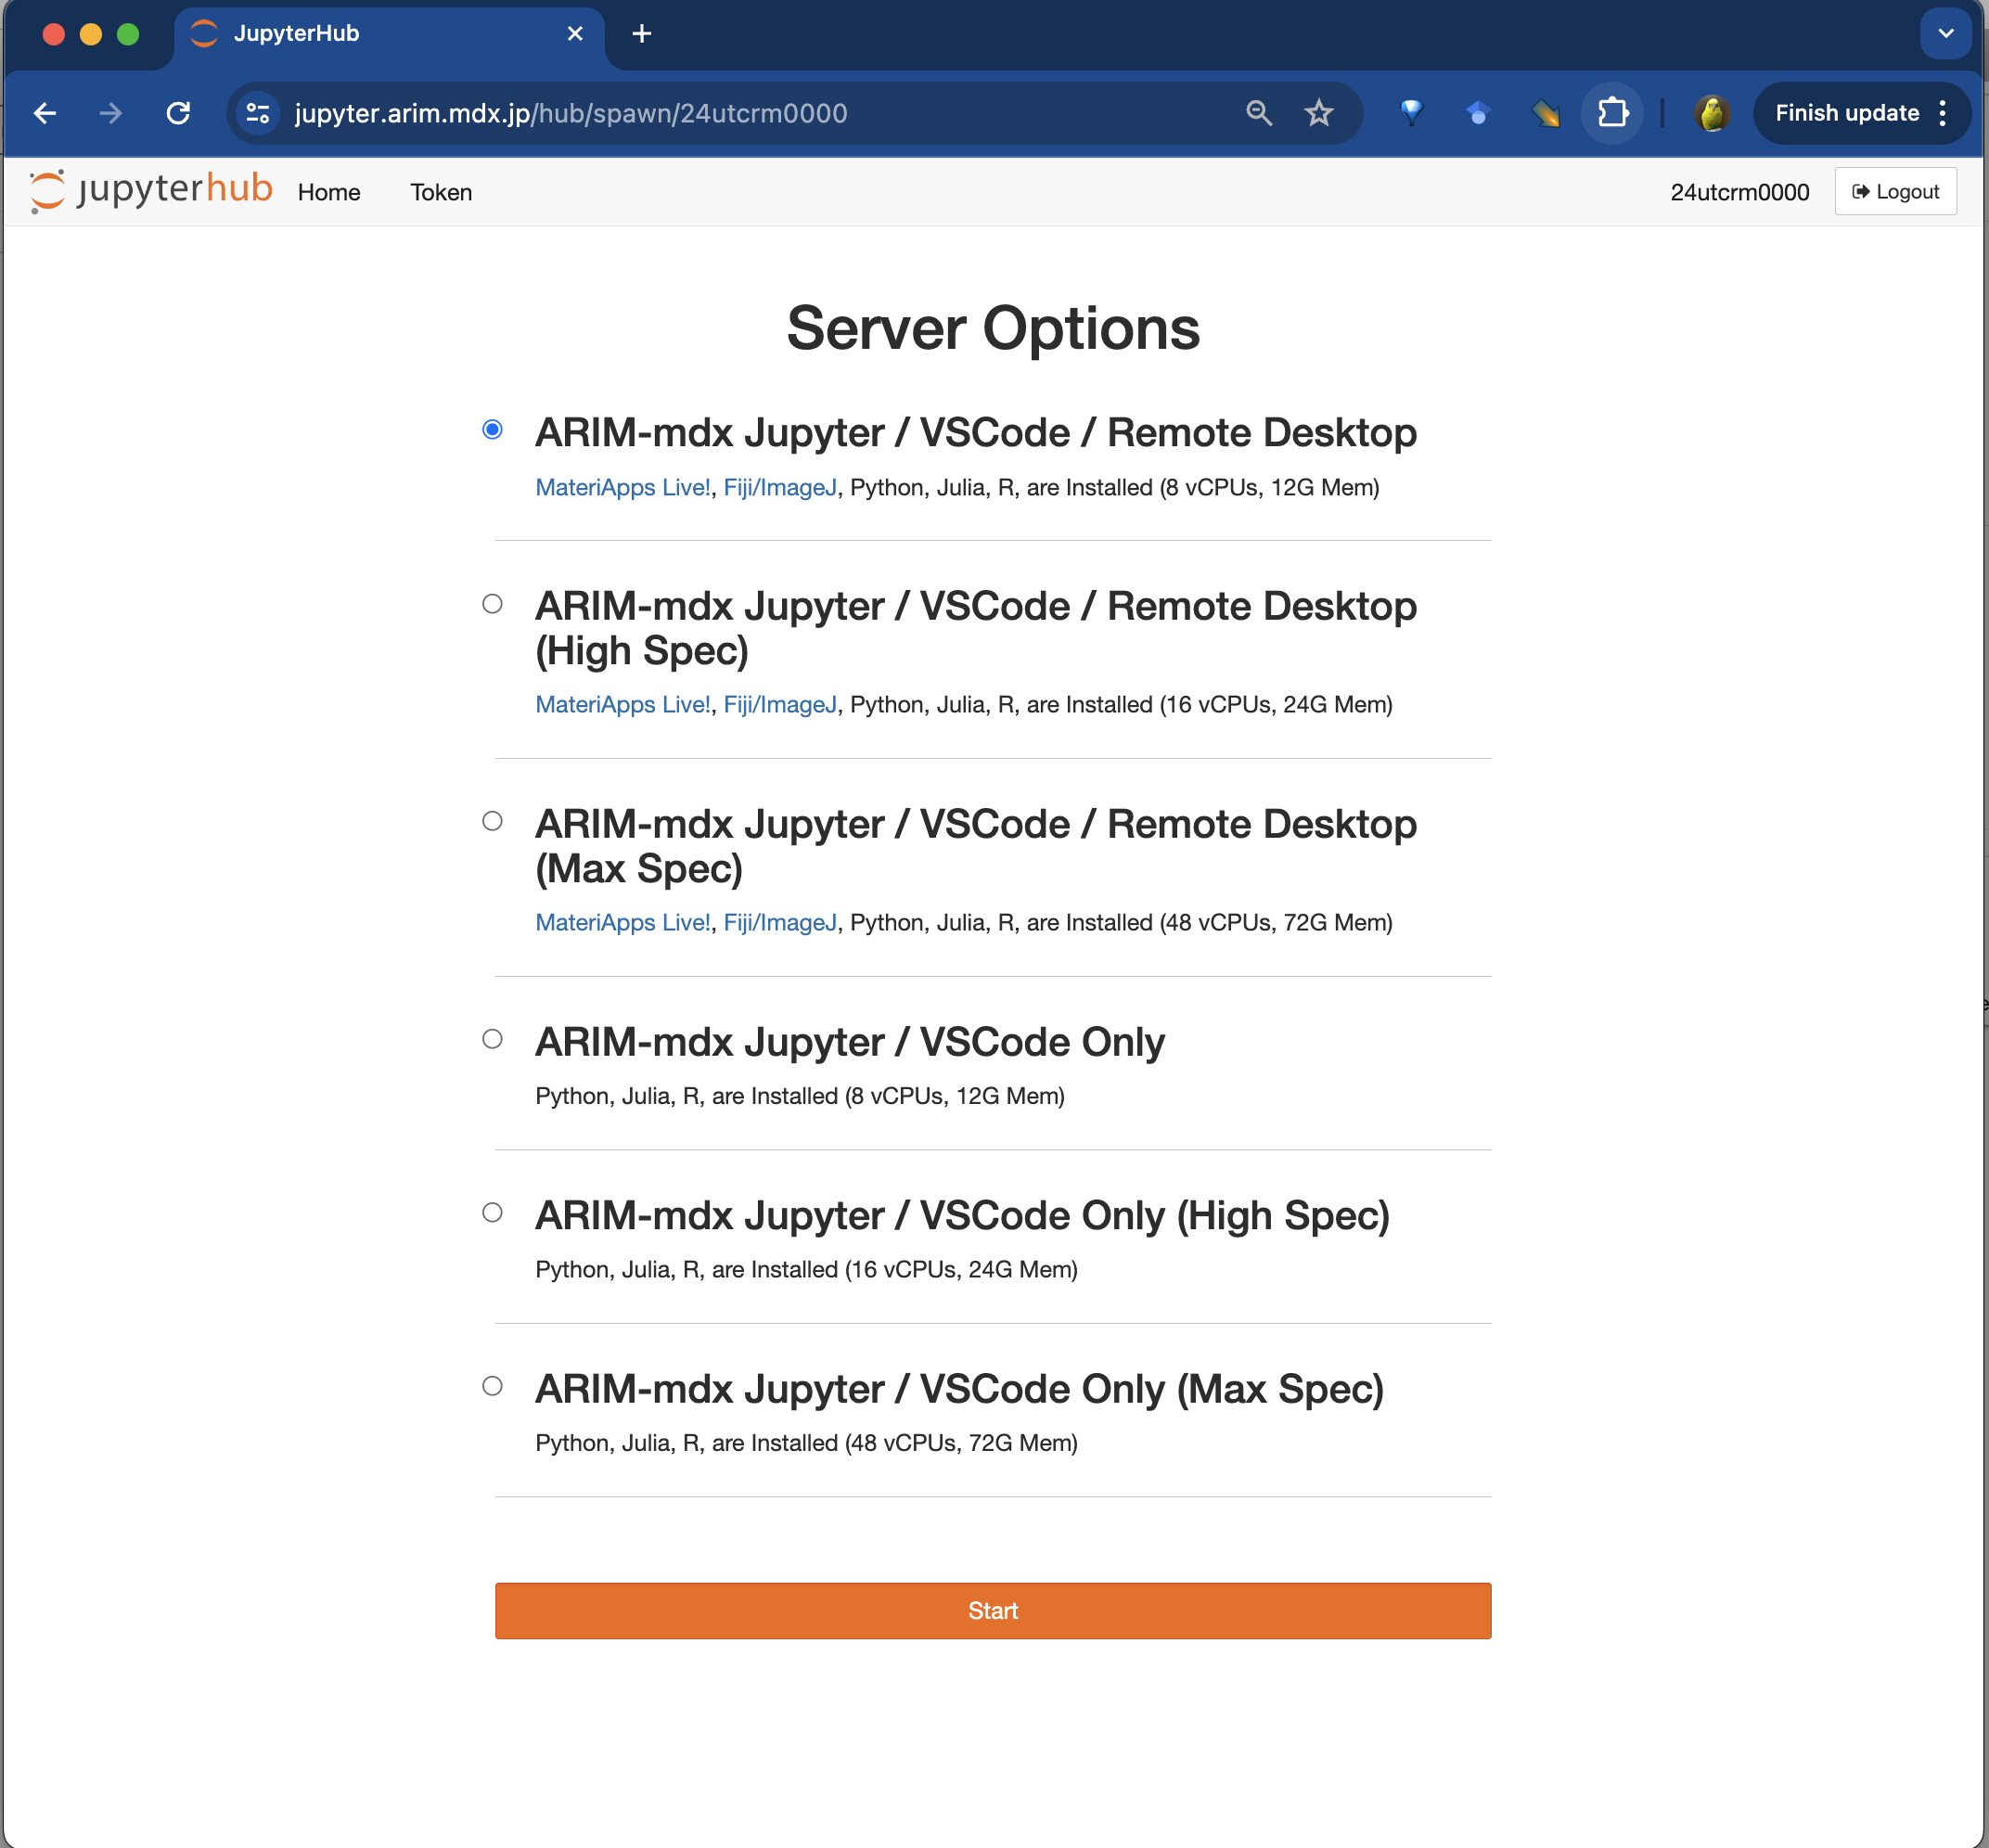
Type |
Description |
|---|---|
Jupyter / VSCode / Remote Desktop |
Environment including Remote Desktop (MateriApps LIVE!) |
Jupyter / VSCode Only |
Environment with only JupyterLab and VSCode |
Type |
Specifications |
Description |
|---|---|---|
Default |
16 vCPUs, 24GB memory |
Standard computing environment |
High Spec |
32 vCPUs, 48GB memory |
High-performance PC equivalent |
Max Spec |
64 vCPUs, 96GB memory |
High-performance server equivalent |
Note
Starting Jupyter may take up to several minutes.
Starting Jupyter VSCode
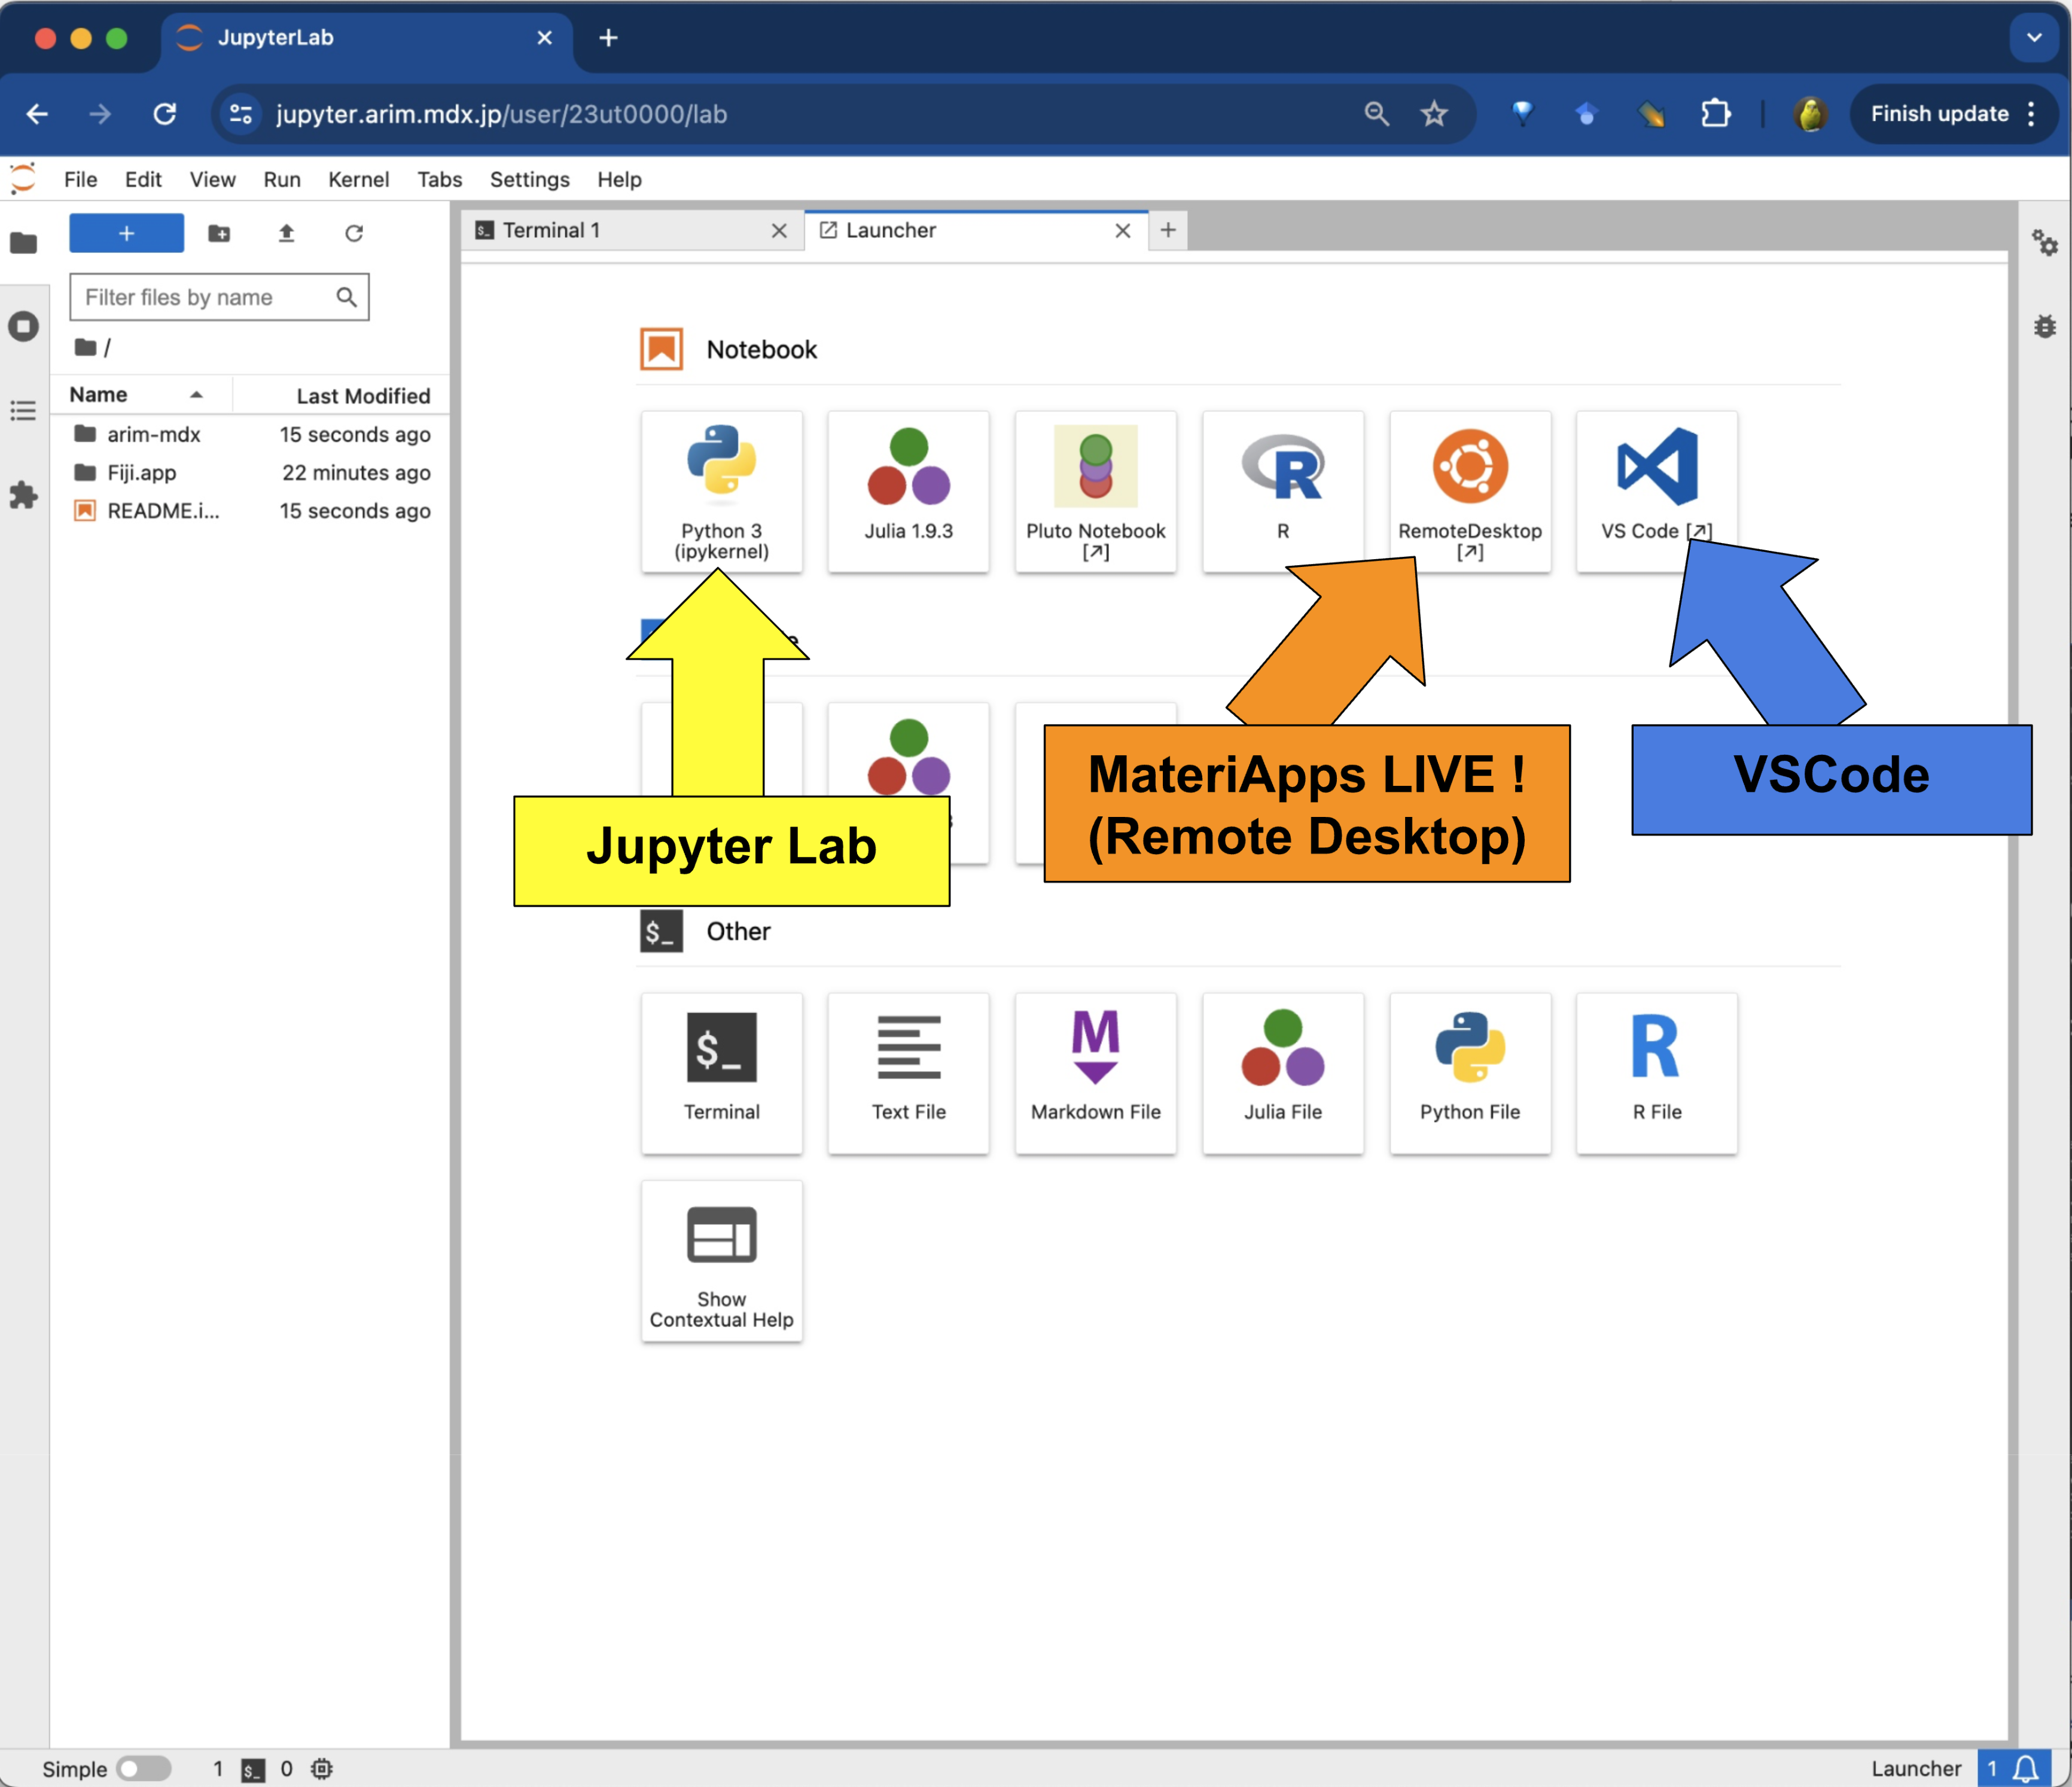
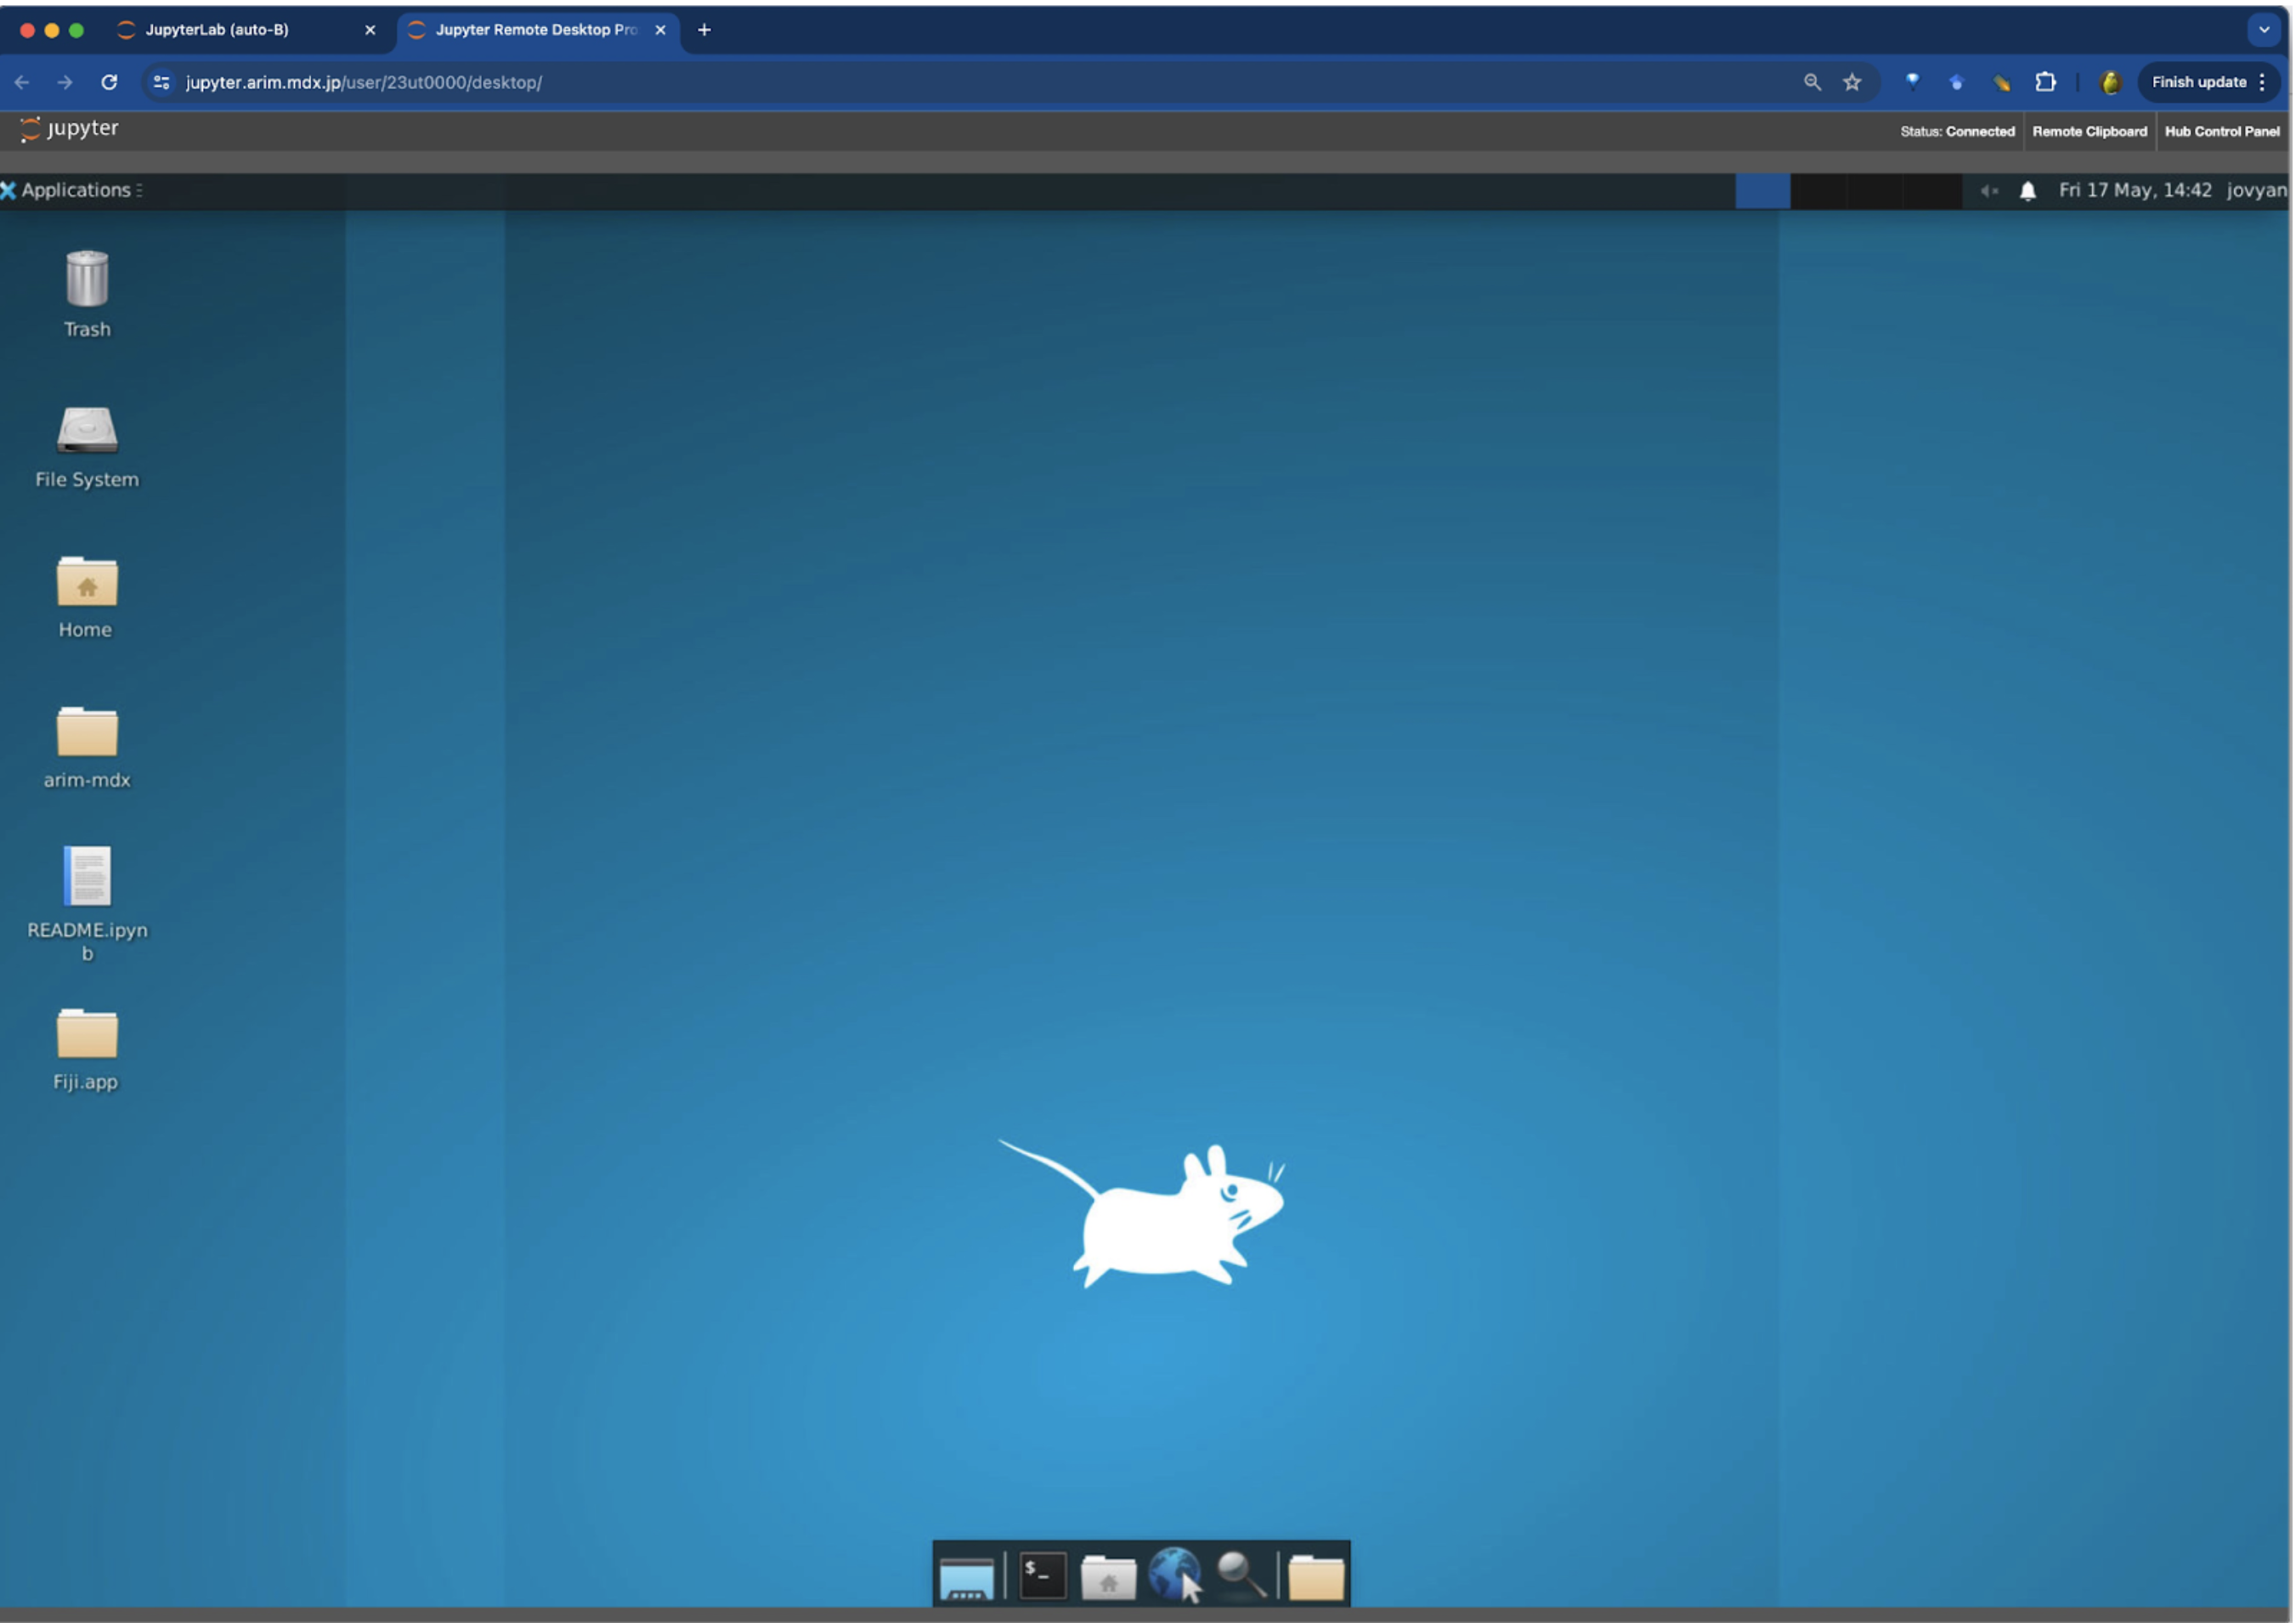
Starting MateriApps LIVE! on Jupyter Remote Desktop
SSH Access
Note
The web interface at https://jupyter.arim.mdx.jp remains the primary way to use ARIM-mdx Jupyter. SSH is an optional additional path.
Prerequisites for SSH
Complete the Jupyter initial setup (see C. Jupyter Initial Setup).
Start a Jupyter server from the web UI — the SSH endpoint is tied to your running Jupyter server.
Generate an SSH keypair on your local machine if you do not already have one:
ssh-keygen -t ed25519
Append the public key (
~/.ssh/id_ed25519.pub) to~/.ssh/authorized_keyson the Jupyter server:echo "<your public key>" >> ~/.ssh/authorized_keys
SSH Connection Information
Item |
Value |
|---|---|
Host |
|
Port |
|
Username |
|
Authentication |
SSH public key (password authentication is disabled) |
Connecting with VSCode Remote-SSH
Install the Remote - SSH extension in VSCode.
Add the following entry to your local
~/.ssh/config(replace the<TODO: ...>values):Host arim-jupyter HostName <TODO: hostname> Port <TODO: port> User <TODO: username> IdentityFile ~/.ssh/id_ed25519Open the Command Palette in VSCode and run Remote-SSH: Connect to Host…, then select
arim-jupyter.
Connecting from Terminal
Use a standard ssh command:
ssh <TODO: username>@<TODO: hostname> -p <TODO: port>
File Transfer (SFTP / scp)
Upload a local file to your Jupyter home directory:
scp -P <TODO: port> ./local-file.csv <TODO: username>@<TODO: hostname>:~/
Download a file from your Jupyter home directory:
scp -P <TODO: port> <TODO: username>@<TODO: hostname>:~/output.csv .
Interactive SFTP session:
sftp -P <TODO: port> <TODO: username>@<TODO: hostname>
Files transferred here are visible from inside the Jupyter server at the same path.