Nextcloud Cloud Storage
How to Use
Access through https://arim.mdx.jp/nextcloud. For initial users, please refer to Get Started.
Usage Policy and Access Permissions
Each user is provided with a 100GB home folder, and each project is allocated with 30TB group folder.
Permission to access each folder type is as follows (example: for project ID
24UTxxx)Folder |
Path |
Size |
Main Use |
|---|---|---|---|
Home Folder |
⌂ ⟩ |
100GB |
Personal use |
Group Folder |
⌂ ⟩ large ⟩ |
30TB |
Large-scale data, Project sharing |
The home folder ⌂ ⟩ can be freely used by each user.
It cannot be viewed by other users and is suitable for storing private research data.
For example, the
PrivateData.md below is in the home folder ⌂ ⟩ and cannot be viewed by others.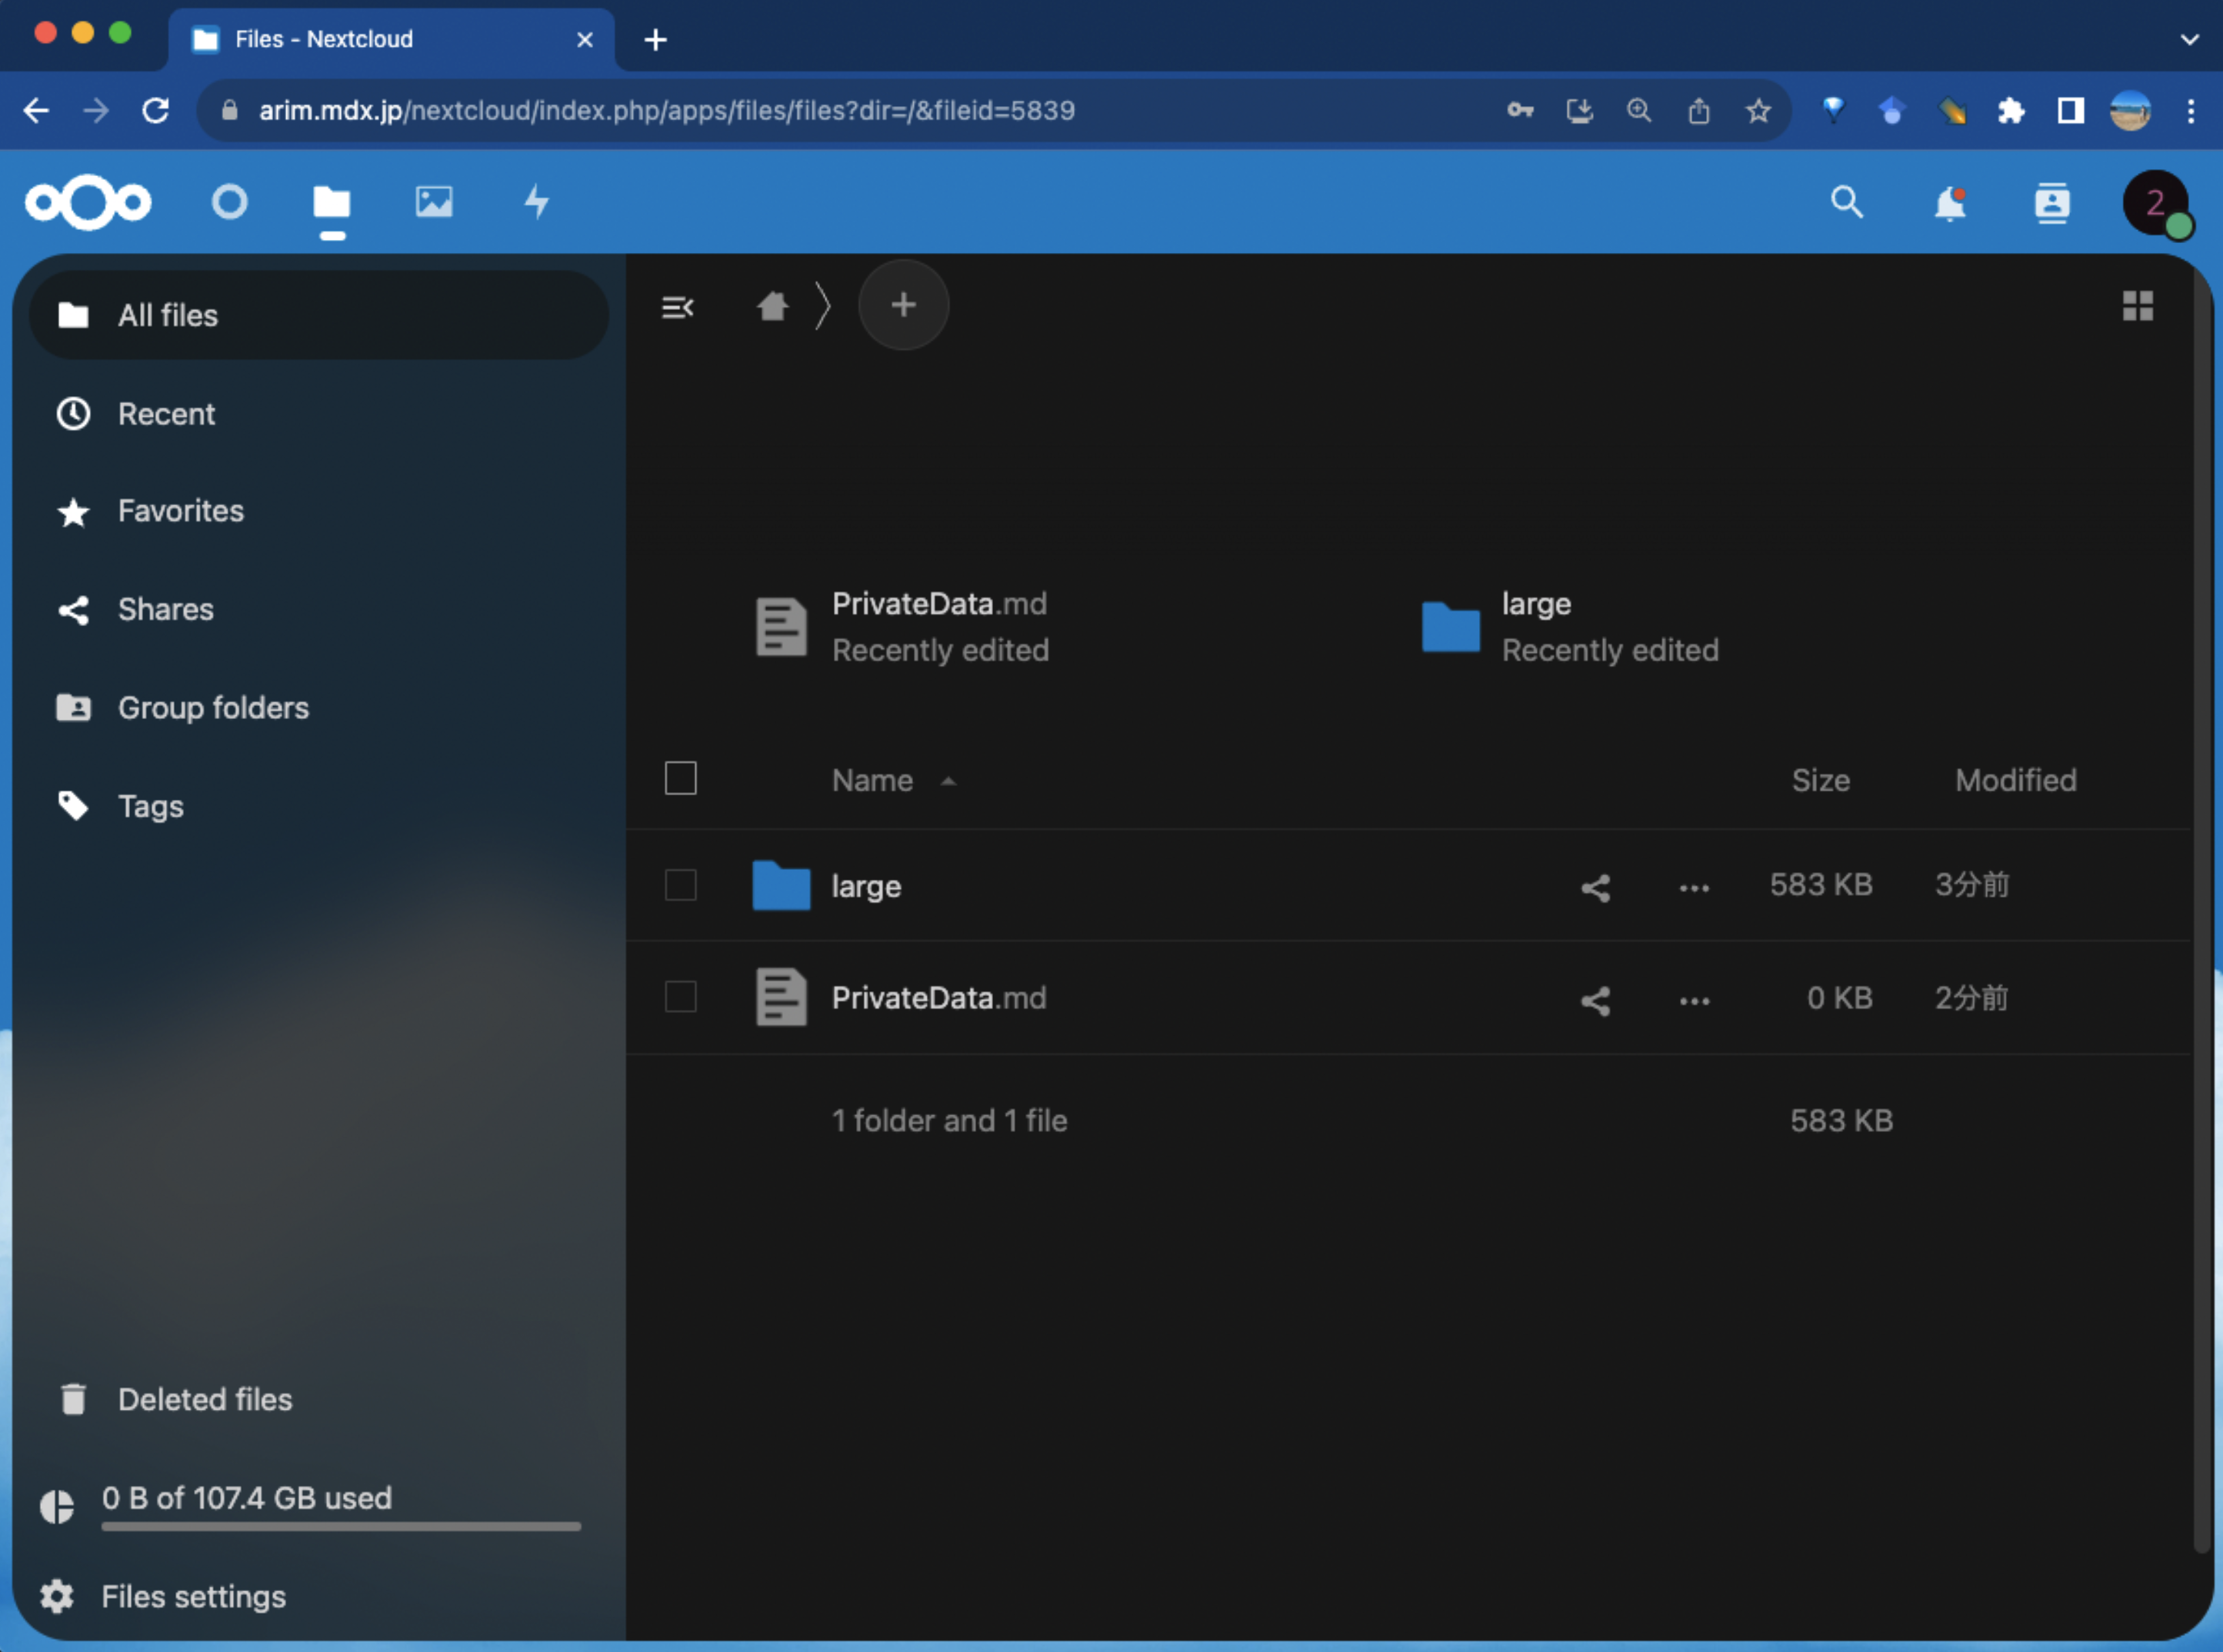
The group folder ⌂ ⟩ large ⟩ {GroupID} ⟩ is a shared folder within the project.
It can be accessed by your project’s members but cannot be viewed from the other project.
It can be freely used within the project. For example,
LargeData.jpg below in ⌂ ⟩ large ⟩ 23UT0000 ⟩ is shared with all members of 23UT0000.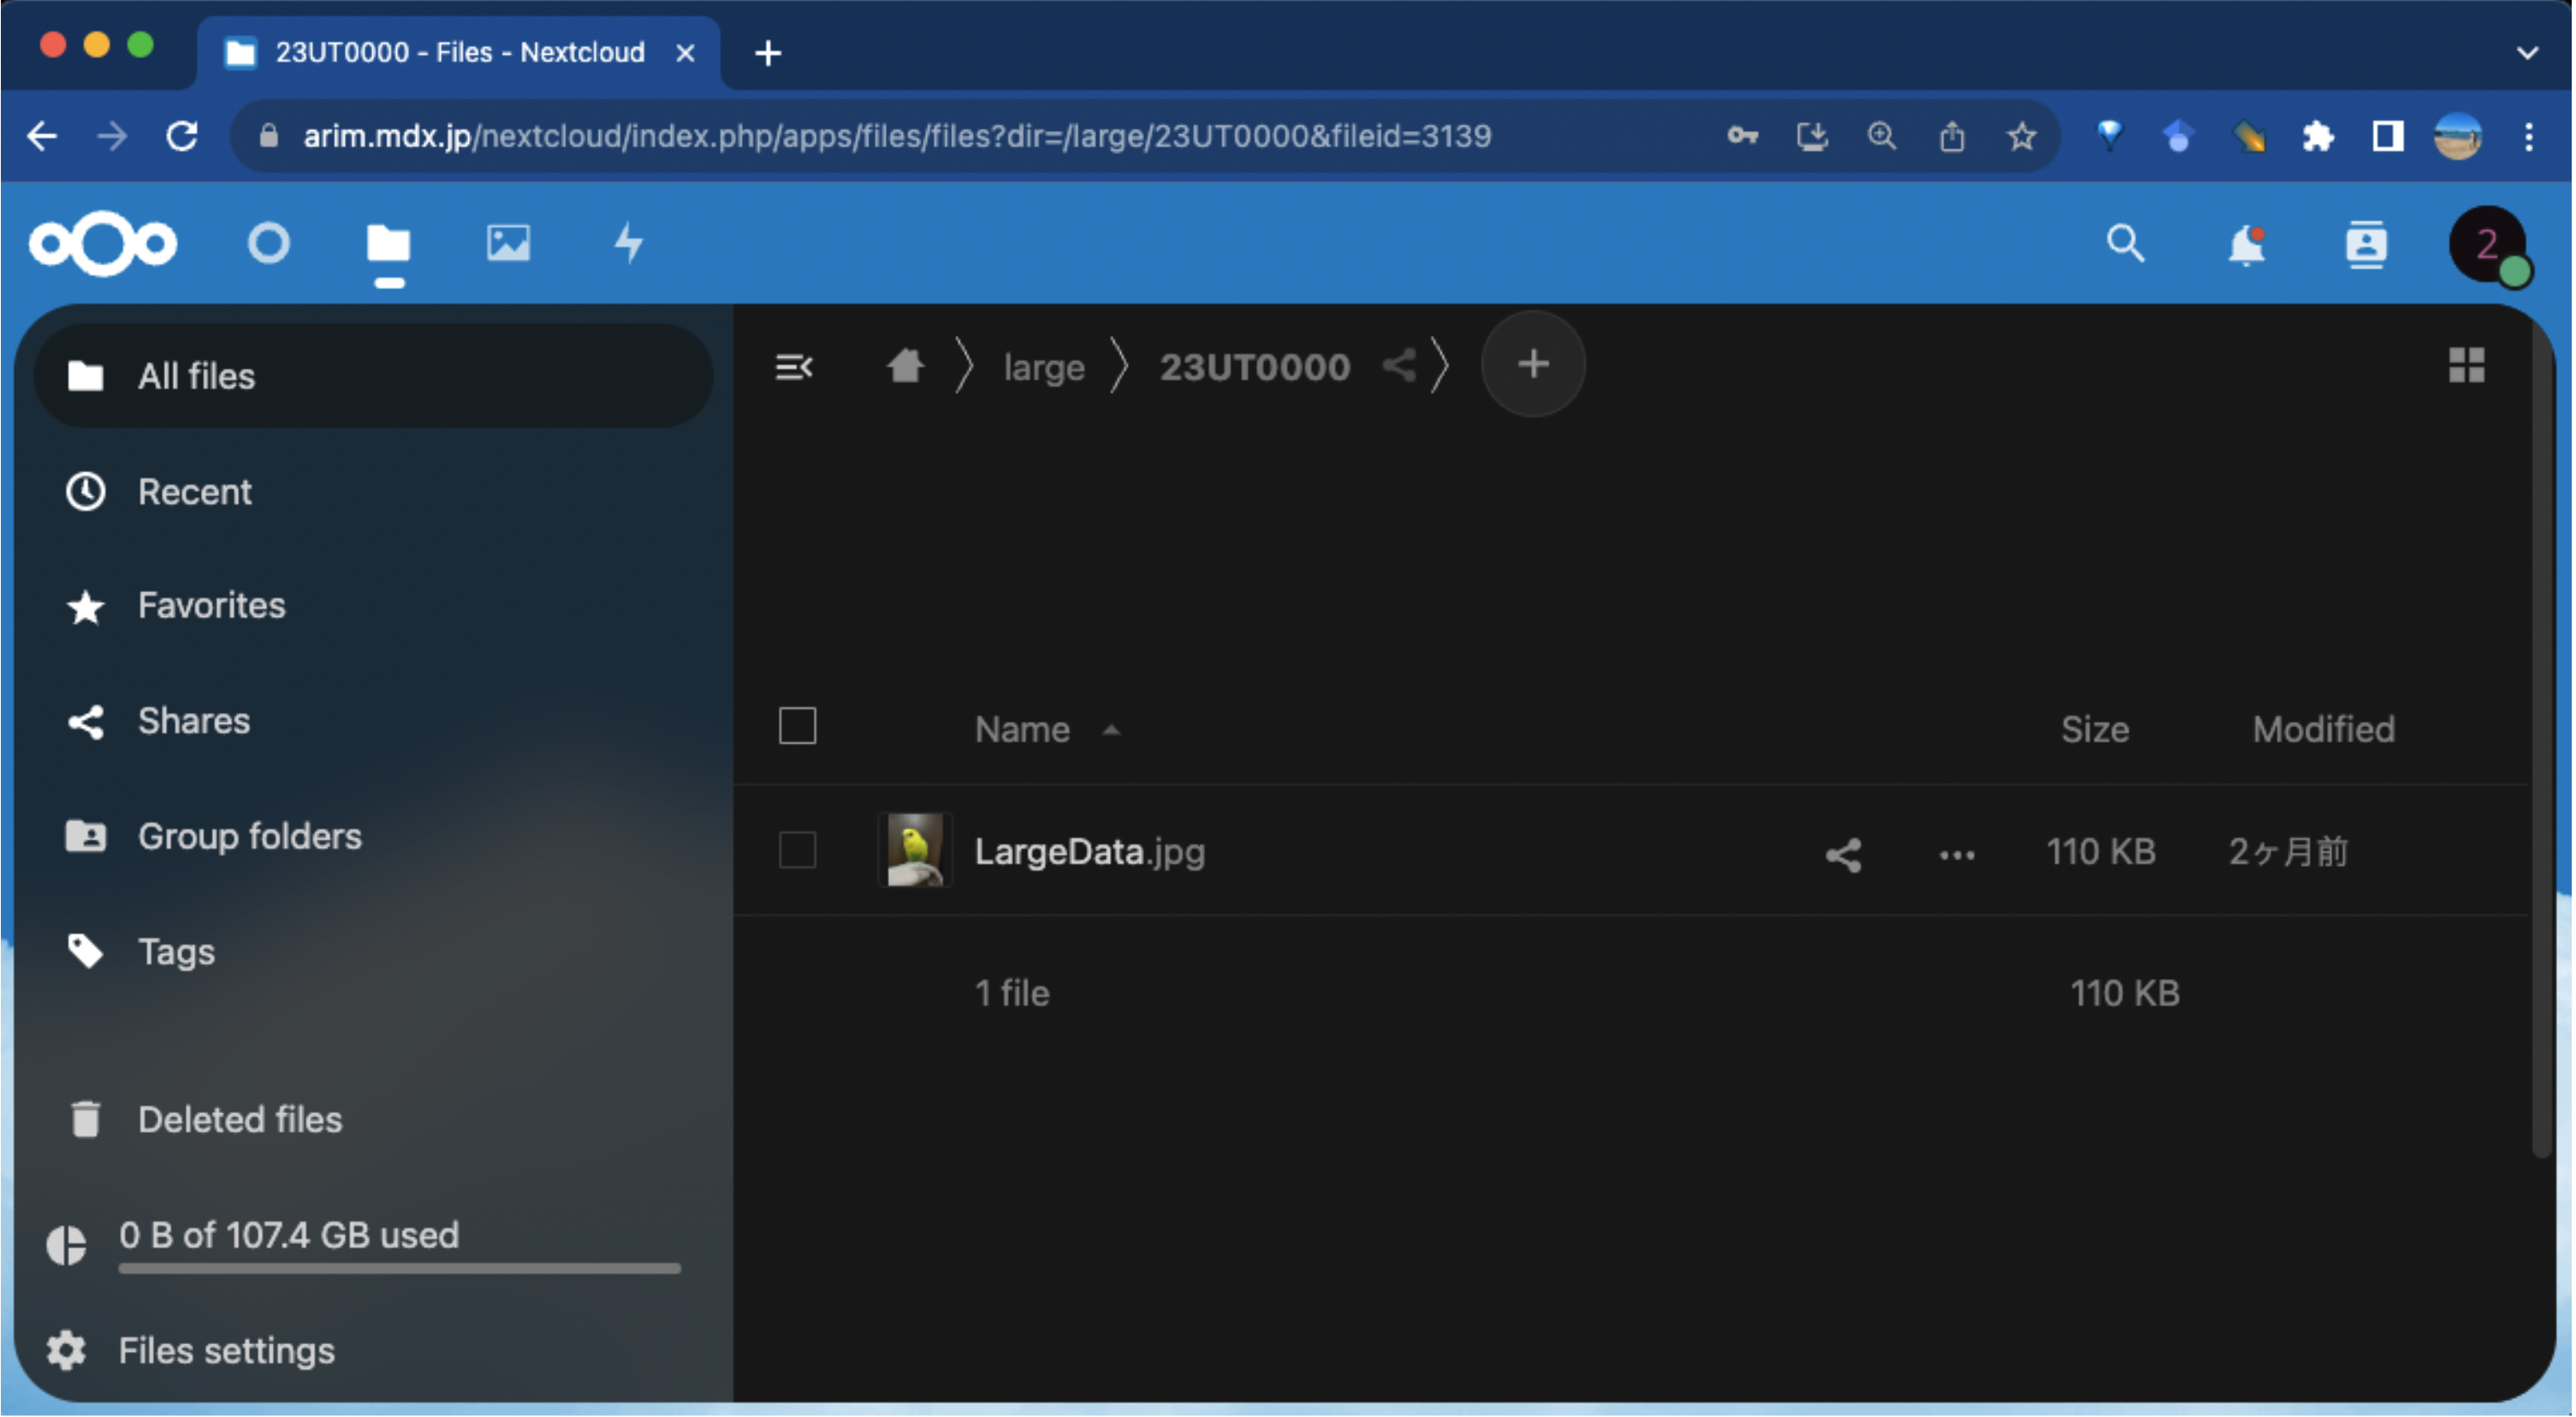
Note
Data Access Policy for ARIM Staff and System Admins
Data in the system can be accessed by ARIM staff. ARIM staff access only for the Project activities.
System admins access for usage statistics collection, system management, and security purposes.
Using the Windows App
Using the Windows application enables folder synchronization with your local PC.
1. Select “DOWNLOAD FOR DESKTOP” from https://nextcloud.com/install/#install-clients
2. Select “Windows 10/11 64bit”
3.
nextcloud-version-number-x64.msi will download. Run it if it doesn’t start automatically4. Click Next → Next → Install → Finish → Yes (restart PC)
5. Launch the Nextcloud app
6. Login → Fill in “https://arim.mdx.jp/nextcloud/index.php/apps/dashboard/” as Server Address
7. Web browser (Chrome etc.) will automatically open with the ARIM server login screen
8. Return to the Nextcloud app window to configure synchronization

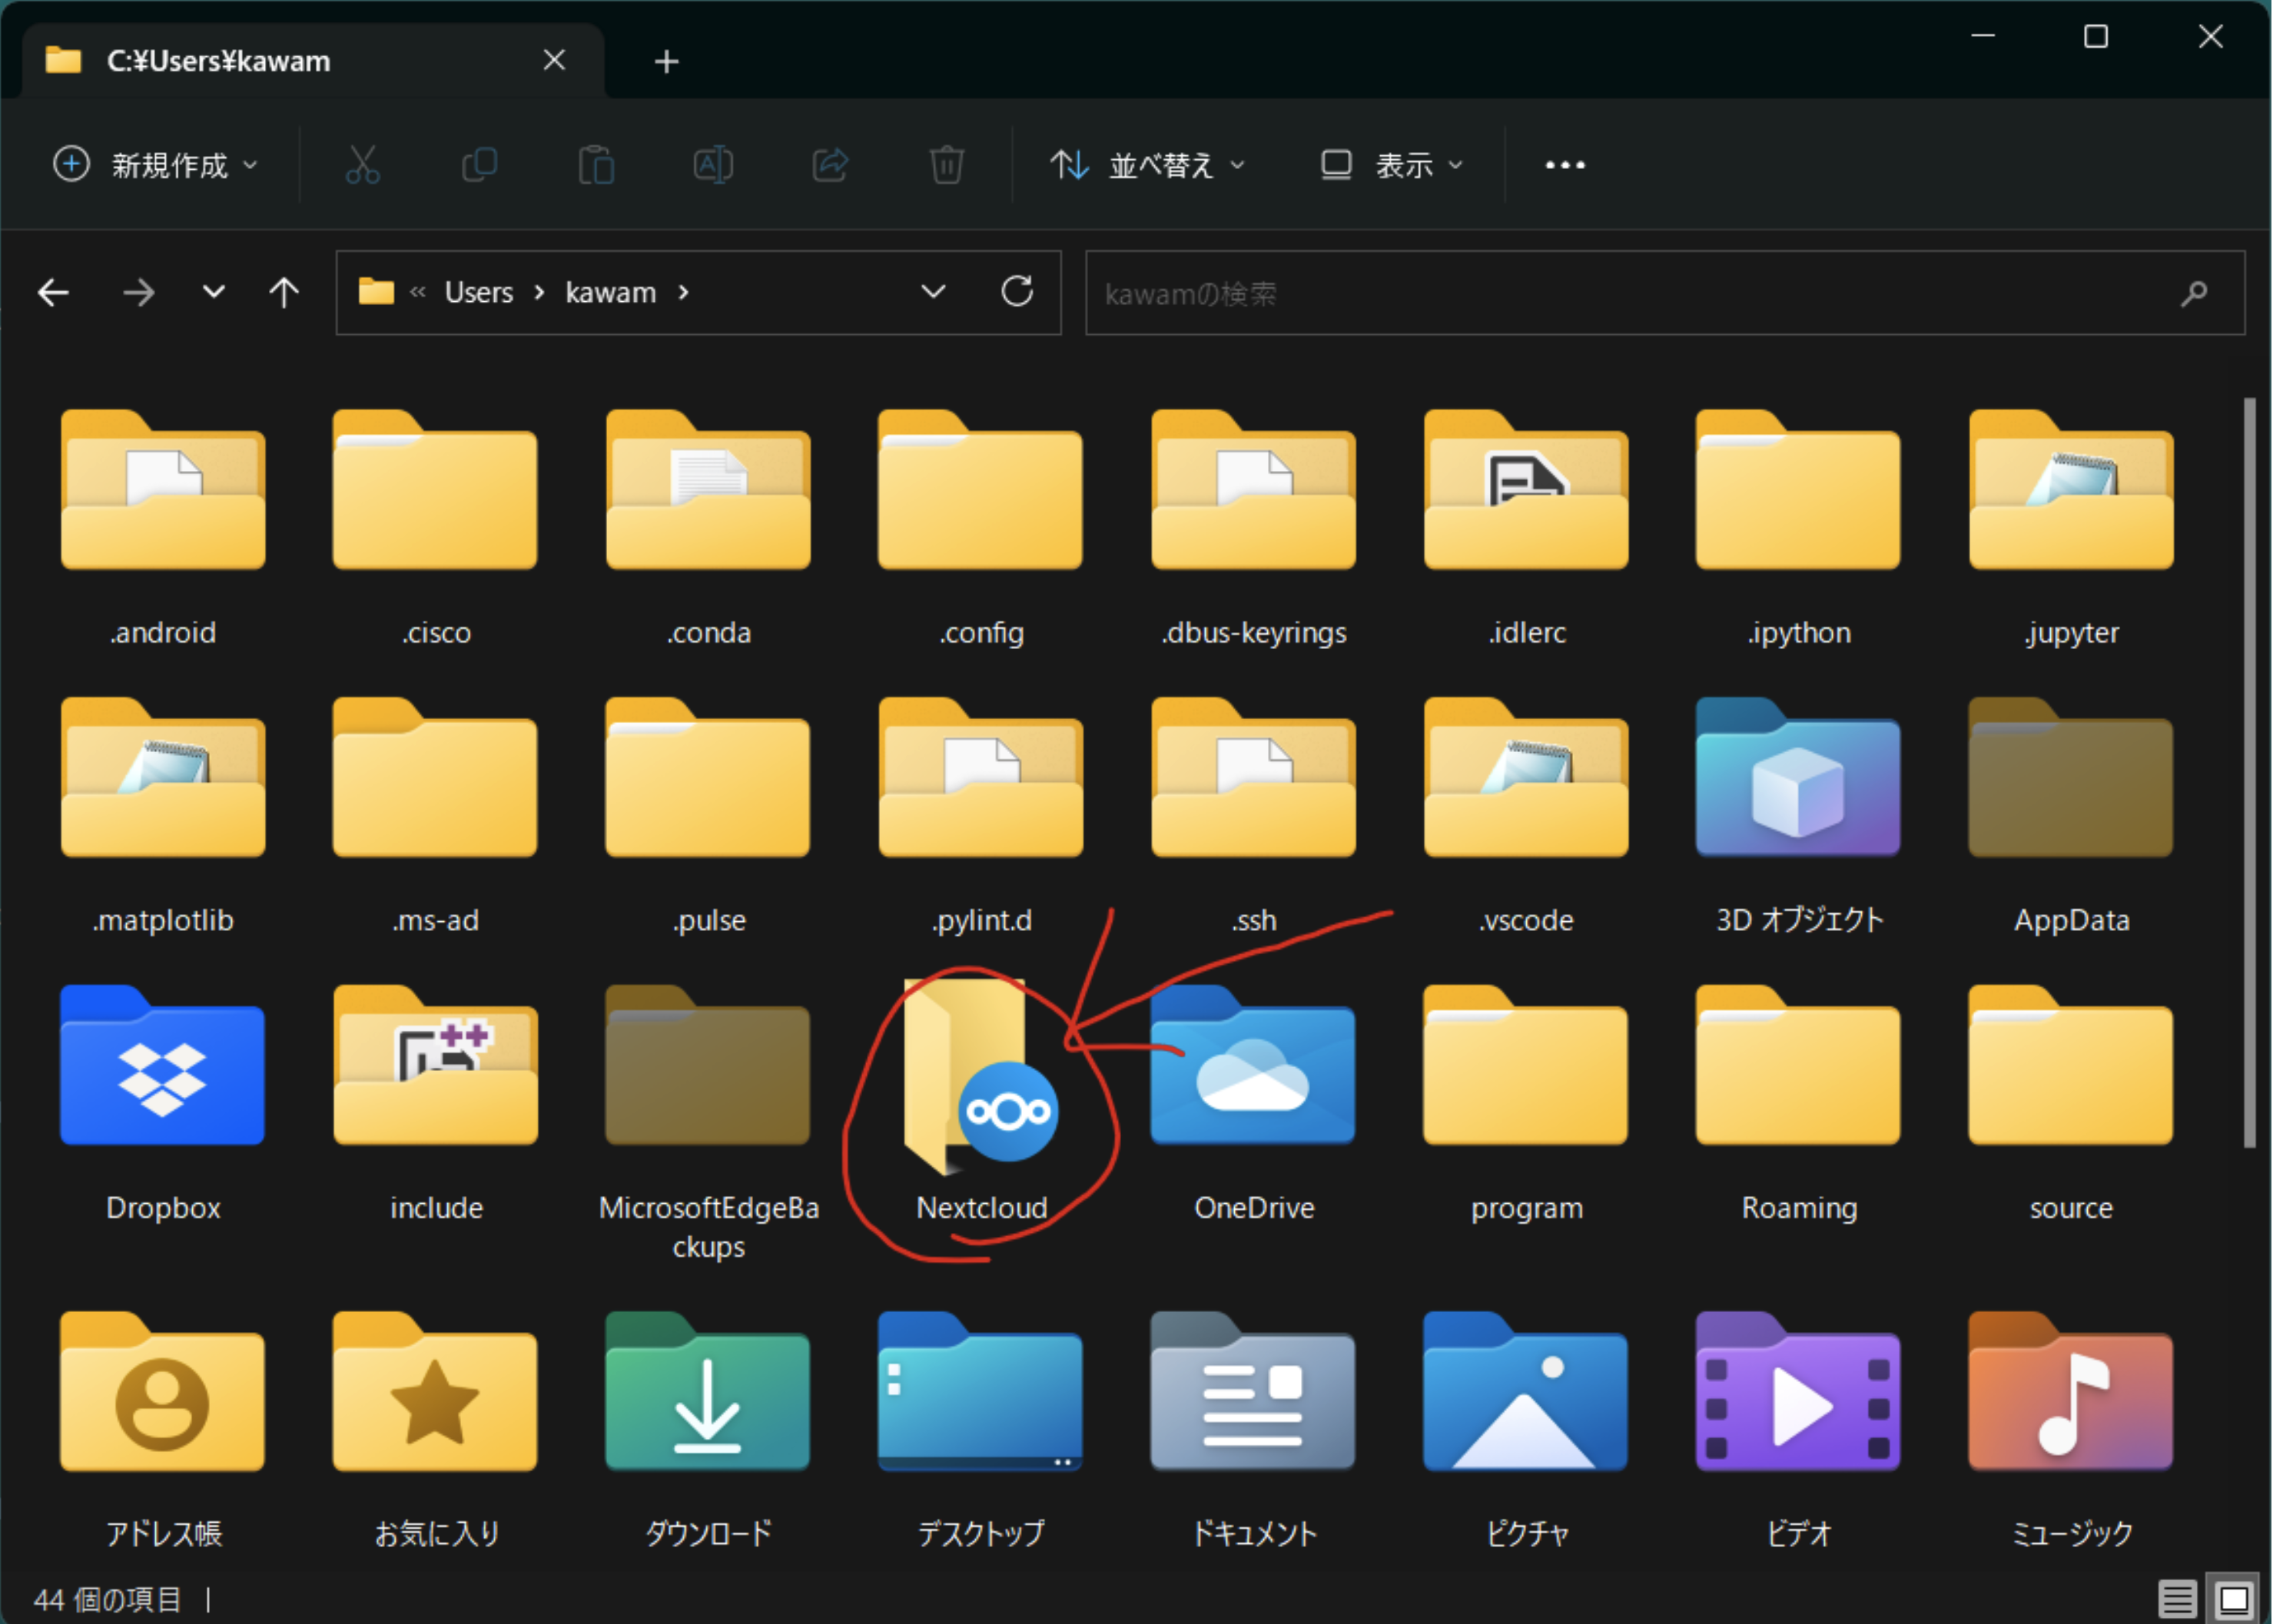
9. Files can now be accessed through File Explorer
Using the Mac App
Using the Mac-specific application enables folder synchronization with your local Mac.
1. Select DOWNLOAD FOR DESKTOP from https://nextcloud.com/install/#install-clients
2. Select Mac OS and download the pkg file
3. Open the pkg file and click Continue → Continue → Finish
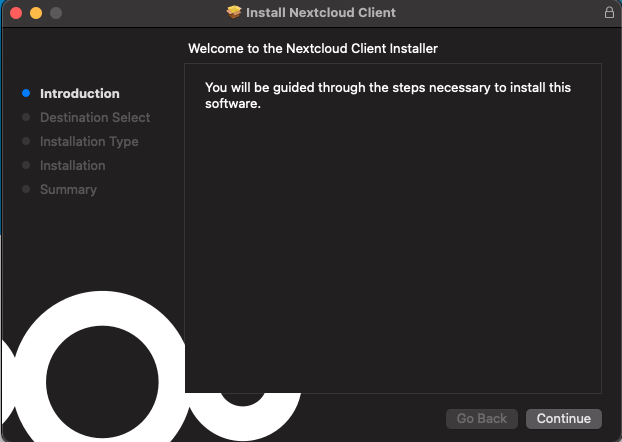
4. Go to Applications → Nextcloud.app
5. Login form will appear
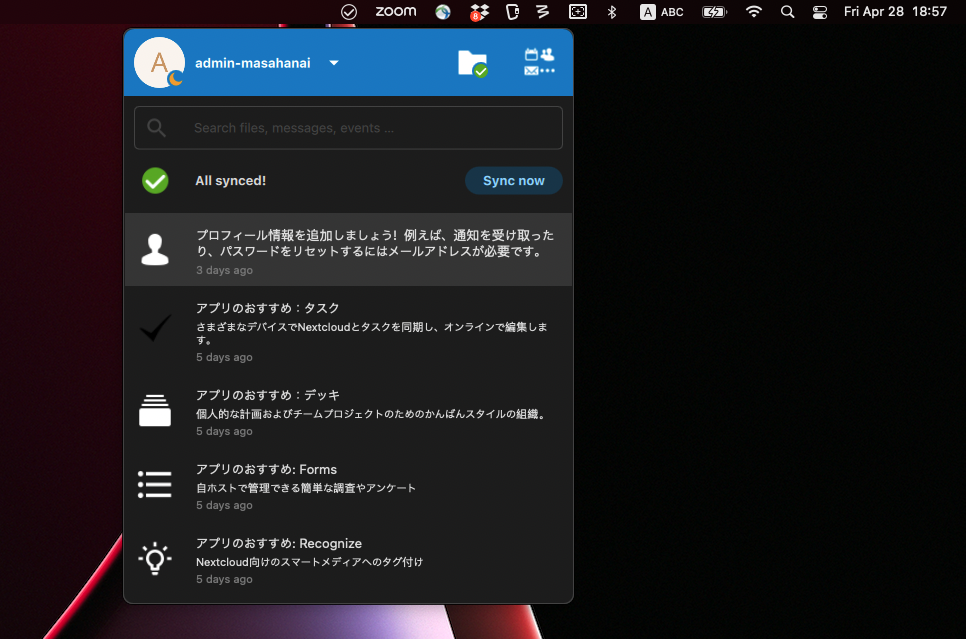
6. Fill in https://arim.mdx.jp/nextcloud and log in. The Nextcloud icon will appear in the menu bar and become accessible via Finder
Using from Linux Servers and Supercomputers
Please refer to Data Transfer from Supercomputers.